 |
| 75 Body Repair Scheme |
| Step 3. Wire Tee Installation. |
|
 |
 |
 |
 |
 |
 |
 |
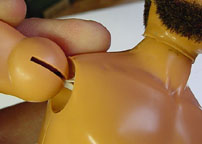
| Pull arm out as shown. If the body isn't strung too tight this will work a lot easier. |
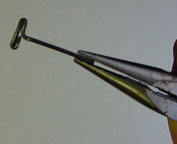
| Grasp the tee, as shown, with a pair of pliers. Note that there is a short and a long side of the tee. The short side should be pointing down. Pliers are shown here but vice grips work even better. You need a tight grip to be able to turn the tee 90 degrees against the tension of the elastic once it is in the shoulder. |
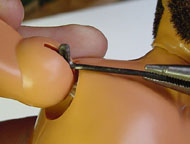
| Insert the short arm of tee as shown. Then rock forward diagonally accross the elastics as the long arm goes in. Keep the tee above the elastic and turn it 90 degrees to lock it into cradle. |
| This picture shows the insides of the upper arm pieces. The arrows point to the cradles you are trying to put the tee into. The long arm of the tee must clear the post on top and the short arm just has to be able to get up and over the end of the walls at the bottom of the cradles. Inserting these tee pieces is one of those things that can go very fast or drag on and on. Just keep trying. It will work. If it is in right, the elastic will push up the tee tight into the cradle and you will feel resistence when you move it forward and back. If it's floppy, it's in wrong. |
| If you look closely, you will see the tee is over the elastic. This is how it should look and you will see it if the light is just right. If you see only the white elastic remove the tee and try again. |
| Once in place, insert the shaft of the tee into the arm hole of the chest piece. Rotate the arm forward one turn. This wraps everything around the shaft and stops the elastic from creeping up the vertical cracks in the chest piece.. |
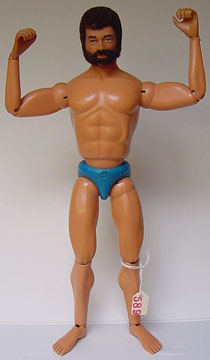
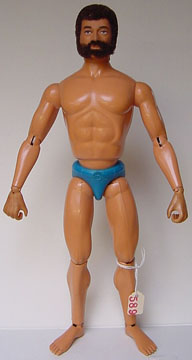
| GI Joe Number 589 is back in service. |

|