 |
|
|
|
|
|
|
|
|
|
|
|
|
|
|
|
|
|
|
|
|
|
|
|
|
|
|
Eyelets and Grommets |
|
|
Home |
|
|
|
|
|
|
Eyelets are the perfect finishing touch for anything that requires lacing. They are versatile and easy to install. Appropriate uses for eyelets (also sometimes called grommets) include: Yuna's armbands, hood string channels and fake boot "covers" (what you make when you can't afford real high, lacing boots like Yuna's). |
|
|
|
 |
|
|
|
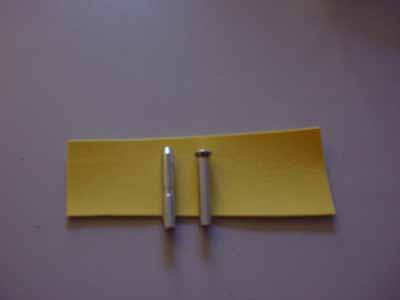
First, a package of small eyelets usually comes with 24 eyelets and 2 tools. The tool to the left in Picture 1 is the hole-punch. The one on the right is the one you use to mash the back of the eyelet flat against the fabric. |
|
|
|
|
|
 |
|
|
|
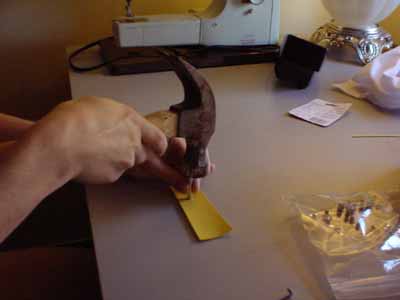
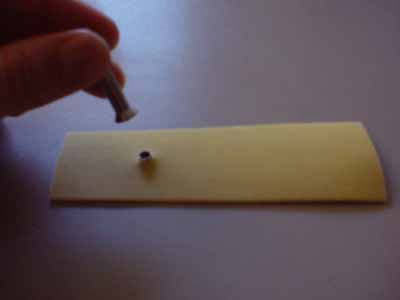
Firstly, mark where you want your eyelet to go. If you're doing a row of eyelets, make sure they are evenly spaced apart. Then, using a hammer, punch a hole through your fabric. |
|
|
|
|
|
 |
|
|
|
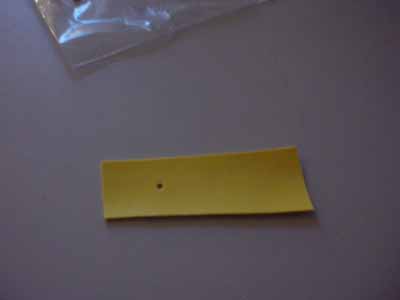
The hole will look something like this. Since I chose some yellow vinyl to test on, the hole came out very neat. It may not look so great in a fabric prone to fraying. Don't worry, though. |
|
|
|
|
|
 |
|
|
|
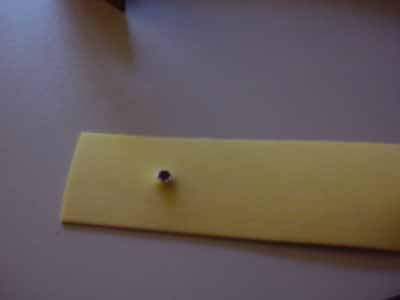
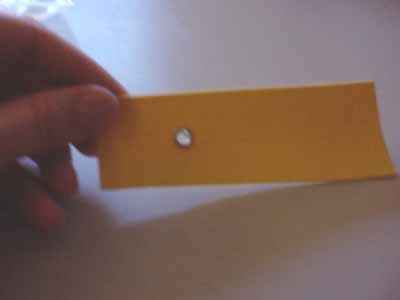
Press the eyelet through the fabric so that the rough side of the eyelet is to the back (wrong side of fabric). |
|
|
|
|
|
 |
|
|
|
Using tool #2, insert the tool into the eyelet (it will fit just right), and give it a swift whack with your hammer. Make sure you work on a hard surface that can take a bit of damage. I usually do eyelets on concrete floor. |
|
|
|
|
|
 |
|
|
|
After you mash the eyelet's back so that it lays flat, you are done! This is what it will look like. No raw edges, and a smooth passage for lacing. Voila! |
|
|
|