 For all of those who can't seem to
let someone who knows how,
and wind up fixing it yourself,
this column is for you.
Subject: Prop Repair.
For most of us, a good day on the water is one in which our boat does not fail.
O.k. so you had to rap the solenoid once, or unwrap the anchor line from your
prop... but at least she made it back to launch under power.
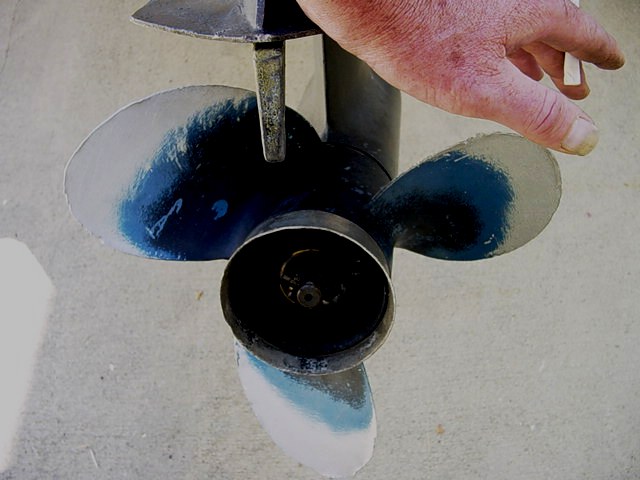
So now she's on the trailer and your strapping down the stern and BEHOLD! You
find that your once dandy propeller is now ugly... like the blender blades after
your kid puts his rock collection in it because he wanted to make sand.
But you, like myself, would rather attempt repair than suffer embarrassment
at the prop-shop...(rookie!)
So gather 'round and listen close...
(Disclaimer: No. Ain't never done this before. But I believe if you stare at
somthin' long enough, inspiration will come...)
Nomenclature:
Front Side: The side of the propfacingg the open water that you just chopped
through.
Back side: The side of the prop nearest the stern.
Leading edge: The part of the blade that cuts through the water first.
Trailing edge: The other side.
You must become one with the prop. "Hello Prop!"
Peer along the edge of the blade toward the hub to determine how it was
originally constructed. Most prop blades will be equally faced front and back to
form a point perpendicular to the twist in the blade itself. Some, like mine
resemble an aircraft wing (back side rounded front side flat, but still the
leading edge is perpendicular to the twist in the blade. Also determine if
your blade is "cupped". You will have to keep that in mind as you
re-dress the trailing edge, front side.
1. First and foremost;
Find the worst blade and create a template using heavy construction paper or
thin card board.
This will allow you to reshape all blades to the match the new shape of the
worst blade.
2. Straightening:
Start with the worst blade. Begin work always from the hub side of the
trailing edge and work around the blade
till you reach the hub side of the
leading edge. Using a hammer and dolly, GENTLY tap all folded or bent
sections of the blade. Use light taping and take your time. Aluminum is
finicky, you don't want to break off little
chunks. If that section is too gone
to return to shape, move on, you will have to fill it later.
2b. Recheck blade against your template. modify if necessary.
 3. Roughing:
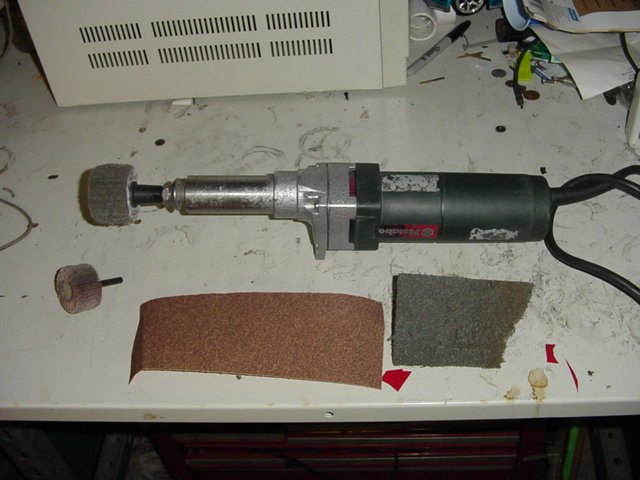
Several different methods may be employed for this next step, IE; half round
rasp file, angle grinder, flap wheel and die grinder, etc.
I chose the die grinder and 60 grit 1 1/2 flap wheel.
Work the back side of the blade first! Begin from the hub side of the trailing
edge of the blade, carefully begin to remove the tattered edge of the blade.
Working around to the hub side of the leading edge. you will begin to see the
edge of the blade becoming less tattered. !!!Note!!! Remove as little material
as necessary!
3b. Check your work against the template often during the rough shaping to
prevent removing too much material. Try and maintain shape consistent to the
template. If you have a chunk or divot, pass over it as if it wasn't there and
continue.
If it is that this blade begins to take on a relatively new shape (hopefully
minor) finish off this part of the procedure,
 then make a new template using
this new shape. Discard the old template.
then make a new template using
this new shape. Discard the old template.
If in fact your freshly dressed blade conforms to the original shape, You must
make a new, more concise template. Throw out the original template.
You will use this new template for re-dressing all other blades.
3c. Repeat this procedure for all other blades.
Use the new template.
3d. Repeat step 3 for the front side of the blade. Again being carefull not to
take off too much material.
And again, use your template often as a guide.
NOTE:
 During rough shaping you will also recreate the leading edge of the blade. Try
and stay consistent with blade thickness as you go along. constantly sighting
in along the edge for visual clues. Note also that most blades will be thicker
as the edge gets closer to the hub. This is true for the leading, and more so
for the trailing edge.
During rough shaping you will also recreate the leading edge of the blade. Try
and stay consistent with blade thickness as you go along. constantly sighting
in along the edge for visual clues. Note also that most blades will be thicker
as the edge gets closer to the hub. This is true for the leading, and more so
for the trailing edge.
3e. If there are chunks or divot present, fill with an appropriate
"filler" (I didn't have to so I can not advise here) let cure, then
shape area accordingly.
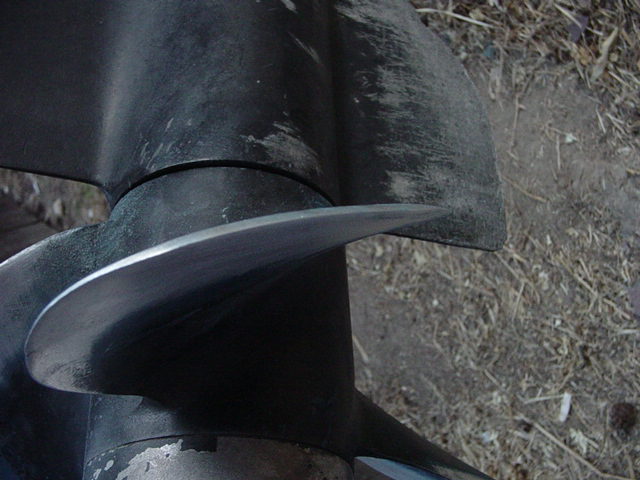
4. Surfacing:
Once you are satisfied with the overall roughing in, you may now begin smoothing
the areas dressed with your chosen abrasive.
60, 80, 100 grit sand paper will pull down deep scratches quickly and allow you
to "fine tune your new edges.
4a. Marine props lose efficiency when areas of contact are uneven or rough.
down right useless if banged up
 tweaked. So it is essential that the blade has
as little resistance to passing through water as possible.
tweaked. So it is essential that the blade has
as little resistance to passing through water as possible.
So enjoy this bit and do as good a job of it you can.
5. Polishing:
You may use whatever method suits you for this part. Most aluminum props I've
encountered are painted with a baked on finish. So polishing your work well
will result in the finest finish possible after painting.
6. Balancing:
Unless you are some kind mechanical genius, and have the right parts around,
build a balancer and go for it. Otherwise, since you've just saved a gob of
money reworking your prop, go have it balanced professionally.
In case of a minor repair with little material removed, the imbalance created
by redressing will be minimal if not altogether un-noticeable.
!!!!!!!!!!!!!!!!NOTE!!!!!!!!!!!!!!!!!!!!!!!!!!!!!!
THIS WRITER RECOMMENDS THAT BALANCING BE PERFORMED WHENEVER A RE-DRESS HAS
BEEN AFFECTED ON A MARINE PROPELLER!
Update:
 Soon after this article was writen, the vessel involved was put in and tested.
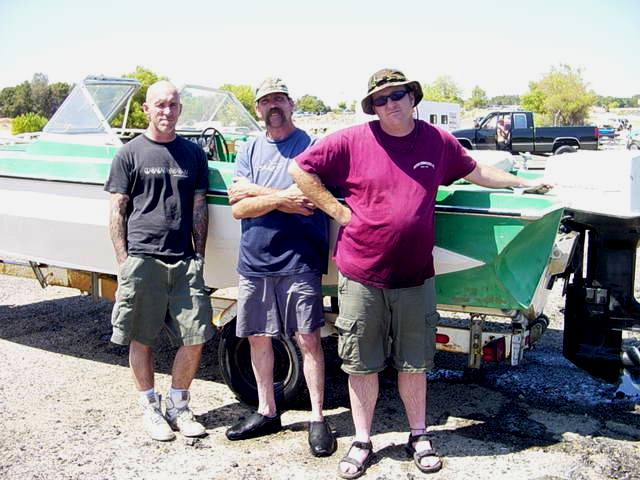
To simulate an average load, and to duplicate the load experianced when tested before the
prop was re-dressed, myself plus three adult men of average build were shanghaied for the crew.
The 1970 115hp Johnson used on this vessel does not have hydrolic tilt or trim.
The "mechanical" trim lock pin was set at neutral or "nominal".
Noticable improvement in acceleration was made from standing, to underway just before
the vessel came onto plane. Prop cavitaion was eliminated from the point when
the vessel came onto plane, to 3/4 speed at wide open throttle (WOT).
Further adjustment of the trim setting resulted in the vessel comming on to plane
much easier and at a lower speed, and did not "plow" from on plane to 3/4 speed.
As expected, the top speed of this vessel increased at WOT. There was no sign of vibration.
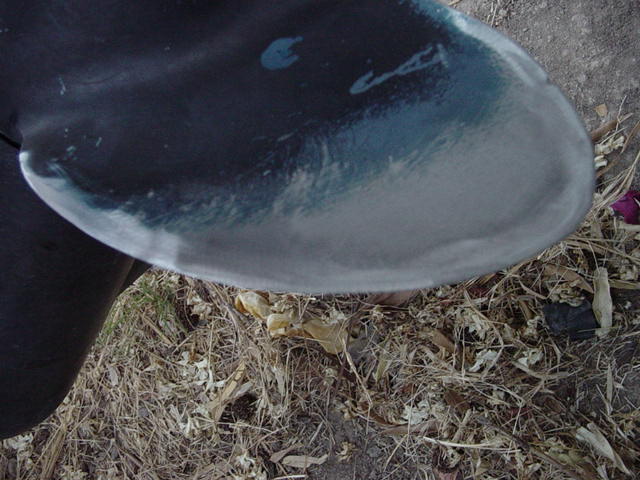
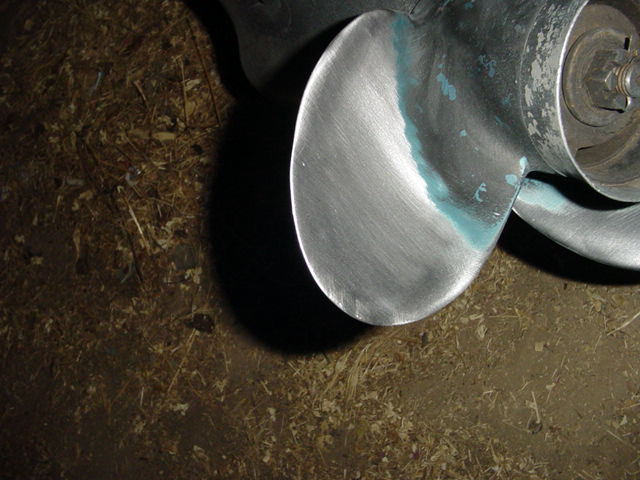
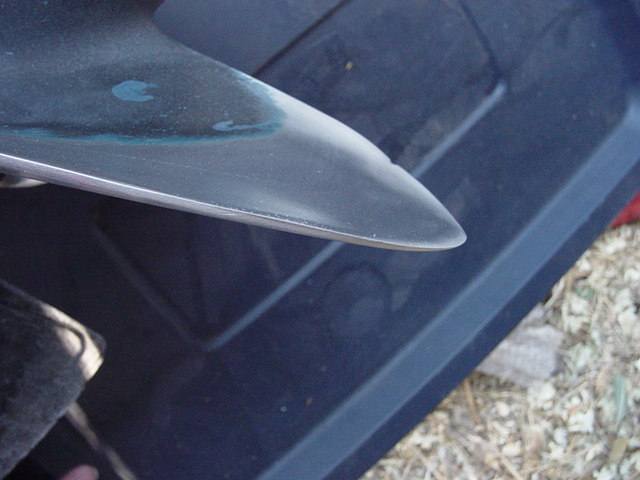
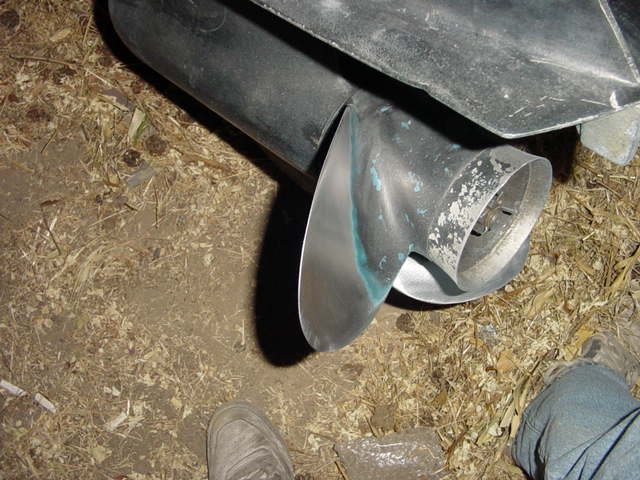
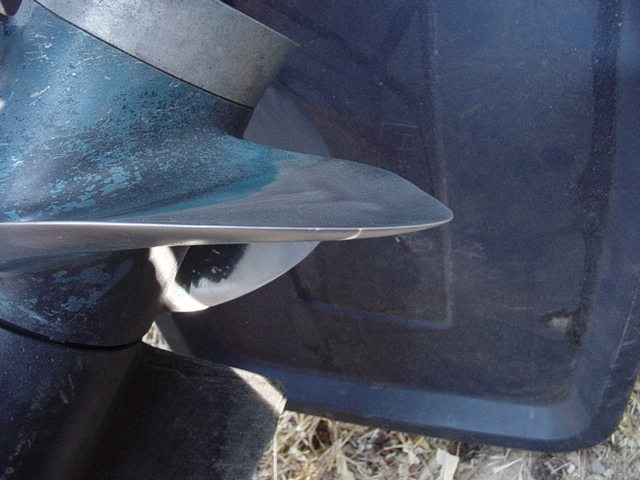
So enjoy the pics of, before, during and after.
My apologies if some these are kinda' crude, the the examples a clear enough...