Messenger Bag Tutorial:
Supplies:
1 yard of your main fabric
1 yard of coordinating fabric
1 yard of fusible fleece lining
Instructions:
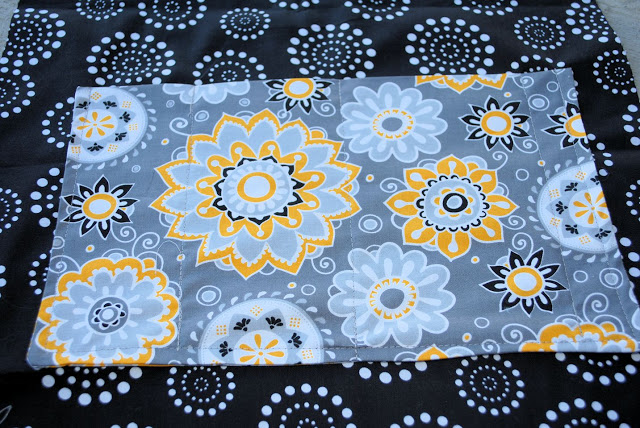
Start out by cutting out your pieces. The front of my bag is 17″ wide by 15″ high with rounded corners on the bottom: (yes, I should iron before cutting). Cut this out of your main fabric, your coordinating fabric and your lining. (Please note that these images show a lightweight lining. I really recommend fusible fleece instead.)
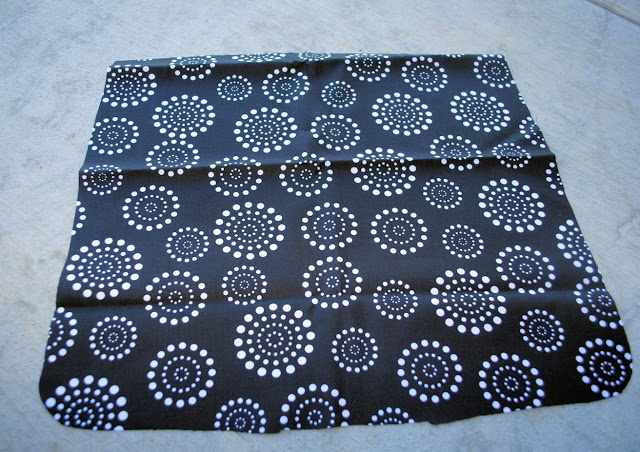
The back of the bag is the same width but is 26″ tall. Again, cut it out of both fabrics and your lining.
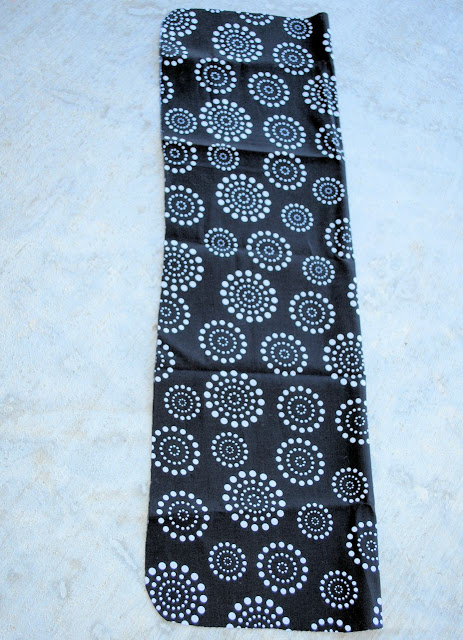
Cut 2 pieces that are 4 inches by 45 inches as well out of all of your fabrics. One of these pieces will be your strap and one will be the sides of the bag.
You should have 4 pieces total for each fabric.
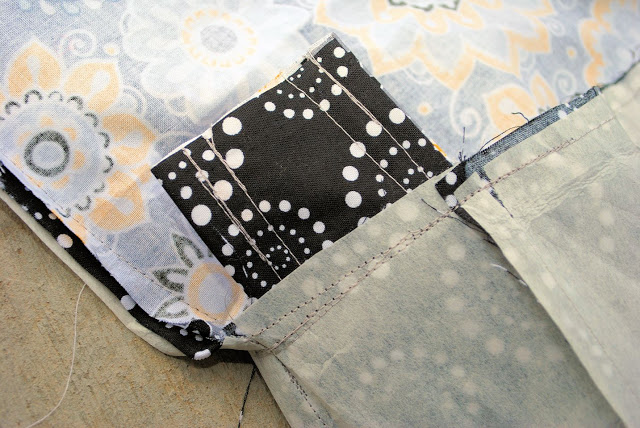
If you want any inner pockets now is a good time to do that
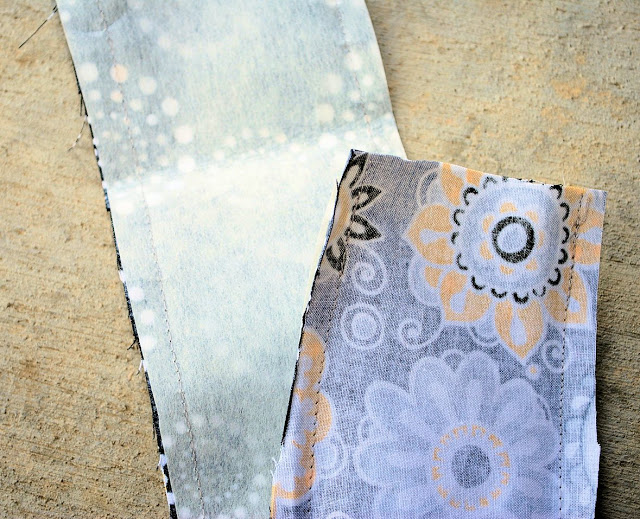
next lets do the strap. Put 1 of the 45 inch strips from each of your two main fabrics together with right sides facing and the lining on the outside. Sew down each side:
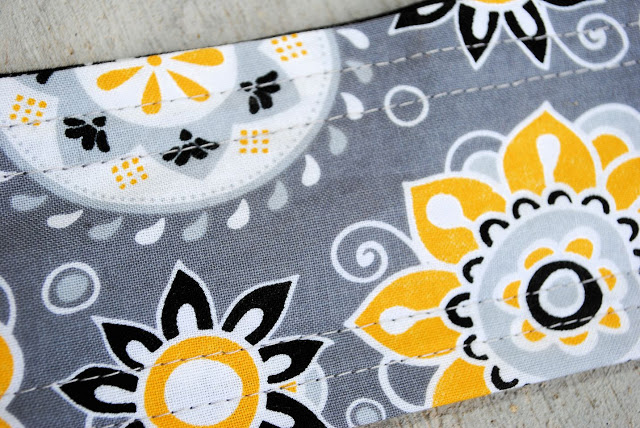
 Turn it, press it and then top stitch it:
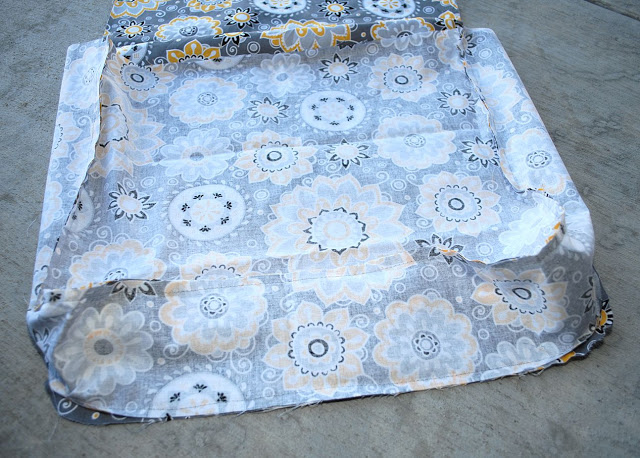
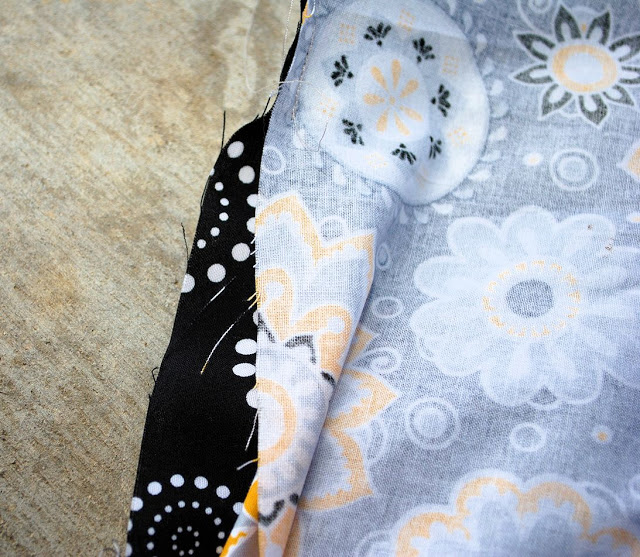
Now let’s put the bag together. Starting with your inner fabric and your lining (if you are using it) put the other 45 inch strip along the edges of your front piece with the lining on the outside. Pin it in place all the way around the bag trimming any excess length off as needed.

Sew around the part your just pinned. Do the same thing with the back piece, matching it to the remaining side of your long 45 inch strip.
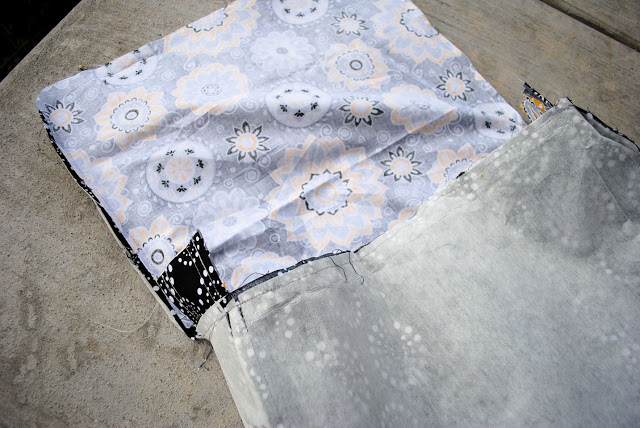
It should look like this when you are done:
Now, here’s the trickiest part. Turn the OUTER fabric right side out:

and the INNER fabric inside out. Slide the OUTER fabric down inside the inner fabric matching up all the seams from the two pieces.
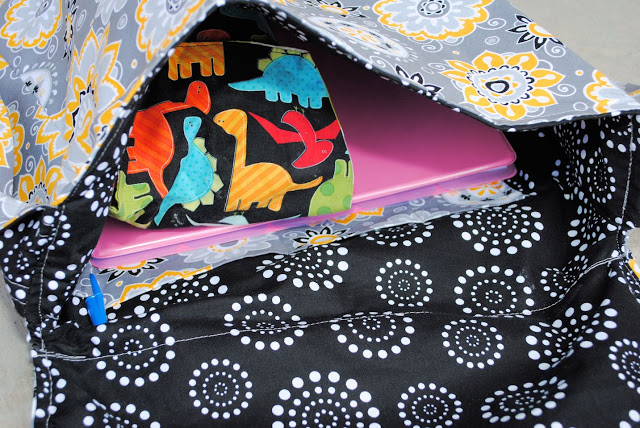
Tuck your straps down inside the bag so that the ends stick out like this:
Starting at the top of the flap and leaving an opening, sew around the bag-down the flap, across the middle, back up the other side of the top. Leave several inches open at the top of the flap:
Now, using your opening on the top, turn everything right side out and push the inner part down inside the outer part.
Press it nice and flat and smooth (that’s always my favorite part because it starts to really look like a bag.)
Top stitch all the way around the flap. This will close your opening and keep your flap laying nice and smooth:
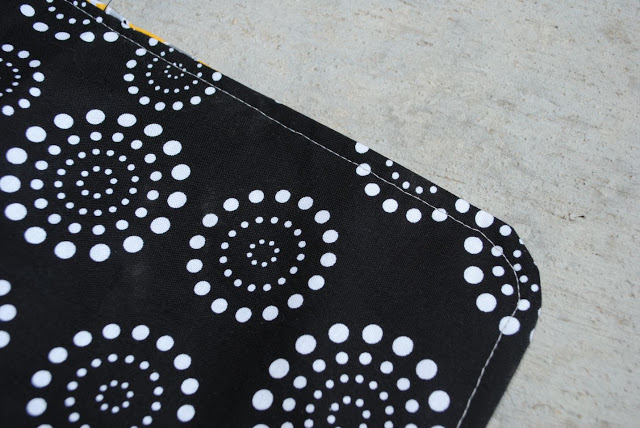
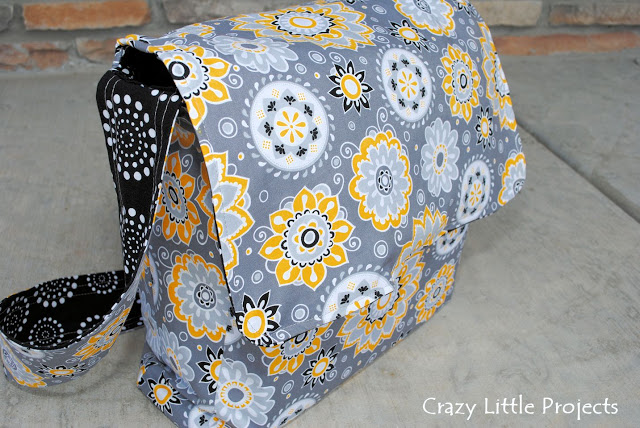
And you’re done!