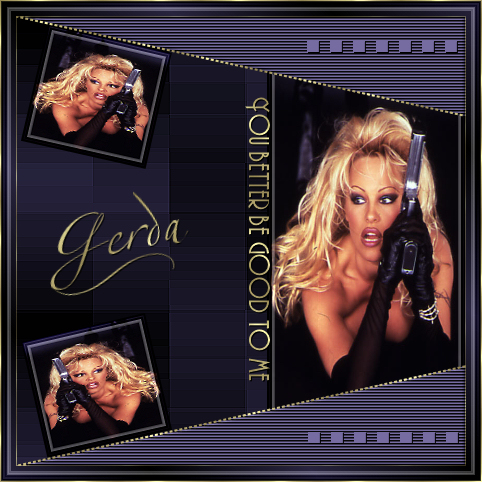
Pamela
Gerda's original Dutch tutorial can be found
here
Welcome to this tutorial
which was done in PSP 9
The materials you need can be found below.
A
good knowledge of PSP is required.
Filters
needed:
I.C.Net Software' s
Filters
Unlimited;
Filter Factory
H
download here
The
supplies:
The pamelager
pspimage;
Gold
pattern;
Preset Shape - gerdakrullen;
A Pamela
image;
Two
fonts: Andes
and
LTZ Apfino Two
Download
supplies here
Ok,
you have everything saved now.
Press Esc on your keyboard to end the music.
Switch your answering machine on;
get
something to eat!
Ok
are you ready ?? lets go and follow me
)
Step 1
Open
the pamger psp image (the selections are in the Alpha
channel)
Foreground on #28243f
Background on black
Gradient: Style linear;
Angle 45
Repeat 3
Fill
the image with the gradient
Step
3
Filter factory H-->
Alias Blur 130/28
Effects -->
Edge Effects --> Enhance
Step 3
Open
the Pamela image. Copy.
Go to
your image.
Add
a new layer.
Load pamger1
from the Alpha channel and
paste your Pamela image into the selection
I.C.
Software' s Filters Unlimited--> Buttons and Frames
-->
Glass frame2 --> 22 /
128
Deselect
Step 4
New
layer
Selections --> load pamger2
from
the Alpha channel and fill with black
Effects -->
Texture Effects -->>
Blinds 3 /100 color
#766ca1;
all
the settings checked
Inner Bevel: soft edge 5/ 14/5/-30/14
angle 315 37/68 color white
Deselect
Step 5
New
layer
Copy your Pamela image again.
Back
to your canvas
Laad pamger3
from the Alpha channel and paste
the
Pamela image into the selection.
Filters
Unlimited --> Buttons and Frames -->
Glass Frame2 -->
30 /
128
Deselect
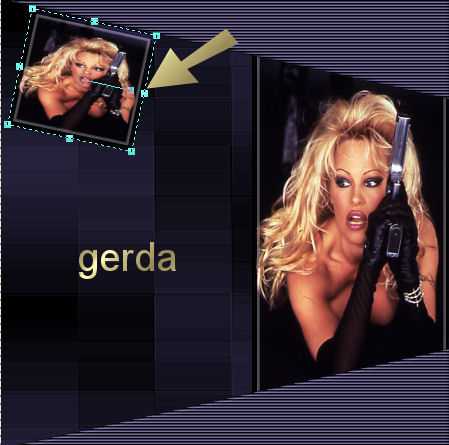
Step 6
Activate your Deformation Tool
and
rotate this image to fit next to the diagonal line,
as seen below
Adjust -->
Sharpness --> Sharpen
Layers -->
Duplicate
Image --> Flip
Image --> Free Rotate --> left --> 180 degrees
Step 7
New
layer
Load pamger4
from the Alpha channel
Fill
with this color #766ca1
Drop
Shadow 1/1/100/0 color black
Deselect
Step 8
New
layer
Load pamger5
from the Alpha channel
Fill
with gold
Deselect
Merge all layers
Select All
Add
a new layer and fill with gold
Selections-->
Modify--> Contract by 1 and press delete
Deselect
Merge All
Step 9
New layer
Background on the gold pattern
Open
the Andes font
Type
" you better be good to me" lololol
or anything you prefer
Drop
Shadow 1/1/100/0 color black
Image --> Rotate --> 90 degrees to the right
and
drag in place.
New layer
Open
the LTZ Apfino Two font and add your name
Drop
Shadow 1/1/100/0 color black
Step 10
Activate your Preset Shapes and find the gerdakrul7
Change your settings as follows:

Draw
a curl below your name.
Convert the vector layer to raster layer
and
drag the curl beneath your name
It
should look as though it forms part of the letters
Drop
Shadow 1/1/100/0 color black
Merge all layers
Step 11
Add
a 15 pixels border and fill with your gradient -
see
step 1 for the gradient settings
Filters
Unlimited --> Buttons and Frames -->
Glass Frame2 -->
11/
128
Add
a 1 pixel border and fill with gold
Merge all layers
and
you're finished! :)))))
This tutorial can be used freely.
Text -
link to it only
and do ot copy it.
Back to Index
Design by Gerda©
translated 3rd July 2005
by ©magstags
Visit Gerda's Dutch
website here


This website was created in March 2005 and is owned
by
©Magstags
Home |
Filter links |
Email | Terms Of Use
|