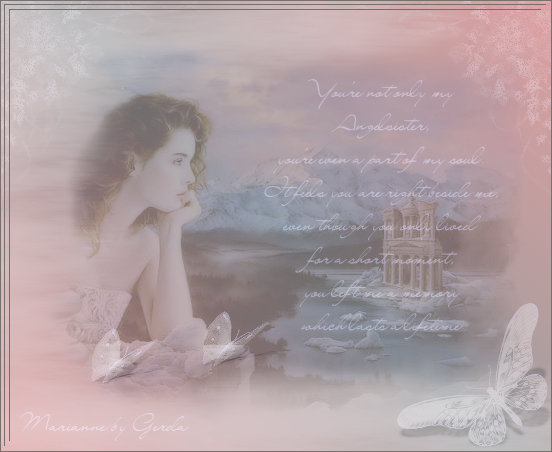
|
Angel
Marianne

Gerda's original Dutch tutorial can
be found
here
***
Materials needed:
Filters Xero, Color works
Download here
Supplies:
Template Marianneger1;
Tekst brush
Marianneger©
Neutral Text;
brush- lk4 and bloemen 85,
Butterfly
tubes
Download
supplies here
***
Step 1
Open a new canvas and fill with white
Open
the template marianneger1 and paste it as new layer
onto the canvas
Change your foreground color to #ffc0c0,
The
background color on
#b6b7ba.
Gradient: Style Linear; Repeat 1; Angle 45;
Activate your background layer and fill it with the
gradient.
Merge
Layers Visible
Step 2
Filter
Color Works -Tint ( it can also be in your
Cybia filters)
Set the
contrast on 161
and the
rest on 128.
Add a new raster layer and change your foreground
color to white.
Activate your Brush Tool and find Brush
lk_4.
Apply with the size on 230, or your own choice of
size.
Apply the brush around Marianne and apply it several
times if
it
doesn't look well.
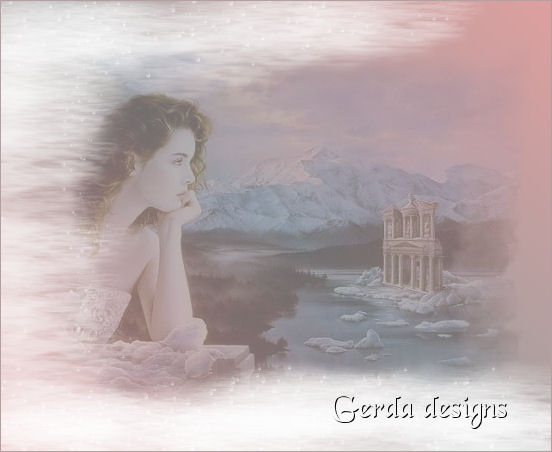
It should
look like the example below:

Step 3
Effects
--> Distortion Effects --> Wind -->
Wind strength on 25; to the right.
Repeat the effect but with the wind
direction now to the left.
Change the opacity of this layer to 40%
Merge All Layers Visible
Open your butterfly tubes -Transparantbutterfly
3
Paste it as a new layer onto the canvas.
Reduce the size if you want to.
Change the opacity of this layer to 42%
Reduce the size of the other butterfly as
well.
Paste this butterfly also as a new layer
onto the canvas.
You can place them together if you prefer.
The choice is yours.
Reduce the opacity of this layer to 70%.
Add a new raster layer.
Change your foreground color to white.
Apply the
marianneger©- brush, or use a neutral
text.
Change the opacity of this layer to 70%
Step 4
Add a new raster layer and change your
foreground color to white.
Apply the bloemen 85 brush:
- size 250
- step
on 32
- opacity on 78
Apply the brush in the left corner -
somwehat off canvas
Change the opacity of this layer to 36%
Duplicate this layer
Image--> Mirror
Add a new layer
and type your name.
Change the opacity of this layer to 70% as
well.
Merge All Layers.
Step 5
Filter Xero - Porcelain - Softness on 30
Add a 1 pixel border, color
#786f6e
Select All --> Modify --> Contract by 5
pixels
Drop Shadow -1/-1 100/ 0.00 color
#786f6e
Modify --> Contract again --> with 5 pixels
Drop Shadow
-1/-1 100/ 0.00 color #786f6e
Deselect.
Merge All Layers and save as jpg.
I wrote this tutorial with all my heart and
soul.
Hugs
Gerda
This tutorial can be used freely.
All I ask of you is to link to it only
and not copy it,
since it takes a lot of time to write a
tutorial like this.
I don't have time to respond to
emails,
however, you are welcome to
ask questions in my PSP
group
" Ger's Psp Café
"
Click here
if you're
interested.
Back to Index
Design
by
©Gerda
Don't
copy
translated 4th
July 2005
by ©magstags
Visit Gerda's Dutch
website here


This website was created in March 2005 and is owned
by
©Magstags
Home |
Filter links |
Email | Terms Of Use
|