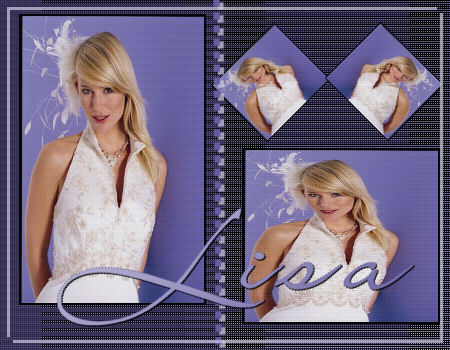
Materials:
A tube, size 302-398 pixels.
Filter DSB Flux.
Filter Balder Oldrik.
Filter CPK Designs.
A Font - save it in your fonts folder.
Selections - save it in yout Selections folder.
Lisa's supplies:
Download here
Filter's :
Download here

Method.
Open your tube and choose two colors.
Light color for the foreground;
Dark color
for the background.
Make a gradient:
Angle 90-
Repeats 0-
Invert checked.
Style linear.
Minimize your tube.
Open a new canvas, size 450-350 pixels.
Fill the
canvas with the dark color.
Layers - new raster layer.
Fill with
your gradient.
Effects -- Filters -- Balder Oldrik--MirrorX--standard.
Effects -- Filter CPK Designs--screening.
Effects Filter DSB Flux--Linear Transmission,
with these
settings:

Layers--New raster layer.
Selections
-- Load/Save -- Load selection from disk
--find the
lisa21 selection and apply.
Fill with your dark color.
Activate your tube and resize to fit into the selection,
Copy and paste into
selection.
Effects -- 3D Effects-- Chisel--2--black--
Change the
Blend Mode of this layer
to 90%
in your layers palette
Deselect.
Layers -- New raster layer.
Selections
-- Load/Save from disk --
Find the
lisa22 selection.
Fill with
your dark color.
Keep
selected.
Paste into
selection
(your tube
should still be in the memory)
Effects -- 3D Effects-- Chisel: 2 / black
Change the
Blende Mode of this layer to 90% in your layers palette.
Deselect
Duplicate layer 4
Image -
Resize to 40%
"resize
all layers" NOT CHECKED.
Image --
Rotate - 45% to the left.
Duplicate
this layer again
Image --
Mirror.
Drag it into place,
as seen in
my example.
Activate
your Pen in your Tool panel.
Line width
should be 6.00
With your
Shift key pressed down
draw a
line in the center.
Convert
the vector layer to raster layer in your layers palette.
Effects --
3D effects--Drop Shadow
color -
your dark color--3-3-75-1.
Layers -- Merge -- Merge All.
Selections -- Select All
Selections
-- Modify
Contract
by 10
3D Effects -- Drop Shadow--3-3-75-1
Repeat
with H en V on -3.
Add your name in a nice font.
LainieDay - size 100 in the
example tag.
Add a Drop
Shadow--1-1-100-1--color black.
Your tag is finished :)
I hope you enjoyed this tutorial.
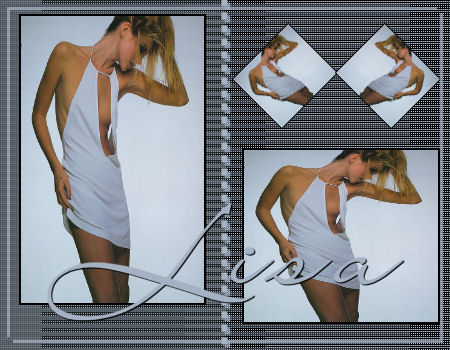
Here is another example: