-
Open
a new canvas size 400x350 pixels.
Choose two
colors from your pattern, or use these:
Foreground - #70a877
Background - #235e2e
Make a gradient with
settings:
Angle 0;
Repeats 0;
Invert not checked.
-
Select all. Activate your pattern, copy, and
paste into the selection.
-
Deselect. Adjust--> Blur---> Gaussian Blur
with the Radius 35.
-
Selections --> Load/Save--> Load Selection
from Disk. Find the lisa17.
Apply
-
Layers--> New Raster Layer.
Fill the
selection with the gradient.
-
Effects--> Filter Effects--> Border
Mania Frame#2 : set the top two settings on 0
and 8, and apply.
Deselect (Ctrl+D)
Change
the Blend Mode of this layer to 46% .
-
Duplicate this layer 2x and position it as
seen below:
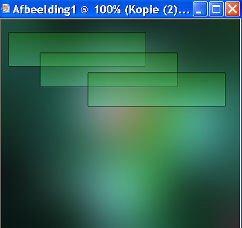
-
X-out layer 1. Merge layers visible and
unlock
layer 1 again.
-
Duplicate the merged layer.
Go to Image-->
Rotate-->
Free Rotate: 90 degrees / Right.
Position as seen in the example below:

Layers - Merge - Merge visible.
-
Effects-->
Filter Effects-->
ECWS--Tile Maker 1.0--set the slidebar on 180.
-
Effects--> Filter
FM tile tools--> Blend Emboss.
-
Layers--> New Raster Layer.
-
Selections--> Load/Save--> Load Selection
from Disk.
Find 'lisa18' --> apply
-
Activate your tube or image and paste it into
the selection.
Effects--3D Effects--> Chisel set on 2 / black.
Deselect.
Change the Blende Mode of this layer
to 90%,
or change it more if you feel like it.
-
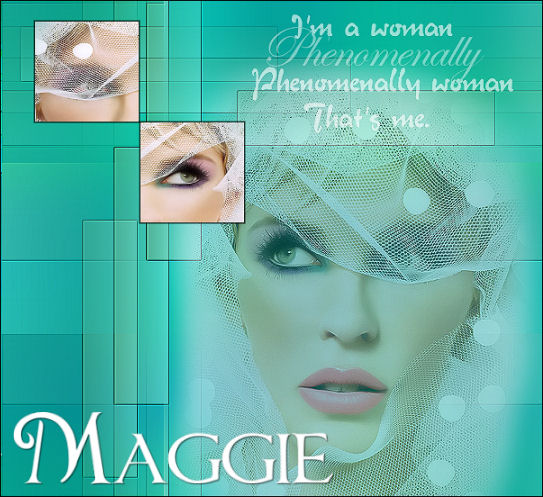
Duplicate this layer and and fit them
together,
as seen in the tag example above.
-
Activate your brush in psp --> File -->
Export --> Custom Brush - give it name and click
on ok.
-
Activate your Brush Tool--> find your brush,
stemple it at the top right in a color of your
choice.
-
Activate your tube or image, reduce the size.
Copy and paste it onto the canvas as new layer.
You can apply the 20-20 mask on it before
you
paste it onto the canvas.
-
Merge All Layers.
-
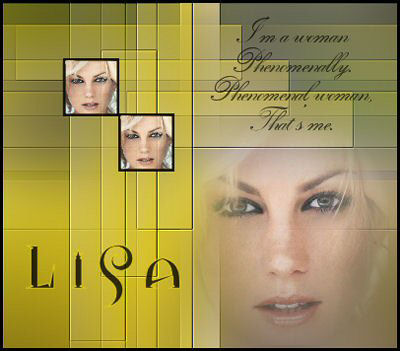
Add a 3 pixel black border or your own color.
-
Add your name - The font 'Vitriol', size 48
was used in the tag example.
-
Reduce the image size to 400 pixels in width.
Your Ashley Tag is finished!
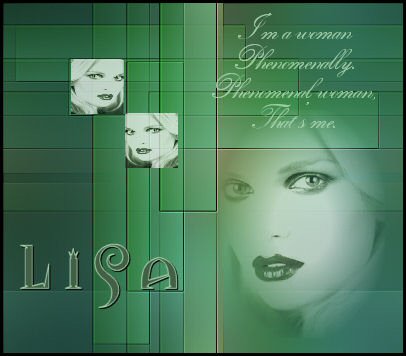
Here is another example: