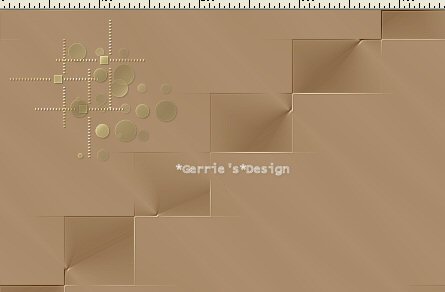
My results:)

Materials
needed:
Supplies
Download
here
Filter:Bordermania
Filter:DSB
Flux
Filter:FM Tile Tools
Download
here
I used a tube from
Mackie
You can
find her beautiful site here
The brushes I
used belongs to LyndiaBrushes
Here is her wonderful
site
Open a new transparent image size 450x350
pixels
Open the tube you want to use and choose two nice colors
from it
I used #BC9A74 and #956F48
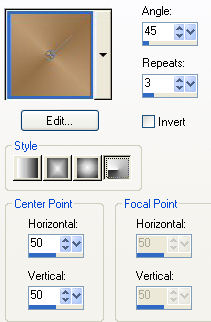
Set your foreground on gradient
The
dark color should be in the background.
Use these settings for the
gradient
Fill your canvas with the
gradient
Effects / Plugins / FM Tile Tools / Collage Linear-
with these
settings

Effects / Plugins / FM Tile Tools /
Blend Emboss - standard
Apply it once again
Activate your Brush
Tool and find the "Lynd04-060 002"-brush
Leave the settings as
is
Change your background to the gold pattern,
with these
settings Angle0 Scale100
Layers / New Raster
Layer
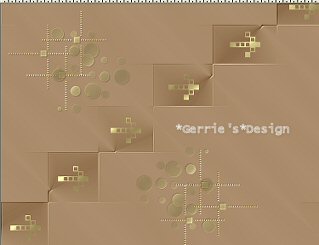
Now click in the top left corner of your canvas.
See the example
below
Effects / 3D Effects / Drop Shadow
with these settings:
Vertical %
Horizontal = 1
Opacity = 30
Blur = 1.00
Color = Black.
Adjust / Sharpness /
Sharpen
Layers / Duplicate
Image / Mirror
Image /
Flip
Drag the image a little bit to the
left

Activate your Brush Tool again
and
find the
"hbgbrushes 0002 003"-brush
Leave the settings as is.
Layers /
New Raster Layer
Now click in every square with your right-mouse
button
(It is once again
the gold pattern;)
Repeat the Drop Shadow with the same
settings
Adjust / Sharpness / Sharpen
Open your tube and
reduce the size to 350 pixels high.
Copy and Paste as
New Layer onto the canvas
Effects / Plugins /
Eye candy 4000/ Shadowlab-
with these settings
Acitvate your Text Tool and find a
nice font
I used
"Odalisque"
Activate your Caps
Lock and type the letters in lower case,
with these
settings

Layers / New Raster Layer /
Add a
new layer for each word.
This way you can
move them around
Apply the same drop shadow to the text that u used for the
brushes
Adjust /
Sharpness / Sharpen
Layers / Merge / Merge All
Reduce the
image to 85% - all layers checked
Add a 25 pixel
border
Select with your Magic Wand
and fill with the
gradient
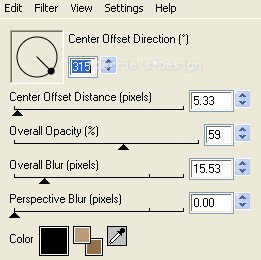
Effects / Plugins / DSB Flux / Linear
Transmission-
with these settings

Repeat but with the Vertical option
checked
Effects / Plugins / FM Tile / Blend Emboss -
standard
Effects / Plugins / Bordermania / Frame2 -
with the top two
settings on 24
Selections /
Invert
Effects / Plugins / Eye Candy 4000 / Shadowlab -
with the same
settings as before
Selections / Select All
Selections /
Modify / Contract by 1 pixel
Selections / Invert
Fill the border with
your gold pattern
And another tutorial
finished;)
©Gerrie© 20-09-2004