Materials
needed:
Download
here
Brushtips: Download here
Import the
brush tips to your PSP8 Brushes file
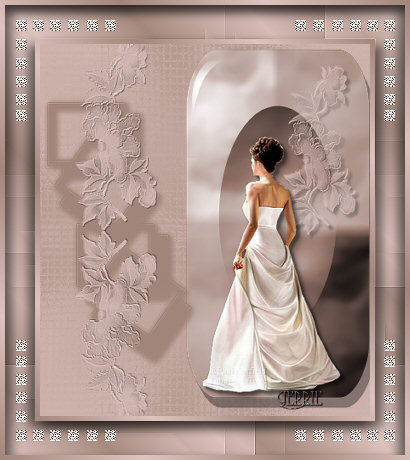
Open a new transparent
image 400 x 450 high
Choose two colors from your image.
I used #A2857B &
#DFC3BF
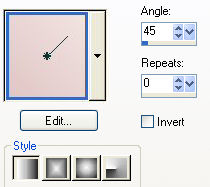
Make a gradient with your colors
with the settings below and fill
your canvas with it.
Effects / Plug-ins / Filters
Unlimited2.0 / Tile & Mirror /
Kaleidoscope 1
- standard
Effects / Texxture Efects/ Mozaic glass - with these
settings

Activate your Preset Shape Tools en
find the *button002* with these settings

Draw a shape from the top to the
bottom of the canvas as seen below
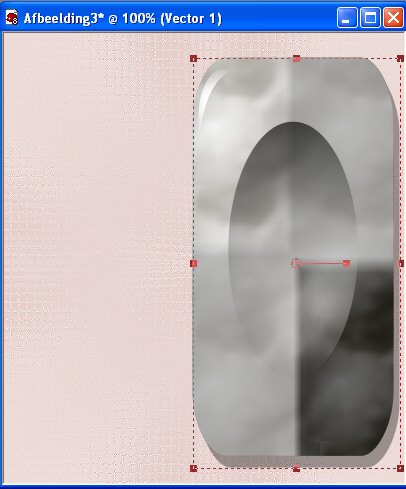
Right-click on the vector layer in
your layer palette
and convert to
raster layer
Colorize ( Ctrl +L ) to your own choice.
I used 10 as the Hue and 44 as
the Saturation values.
Adjust / Sharpness /
Sharpen
Activate your Airbrush Tool en find the Nadia
Brush
Size200
Step32 Opacity100
Rotation0 Rate18

Change the background to the light color
from your Shape.
Mine was
#DFC3BF
Layers / New Raster Layer
Click 3 or 4 times on
the canvas with the brush
Make sure it is situated on the right side of the
shape
Effects / 3D Effects / Drop Shadow with these
settings

Edit / Copy your tube
Edit / Paste as New
Layer onto the canvas
Position it on the Shape.
Apply the same Drop
Shadow twice.
Layers / New Raster
Layer
Activate your Brush
Tool again and change the size to 225
Make sure your background color
is the
light color from your shape.
Mine was #DFC3BF
Click 4x next to
your Shape
Effects / 3D Effects / Drop Shadow -
change all the settings to 1
but leave the Opacity on 40
Duplicate this
layer
Image /
Mirror
Drag the two images to touch each other
Activate your tube
layer ( raster 4 )
Layers / New Raster
Layer
Activate your Airbrush Tool again and find the *blokjes* brush

The Color Palette should look like
this

Click 5x next to your Shape. The image
will be below the flower layer
Adjust / Sharpness /
Sharpen
Toggle the visibility of layer 1 off ( X-out),
activate one of the
other layers
and merge them all
visible
With the Merged Layer active, reduce the layer's size to
85%
Make sure "Resize All Layers " is unchecked
Toggle the
visibility of Layer 1 ON again
Reduce the size of this layer to
85%
You have a
transparent border now.
Click with your
Magic Wand in it
Selections / Invert
Layers / New
Raster Layer
Layers / Arrange / Bring to Top
It will now be on
top of your merged layer
Set your color on gradient, with these
settings
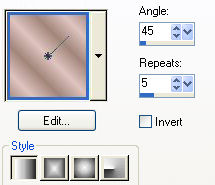
Fill your layer with it
Selections
/ Modify / Contract by 5 pixels
Press the Delete key on your keyboard
Selections / Selection None
Click in the transparent
layer again
and fill with the
same gradient
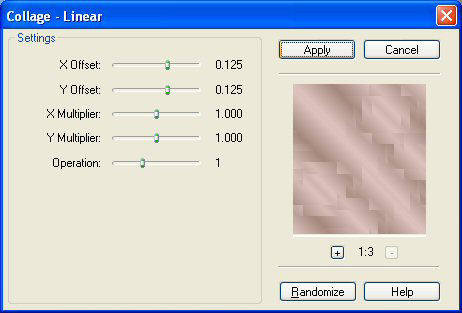
Effects / Plugins / FM tile Tools / Collage-Linear
with these
settings
Effects / Edge Effects /
Enhance
Effects / Plugins / Eye Candy 4000 / Cutout with these
settings:

Repeat with the Direction setting on
215
Deselect
Drag your tube layer
to the top in your Layer Palette
Layers / Merge / Merge
Visible
Add a 5 pixel border, select and fill with your
gradient
Add corners of your choice if you prefer ;)
As you
can see, I added some myself
©Gerrie©
2-04-2004