|

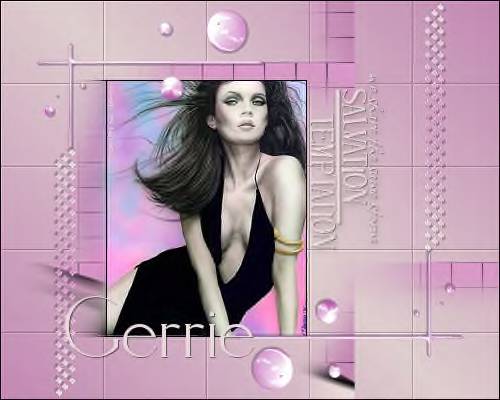
Celine
Gerrie's original Dutch
tutorial can be viewed
here
Materials needed:
Filters:Eye Candy 5 Impact/Chrome
Filter:Tormentia
Filter:FM Tile Tools
Download
here
Supplies
download
here
Save the
selections in the PSP Selection folder
Save the
"GDChrome1" file in the
Chrome folder of Eye Candy 5 Impact
Ok, if you have finished saving everything
where it belongs,
we can begin.
Open your tube
Reduce the size
to 255 pixels high
Add a 1 pixel
black border
(Image -- Add
Border -- 1 pixel, color black, and apply)
Choose two colors
from the image with
your color
dropper.
I chose
#cb8dbb as dark color,
and
#e9d8d8 as the foreground colors.
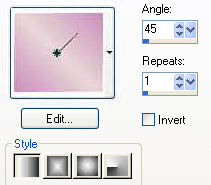
Change the
background to gradient,
with these
settings:
-
Angle: 45
-
Repeats: 1
-
Style:
linear
-
Invert:
unchecked
|
Open a new transparent canvas of 500 x 400 pixels
Fill with the gradient.
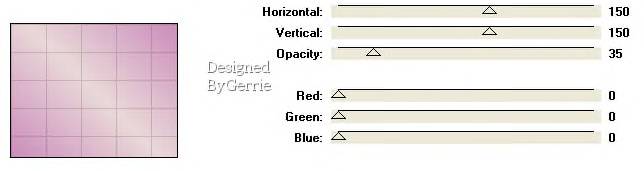
Effects --Filter Effects -- Tormentia -- Cris Cross,
with these
settings:
Effects -- Filter Effects -- FM Tile Tools --
Blend Emboss,
with the standard settings.
Layers -- New
Raster layer
Selections --
Load/Save from Disk --
Load from Disk,
find the
"GD SEL5a" selection
and load.
Fill 5x with your
dark color.
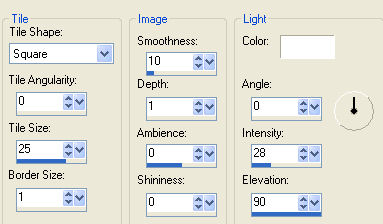
Effects -- Texture Effects -- Tiles,
with these
settings:
Selections -- Select None ( or press CTRL+D on your keyboard)
Effects -- Image Effects -- Seamless Tiling

Effects -- Image Effects -- Page Curl,
with these
settings:

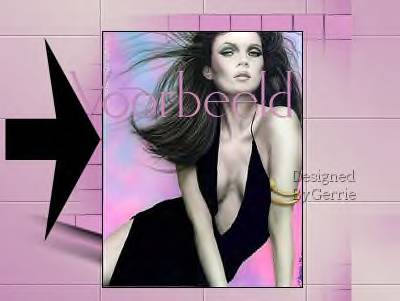
Open your tube
Copy and paste as
new layer onto the canvas
Position it on the left, next to your mosaic tiles, as
seen
in the example
below:
Layers -- Duplicate
Activate layer 3 in your layers palette to activate it
Effects --
Distortion Effect -- Wind:
Wind direction:
From Right
Wind strength: 70
Duplicate this
layer
Click on the top layer in your layers palette
to activate it.
Layers -- New
Raster layer
Selections --
Load/Save -- Load Selection from disk.
Find the "GD SEL5b" selection and load.
Fill with your
dark color.
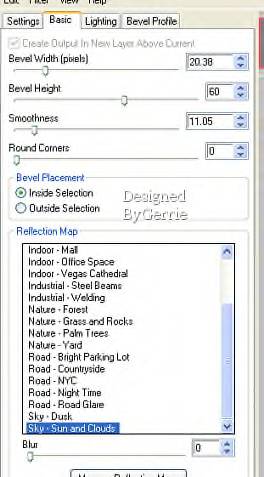
Effects -- Filter
Effects -- Eye Candy 5 Impact / Chrome
In the Settings tab - find the GD Chrome1
setting and
all the values
will be filled in automatically.
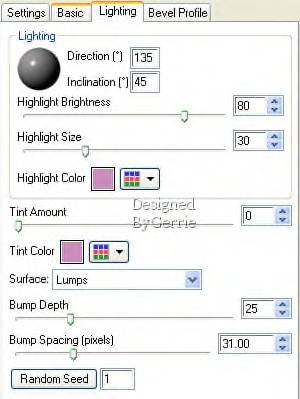
Fill in the
settings below in the different tabs:
Click on the dark
color in your color palette to open it.
Memorize the two
top values in the settings, which will be
the H ( hue) and
S ( saturation) values.
Go to Adjust --
Hue and Saturation - Colorize
and fill these
two values in the H and S spaces
Effects -- 3D
Effects -- Drop Shadow,
with these
settings:
Vertical : 1; Horizontal:1; Opacity: 50; Blur: 1.00;
Color: black.
Selections -- Select None
Layers --
Duplicate
Image -- Flip
Image -- Mirror
Layers -- New
raster layer
Selections --
Load/Save -- Load from Disk,
find the
"GD Sel5c" selection and load.
Fill with your
gradient.
Repeat the drop shadow.
Selections --
Select None.
Adjust --
Sharpness -- Sharpen
Layers --
Duplicate
Image -- Flip
Image -- Mirror
Layers -- New
raster layer.
Activate your
Brush tool
and find the
"A ravensbrush!poem!Samestorm"
Change the rotation to 90 and click once
with your light
color next to your tube
Repeat the same
drop shadow.
Layers -- New
Raster layer
Type your name.
I used the
"Elisia"- font, size 64, my light color.
I repeated the same drop shadow.
Layers -- Merge
-- Merge ALL.
Selections --
Select All
Selections --
Modify -- Contract by 1 pixel.
Selections --
Invert
Fill the border
with black.
And your tag is finished ;-)
©Gerrie© 13-08-2005
Translated
on the 28th, August 2005

The
graphic design of this page is copyrighted to ©Magstags2005
Home |
Filter Links |
PSP
Goodies |