|

Caprice

Gerrie's
original Dutch tutorial can be found
here
***
MATERIALS NEEDED:
Download the supplies
here
The beautiful L&K Site of Wonders-brushes
was
downloaded
here
Susan tubed the beautiful image
Filter:Bordermania
Filter:FM
Tile Tools
Filter:Eye Candy 3.0 of 3.1
download here
Open
a transparent image, size 400 x 400 pixels.
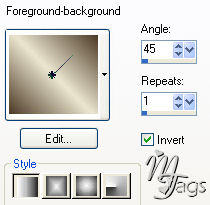
Fill with your gradient with
these settings:
Layers/Duplicate
Resize image to 85
%
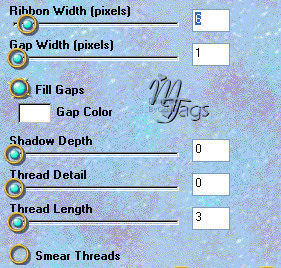
Effects/ Filter Effects/Eye Candy 3/Weave,
with these settings:

Effects/
Filter Effects -/FM
Tile tools /Blend Emboss - standard.
Selections /Select All.
Selections /
Modify
/ Contract by 25 pixels
Click 'Ok' on the pop-up question.
Layers /New
Raster Layer
Fill with your dark color.
Selections/
Select None
Reduce the opacity of this
layer to 70% in your Layers Palette.
Activate the copy of raster layer 1 in your
Layers Palette by
clicking on it.
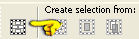
Activate your
Selection Tool and click in the top toolbar
on this Custom Selection
Option.
Fill these values in:
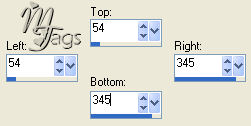
Press the delete key on your keyboard once.
Selections /
Select None.
Activate the top
layer in your Layers Palette again.
Open your tube and resize to 290 pixels in
height.
Edit/Copy
Edit /Paste as a new layer
onto your canvas.
Drag it to the left of the
canvas with your Mover Tool.
Layers/
New Raster Layer
Activate your Selection
Tool again
and choose the Custom
Selection option in the top toolbar again.
Fill these values in:
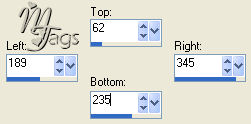
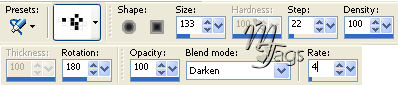
Activate your Brush Tool and find the "Brush
lk17" - brush.
Change only the size to 170 and leave the rest as it is.
Click in your selection against the edge.
Use your dark color
Selections / Select
None.
Layers / New Raster
layer.
Activate your Brush Tool again and
find the "Brush LK27"-brush
Click with your gradient
as color, in the top right corner of the
dotted edge.
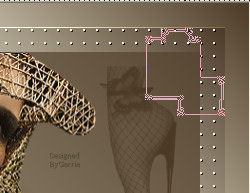
Effects /
3D Effects / Drop Shadow
with these settings:
V & H = 3
Opacity = 21
Blur = 3.00
Color = Black
Layers /
New Raster Layer
Activate your Brush Tool
again and find the "Brush Glamourgrlconversion"-brush.
Use your dark color and
apply with these settings:
Position it exactly on the previous brush.
Position it
above the leg.

Effects /
Filter Effects / Eye
Candy 3/ Weave,
with these settings:
Lock the 5 bottom layers in the Layers
Palette.
Activate one of the
remaining layers.
Layers / Merge / Merge
visible.
Duplicate the merged layers.
Image /
Mirror
Image / Flip
Unlock
all layers and make sure the top layer is
active
(highlighted in blue)
Layers / New Raster
Layer
Activate your Brush Tool again and
find the "GDShoe's"- brush.
Apply with the size on 210
in your dark color.
Apply a drop shadow with the same settings
as before.
Activate the copy of
raster layer 1 in your Layers Palette.
Effects / 3D Effects /
Drop Shadow, but change the opacity to 38
and leave the rest of the
values the same.
Layers / Merge / Merge All.
Effects /
Filters Effects / Bordermania Frame 2
- top two slidebars on 2.
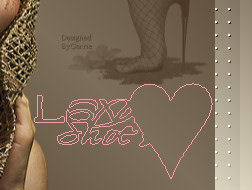
Your
tag is finished.
I hope you had fun with
this tutorial.
You can replace the
brushes of course with anything
you like ;-)
©Gerrie© 24-09-2005
Back to Index
Translated
by Maggie on the 15th January 2006
I want to thank
Gerrie for allowing me to translate this tutorial.

The
graphic design of this page is copyrighted to ©Magstags2005
Home |
Filter Links |
PSP
Goodies |
|