|

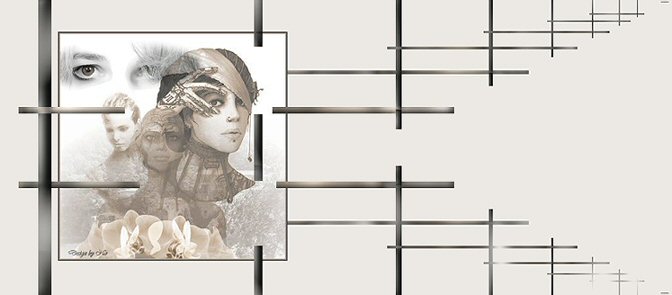
Noëlla's
Looking
***
Materials needed:
Filter: Filter Factory gallery A, Pool Shadow:
Here
An image of your
choice, or use No's: Here
Thanks to all our wonderful tubers
***
Ok. we're ready
to begin.
Open your image
and choose a light- and dark color from it
for the
foreground and background.
Open a new canvas, size 1024x450
Fill with the
light color from your image.
Go to Layers
-->New Raster Layer.
Activate your
Selection Tool
In the Tools
Palette, choose the
Custom Selection
 option, with these settings: option, with these settings:
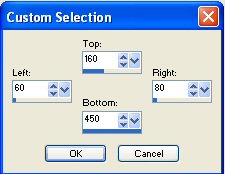
Fill this selection with your dark color.
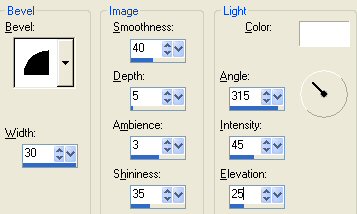
Go to Effects--> 3D Effects --> Inner
Bevel,
with these settings:
Deselect ( Ctrl+D)
Go back to your Custom Selections and
change the settings to:
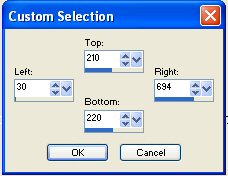
Activate your tube and Edit-->Copy it.
Go back to your canvas and Edit-->Paste
Into Selection
Got to Adjust--> Blur--> Gaussian Blur:
Radius 8
Deselect ( Ctrl+D)
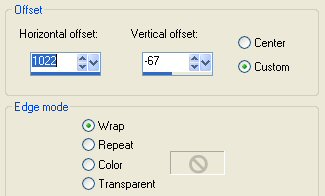
Go to Effects-->Image Effects--> Offset,
with these settings:
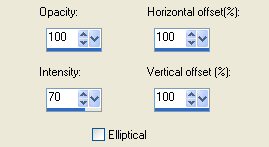
Go to Effects-->Reflection
Effects-->Feedback,
with these settings:
Go to your Layers Palette and duplicate
this layer.
Go to Image--> Flip.
X-out raster layer 1 (make it invisible)
on your Laters Palette and
merge all the other layers.
Go to Effects-->3D Effects--> Inner
Bevel,
and apply the same settings as before.
Go to your Layers Palette and
make the bottom layer visible again.
While in your Layers Palette, activate
the merged layer ( highlight in blue)
Go to Effects-->Filter Effects-->
Filter Factory A: Pool Shadow, with
these (standard) settings:

Activate your tube again.
Edit/ Copy
Edit/Paste onto your canvas.
Position it where you like it.
Drag the tube layer below the merged
layer.
Go to your Layers Palette and duplicate
this tube layer.
Active the Eraser tool, with these
settings:

With the merged layer active(highlighted
in blue)
carefully erase parts of the bars. You
can always undo;-)
Merge all layers and apply a new raster
layer.
Add your name or watermark and you're
done!
Ziezo, enjoy! :-)
©No2005


©Magstags2005
|