|

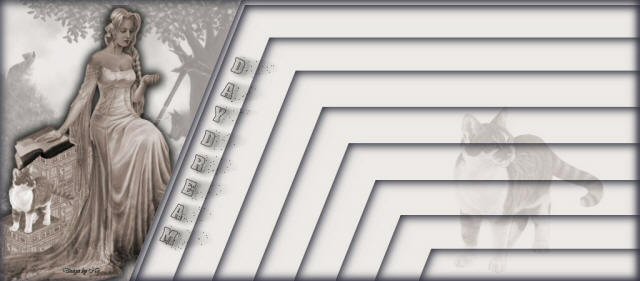
Noëlla's Daydream Tutorial
Materials needed:
|
- A
tube.
- A cat
tube
- A
brush
- A
Font "Aachen Vertical"
|
Choose a light
color from the tube as foreground
and a dark color
as background.
Open a new
canvas 1024x450 pixels.
Fill it with the
light color.
Activate the Airbrush tool with
these settings:
Find a nice bruch and click once
on the left
of the canvas
with the dark color.

Open your tube.
Edit--> Copy, close the original.
Edit--> Paste as New Layer onto the canvas.
Shift it to the left over the brush.
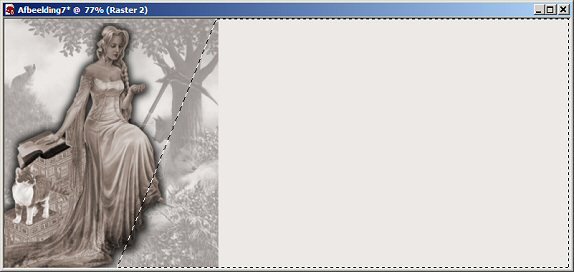
Go to Selection Tools--> Free Hand,
with these settings:

Draw a shape like this on the canvas:
Go to Layers-->New Raster Layer - fill
with the light color.
Go to Layers-->New Raster Layer.
Fill with the light color.
Go to Effects--> 3 Effects--> Cutout,
with these settings:

Go to Layers--> New Raster Layer.
Go to Effects--> 3D Effects--> Cutout,
but this time with V & H -3.
Go to your Layers Palette and X-out
layers 1,2, and 3.
Go to Layers--> Merge--> Merge Visible.
Deselect(Ctrl+D)
Make layer 1,2, and 3 visible again.
Highlight the Merged Layer in the Layer
Palette.
Duplicate this layer in your Layers
Palette.
Shift this layer a little bit down on the
canvas to form a
border.
Duplicate this layer and shift the
duplicate down again.
Repeat this as many times as you prefer.
Make sure it forms a pattern.
That is the most important.
My Layer Palette looks like this:

X-out raster layers 1 and 2, and merge
all the others Visible.
Make raster 1 and 2 visible again, and
highlight
(activate)raster layer 2.
Go to Layers--> New Raster Layer-->
Fill with the light color.
Go to Effects-->3D Effects--> Cutout,
with the same settings as before, but
with
Horizontal and Vertical back on 3.
Go to Layers-->Merge-->Merge All
Activate the Text tool and choose
the "Aachen Vertical" font,
with these settings:

Type your text and rotate it to fit
diagonally to the border.
Right-click on the Vector layer in the
Layers Palette and
convert it to a raster layer.
Go to Effects-->3D Effects--> Drop
Shadow,
with these settings:
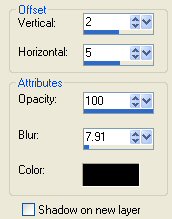
Repeat it once, but check the "Shadow on
new layer"-option.
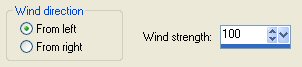
Go to Effects-->Distortion Effects-->
Wind,
with these settings:
Go to your Layers Palette and duplicate
the
"raster 2 shadow 1"- layer.
Change the opacity of this copy-layer to
6%,
and change the Blende Mode to Dissolve.
Activate the Cat-tube.
Copy and paste it onto the canvas.
Change the opacity of this layer to 40%
and the Blende Mode to Multiply.
Add your name or watermark
on a new raster layer,
and merge all layers.
You're done!
Enjoy!
©No2005


©Magstags2005
Home |
Filter Links |
PSP Goodies
|