HAIRWRAPS
By Tara Levin
FOR BEGINNERS
MAY 2003
Table of Contents
HAIRWRAPS
By Tara Levin
FOR BEGINNERS
MAY 2003
Table of Contents
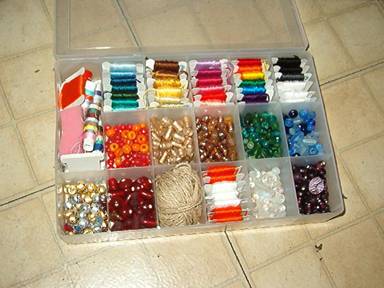
STRING:
Embroidery Floss
Metallic Floss
Hemp Twine
Yarn
BEADS:
Glass
Plastic
Metallic
Wooden
Charms
SCISSORS
HAIR CLIPS
HINT
Make sure that the beads
have holes big enough to
fit at least one of the
strings that you are using.
strings that you are using.that you are using.
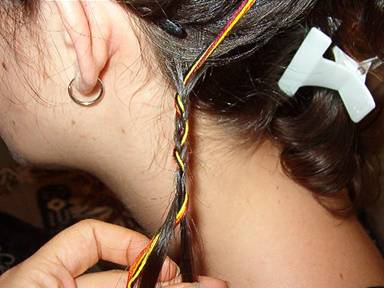
Choose 3-6 strings to use in your wrap.
Measure and cut the strings to 4 times the
length of the hair.
Choose a section of hair, about ¼” to ½”
thick.
Clip all other hair out of the way.
Braid one end of the strings into the
section of hair.
Take one of the strings at the end and tie
one knot to hold.
HINT
Try to trim all of the split ends
that stick out of the braid
Try to trim all
of the split ends
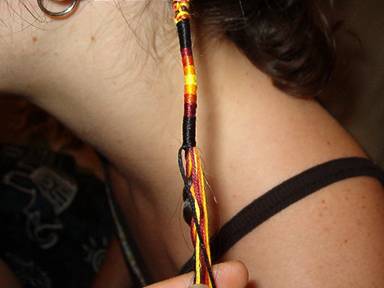
Pick the first color.
Simply wrap the string tightly around the
braid.
At the end of each color section, tie one
knot.
Change color as often as you like.
You can use more than one color at a time to
make stripes.
Try and think of interesting patterns.
HINT
Hold the strings as tightly
as you can.
The tighter you make it,
The longer the wrap will last.
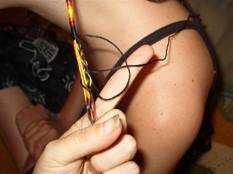
Loop the string around the hair as shown.
(should look like the
letter D)
Pull string through loop to make a knot.
Repeat to create a spiraling effect.
If you make the loop to the other side-
the spiral will change direction.
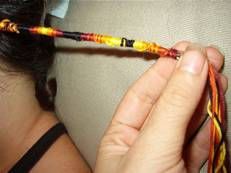
HINT
When changing colors,
tie the new string to the old string.
This will keep the spiral continuous.
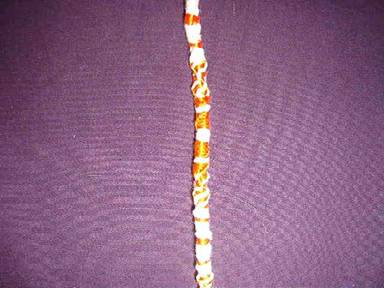
Make a loop in each direction at the same
time.
One string will go over the hair, one will
go under.
Pull the strings through the loops at the
same time.
(This is a little difficult and will take
practice)
Keep turning the wrap on one direction
You can use as many strings as you like.
In the example above, four of the strings
were used.
Using more than one color creates a zig-zag pattern.
HINT
Hold the braid still.
(some people use their teeth,
others tie the end of the braid to their belt
loop.)
Once again, tie these knots tightly.
IN THE MIDDLE
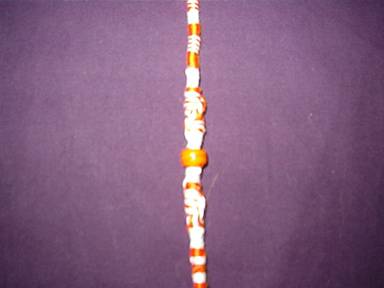
Thread the entire braid (and all of the
strings) through the bead.
Continue wrapping and making knots.
HINT
“Pony” beads work best.
They come in glass and plastic.
AT THE END
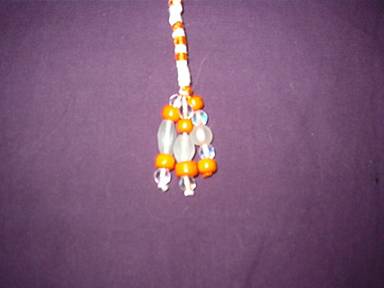
1st tie one big knot with all of
the strings.
Next trim all of the strings evenly.
Now place beads on the ends of the strings.
(using one or two
strings at a time)
Tie a double knot to secure the beads.
HINT
For beads with very small holes,
A small piece of fishing line
can be used to thread the bead.
Once again, tie
these k