|

Gerry Background

original tutorial:
http://www.cristaylor.com.br/free/c204/arquivo.asp
***
Materials:
PSP 8 or 9
Filter
Scribe
Filter
Kiwi
Masker
20/20
A tube
***
1. Open your tube in PSP
Image - Resize - 290 pixels high
Edit - Copy
Minimize your image until later.
2. Open a new transparent image of
1024 x 300 or 800 x 300 pixels
Selections - Select All
Edit - Paste Into Selection
Selections - Select None (Deselect)
3. Adjust - Blur - Radial Blur,
with these settings:

4. Effects - Image Effects - Seamless Tiling,
with the default settings.
5. Effects - Plugins - Kiwi's Oelfilter - Guck mal,
with these settings:

6. Effects - Plugins - Scribe - 4Way Mirror,
with controls on 128. Apply.
7. Effects - Edge Effects - Enhance More.
8. Activate your tube.
Layers - Load / Save Mask - Load Mask from Disk
Find the mask 20/20
and load it
Delete mask layer and reply "yes" to the question.
Layers - Merge - merge visible.
Edit - Copy.
9. Go back to your background
Edit - paste as new layer.
Move it with the Mover Tool where you want it.
10. Add your watermark
Layers- Merge All.
This lesson was specially written for Gerry.
Translated 6 th July 2005
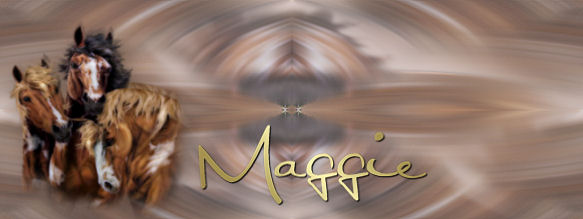
Another example:
Copyright- 2003 2005.
All Rights Reserved By Cris Taylor


Copyright - Magstags2005
Home |
Filter Links |
PSP Goodies
|