| Mosaic Cards |
| Make a delightful paper patchwork card. 1. Select 3 complimentary or pleasing card stock. What about having a go and making your own beautiful cards/ papers either by Brayering 2 or 3 paint colours thinly across a sheet of paper/card. Another method of colouring is Direct to Paper. (See yellow note box for instructions) 2. Using Black dye ink to contrast well, stamp a different pattern on one or more card. Allow to dry. 3.Cut them into various width strips with your craft knife and ruler. Mostly I cut into slight wedges. Be sure ALL strips have straight edges.. 4. Decide on approx size of mosaic piece eg 10cm x 6cm. Cut Jac paper a little larger than size required (can be cut away later). Remove backing on one side only and place sticky side up on your cutting mat. 5. Place one strip (any) across the centre of the tape. Carefully lay another strip next to it. Repeat until Jac paper surface is covered or you reach the size you require. 6. This next step is optional but looks absolutely terrific. I cut across the assembled strips and then rearrange them & reposition them onto another strip of Jac paper. 7. When I am finished, I apply a layer or 3 of UTEE, heating between layers. 8. Mount it onto a contrasting card frame and again onto a base card. |
| Direct to Paper (DTP) 1. Select some assorted pigment pads, preferably colours that coombine well together eg yellows & greens or violets & pinks. 2. Starting with the lightest colour or hues, gently rub cardstock with stamp pads, directly applying the foam surface of the pad to the card surface using soft swirling motions or S-shaped strokes. Don't try covering whoe card, also let some of the base card show through ossasionally. 3. Continue with the next ink pad, layering it on & sometimes overlapping the colours. Contiinue until pleased with resulting pattern/colours. Allow sufficient time for ink to dry. |
| HINTS * An alternative to DTP is to sponge your card * A small amount of contrasting colour may add interest. *Don't over do the colours, stop before you get carried away. * Cat's eyes and small cubes are ideal for transferring colours onto the paper. * Keep strips from other projects to use with this technique. * An excellent idea is to sort offcut papers into colour combinations for future projects. I store mine in colour coded envelopes |
| VARIATION: 1. I frequently use Mizuhiki cord or other fine metallic cord between strips. It can look like grouting between tiles, looks great! Just lay it along side the strips directly onto the Jac paper �press firmly! 2. Cut into 5cm (2") squares and rearrange into a pretty pattern leaving a 5mm gap between squares. Similar to a multi pannelled window. |
 |
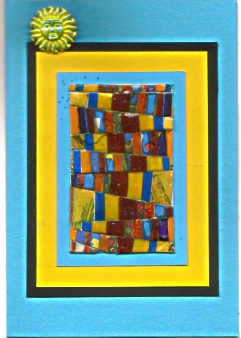
| One card was brayered.with lemon & lime acyrlic. The other was brayered.blue and red and the thrid was a muddy combination and then overstamped. |
| Michelle's Stamping Ground |
| Fast Links Home Latest Madness Projects & Techniques |

|
 |
 |
 |
| Like a sample ? Then send $5 & a SAE to Michelle's Stamping Ground 107 Derribong Dr Cordeaux Hts NSW 2526 (Australia). |
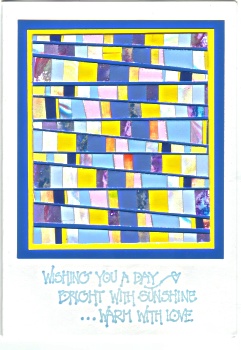
| This pink & purple hued mosaic is brighten up with strips of glittered lace as texture. |
| The cool blues are uplifted with the contrasting yellow that reminds me of glorious days at the beach |
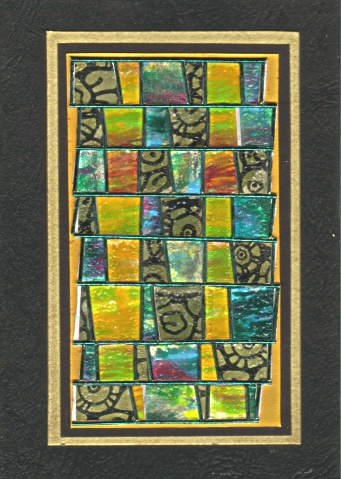
| This card is not as dark as the thumbnail shows. The tile is finished with 3 layers of UTEE as textural interest. |