Required tools:
--10mm socket
--razor blade
--Philips screwdriver
--Flathead screwdriver
--Oven (yes, the one in the kitchen will work fine)
--Clear weather proof silicone
--If painting --> A high quality paint that will work for chrome and heat resistant.
...Last but not least, about 3-4 hours of time!
This is a pretty easy modification that can set your Civic apart from the rest. You may hear that you can mess up your headlights and some say you are guaranteed to break something. That is NOT true. I have cleared 3 different sets of 96-98 headlights and yet to break a single thing. It's all about patience. You may be saying, "No way in hell am I sticking my headlights in the oven". That is fine, you don't have to. You can use the hair dryer route and heat small pieces up at a time. I've done the hair dryer trick twice and the oven this one time. The hair dryer trick takes about 45 minutes each headlight to remove the lens from the rear gray piece. That also includes a 2nd person cutting the glue with a razor blade as I pull and heat. The oven way is the only way to go in my opinion as you can pull the lights apart in no time by yourself. The choice is yours!
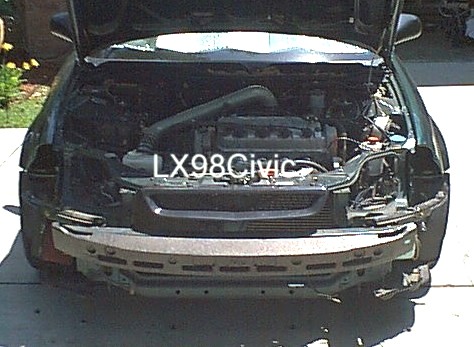
| To get the headlights off the car you will have to remove the bumper. This is done by removing (2) 10mm bolts that are underneath the bumper. Also inside the wheelwell towards the front of the car you'll notice a phillipscrew that holds the side of the bumper in. You wil have to remove this screw in both front wheel wells. Now remove the plasic clips that hold the top of the bumper to the car. These are located just in front of the hood latch all along the top about 6" apart. Just take the flathead screwdriver and pop the center piece up. Remove the bumper and you're ready to get the lights. Disconnect the headlight and parking light wires. There will be (4) 10mm bolts that hold the headlight in. One on each side and two on top. Once you remove the headlights your civic should look something like mine in the picture. | |
| After the head lights are removed from the car, set the oven to 225 degrees. Put one headlight in the oven at a time. After 4 minutes take the headlight out to check the softness of the glue and to make sure the headlight is ok. If you have a hard time pulling the lens from the gray housing, back in the oven it goes. After 3 more minutes remove the light. This should have the glue nice and soft and the two pieces should come apart with ease. A razor blade is a good tool to have while prying the headlight apart. It will cut the glue like a hot knife through butter. | 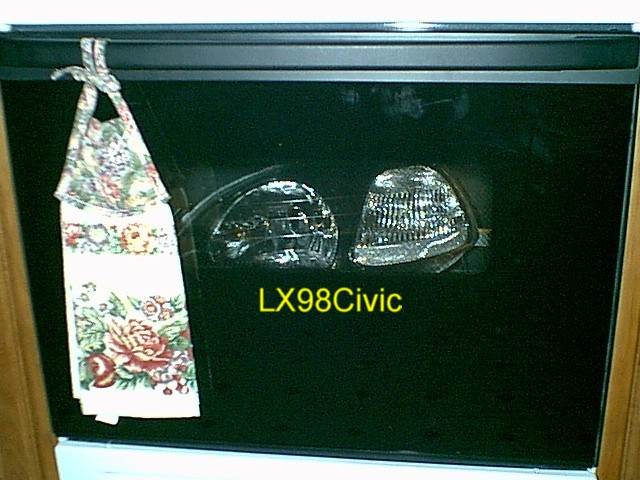 |
| Once you have the headlights apart it's time to remove the nasty orange pieces. There are 4 phillip screws that hold both orange pieces. Once the orange is removed you can reinstall the screws. If you will be painting the housing keep reading........ Since my housings where already black I just needed to paint the parking light. So, I taped off everything and just left the parking light open so I could paint. Using light coats I applied 5 total coats every 15-20 minutes. | 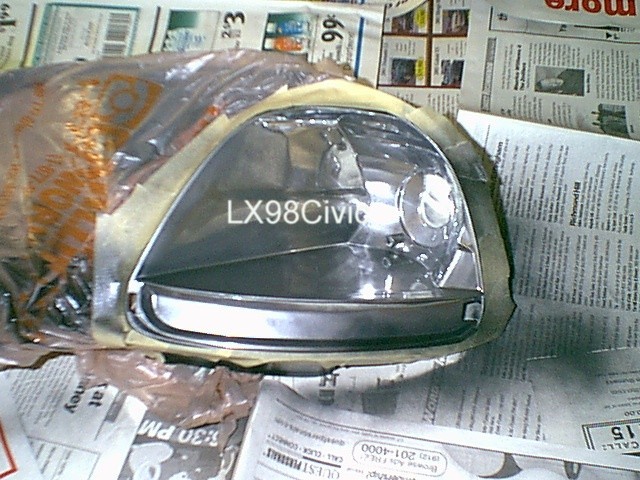 |
| After 5 coats of paint this is how the lights looked. After waiting a few minutes for the paint to dry a little I removed the tape and was ready to put the lights back together. Before putting the headlights back together this is a good time to remove the OEM glue from the gray part of the housing. It's not necessary to remove ALL of the glue. The more you remove the easier the two pieces will go back together. Once you're satisfied with removing the OEM glue check for finger prints or smudges on the inside of the headlight lens. Using window cleaner and a paper towel you can clean the clear lens before reinstalling. | 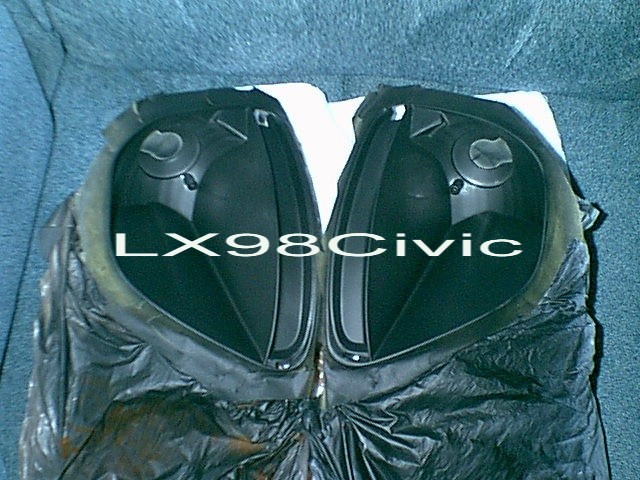 |
| Once the headlight is back together allow some time for the glue to dry. If possible give it a few hours before reinstalling the headlights. The silicone can get really messy and on the car when installing wet. Reinstallation is always the reverse way you went to get the lights out. Pretty simple. Notice the before / after picture. But, wait until you see the difference when they're on the car. | 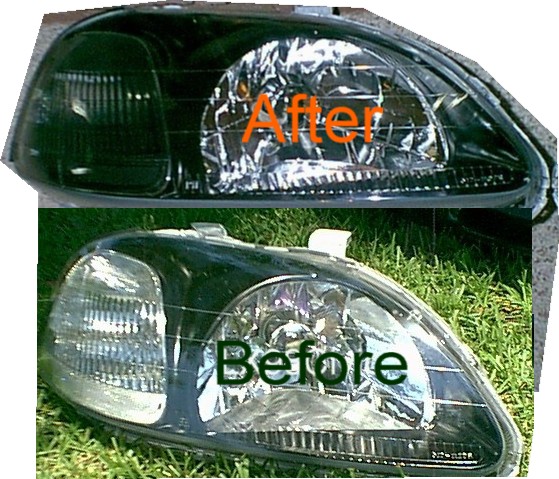 |
