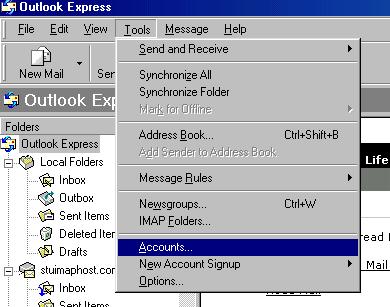
1. Click Tools tab and select Accounts as shown below.
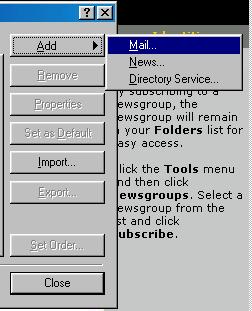
2. Select the Mail tab and click the Add and Mail buttons as shown.
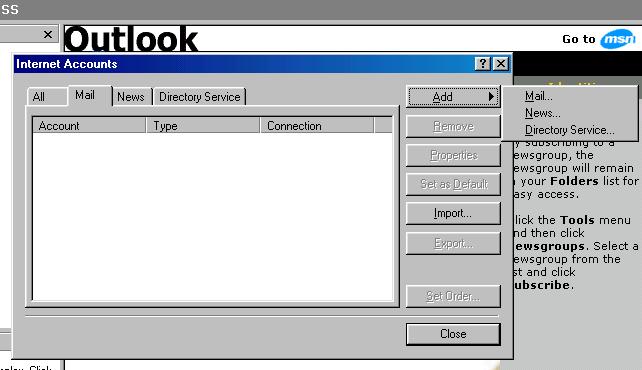
3. Click the Mail option.
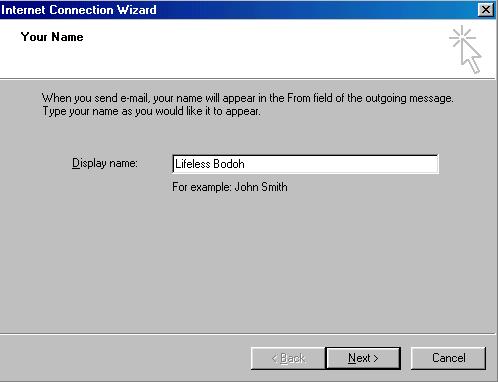
4. Fill in the Name Field with the name you want and click Next.
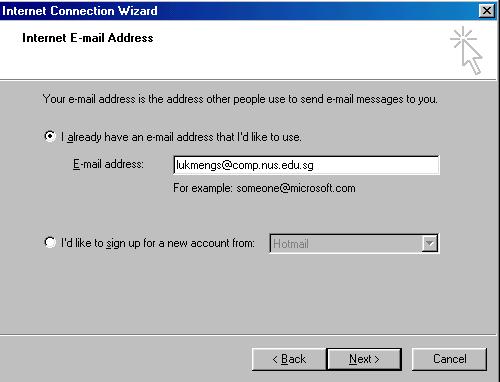
5. Tick the "I already have an email address ..." radio button and type your soc email address in the text field. Click Next.
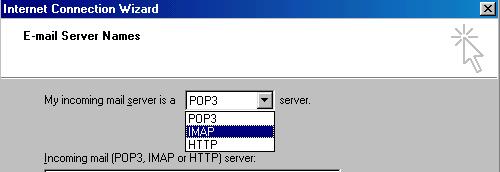
6. Select the IMAP option for the protocol as below.
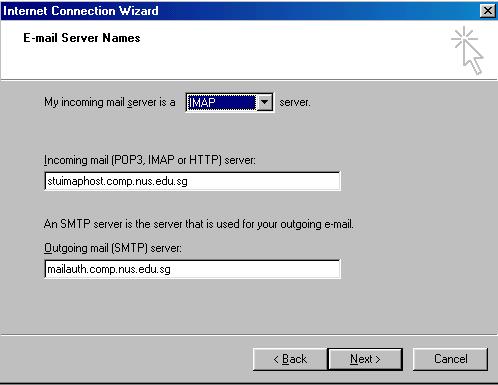
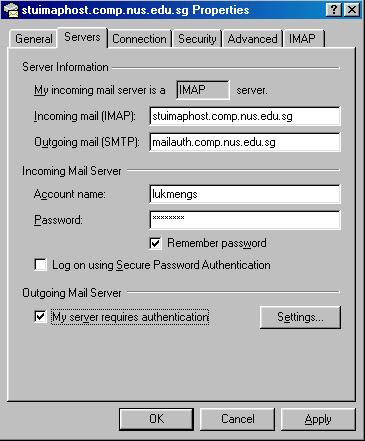
7. On the same window, fill in the Incoming Server textbox with "stuimaphost.comp.nus.edu.sg" and Outgoing Server textbox with "mailauth.comp.nus.edu.sg". After doing so, click Next.
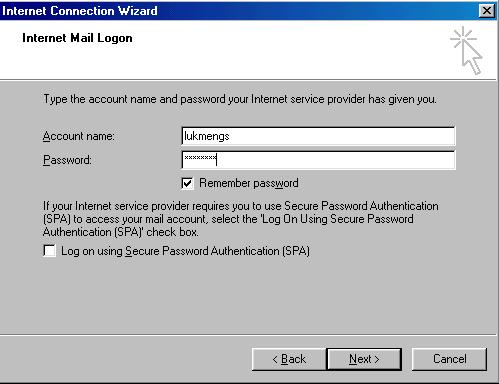
8. Type your SoC login name in the Account Name textfield and your unix password in the password field. Ticking the Remember Password checkbox is optional. Click Next after that.
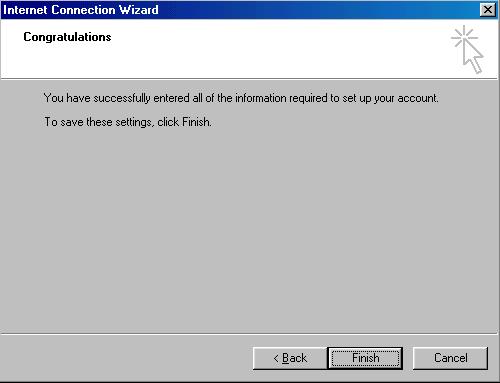
9. Congratulation. =) Click Finish.
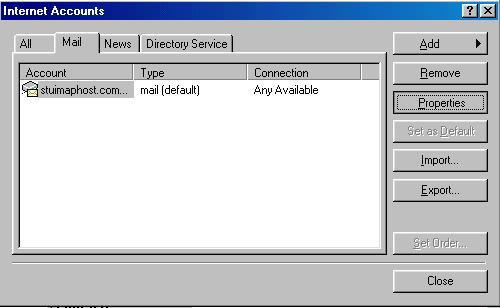
10. Not that easy yet! 8P On the Tools tab, click Accounts.
11. On the Mail tab, click Properties.
12. Select the Advanced tab as shown.
13. Tick both the ssl checkboxes as shown below.
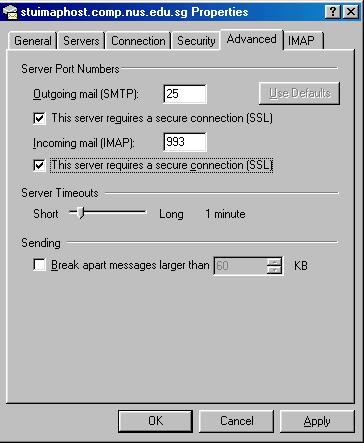
14. Go to the Servers tab and tick the My server requires authetication checkbox.
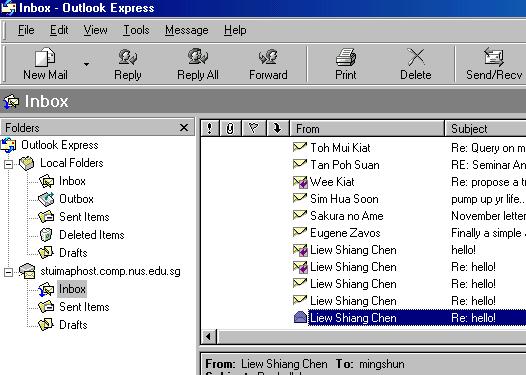
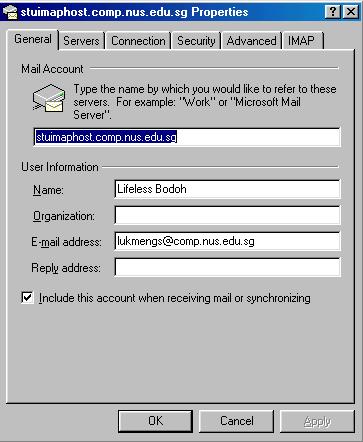
15. Click all the Okay and Next button and you should be able to get the below.