![]()
This is the traps and doors section (duh). These are my own views and if you have anything you want to contribute then e-mail me
General
It’s important that when you do place traps and doors you place them where they would be most effective, because once you’ve paced one you can’t move it. When placing a group of traps/doors make sure that you build the most important ones first as they are made first. Also, don’t underestimate their cost. When placed in the right place a single trap can be most useful and not cost a lot, but a group of badly placed traps are not much good to anyone and cost more gold and mana.
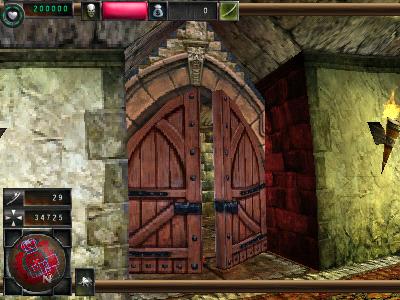
Doors
Doors are a vital part of your dungeon. They make your creatures feel safe, make some rooms more efficient (see my
rooms page), and protect your dungeon from attack. When placing rooms, make sure a) you can afford it and b) it will serve a purpose. If, for example, your dungeon has two breaches that eventually join up into one corridor, place a door where they join up, not at the start at each breach. Not only will this save gold and manufacture time, but will also make your dungeon easier to defend.Wooden Door
Cost: 500
Strength: Low
Wooden doors are the weakest door you can get, and is only useful for controlling where your creatures go within your dungeon, e.g., locking trolls in the workshop. The wooden door is quickly built, but don’t build them unless you really need to because your trolls can be better used creating more useful items.
Braced Door
Cost: 1000
Strength: Okay
The braced door is still not a great architectural feat, but it’s a little better than the wooden door and has less of a tendency of blowing over in a stiff wind. It’s good if you badly need protection and are short of gold, but 1000 gold is a lot of gold and for 500 more you can get the much sturdier steel door. If however you need protection in a hurry then a braced door will not take long to make and offer enough time to buy you some time to get organized.
Steel Door
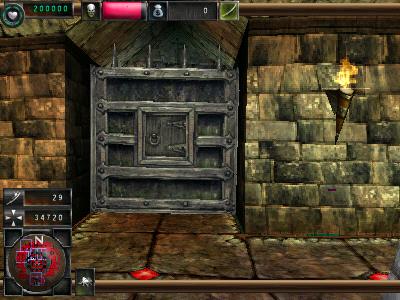
Cost: 1500
Strength: Very high
Though the steel door takes a long time to manufacture, the end result is a door that will serve you well and be a huge problem for your opponent. This door costs 500 gold more than a braced door but will stand up to much more punishment. Your creatures will feel safer and so be unhappy less often if steel doors protect your dungeon. However, they take a long time to make so if you’re in need of protection quickly then the steel door is not recommended unless you have high level manufacturers.
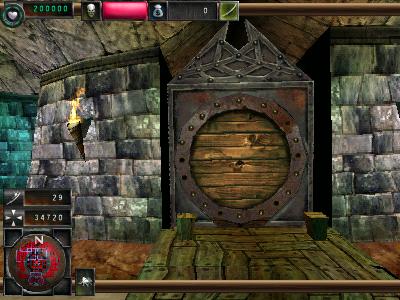
Magic Door
Cost: 6000
Strength: High
For 6000 gold you get pretty good resistance to attack and some fireballs. But the fireballs are not exactly overflowing with power; not even imps are afraid of them. They take a lot of time to make too. What I’m saying is that if you get one of these it’s because you’ve got all your creatures on level 8, and have can’t find the room to expand your treasury. Try a steel door and two sentry traps instead, which cost less, take longer to destroy, and will inflict more damage. Having said that, Magic Doors do look nice.
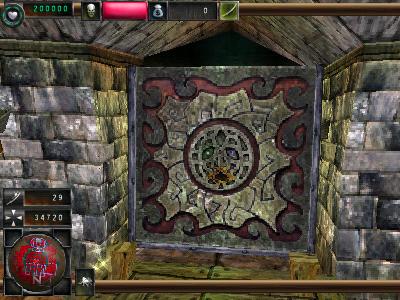
Secret Door
Cost: 3000
Strength: High
Secret doors are very useful in concealing important rooms within you dungeon, like your Heart, or to hide your position from the enemy by placing them across the outskirts of your realm. Ideal if you find your opponent to be more powerful than you and buying you extra time. Remember, they take a while to manufacture.
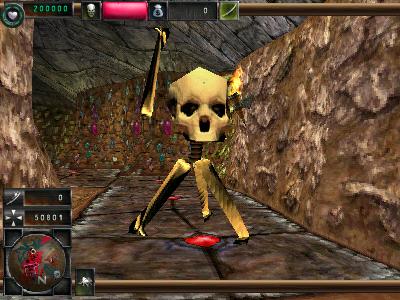
Traps
Traps are nasty little surprises to leave for any foes foolish enough to enter your domain. However, there is a huge advantage that traps have that most keepers overlook, and that’s that once a trap is discovered by the enemy they go to attack it. Why is this an advantage? Because you can lead your foes through spike trap filled passages by putting a sentry trap at the end of each section. Or have most other traps out of sight and just have one in plain view, so when the enemy goes to attack the visible trap they get a hell of a shock. The Alarm trap and the sentry trap are also good early warning systems.
Sentry Trap
Cost: 1000
Damage: Low
Range: Long range (6-7 tiles approx.)
The sentry trap has a very long range, This has many advantages, but one of the good uses of the sentry trap is to fire at foes that are too far away to see what’s firing at them. Another good thing is that they can start damaging creatures from a long way off, thus weakening them for the battle to come. The sentry traps’ long range makes up for the little damage it does. Don’t use sentry traps no their own if you can help it, put them in groups. You’ll be amazed at the damage 3 or 4 of them can do when firing at a single target. They are fast to make, but don’t last very long when being attacked so protect them with barricades and/or spike traps. When positioned with water or lava between them and the enemy, they will have more time to get more shots off.
Barricade
Cost: 1500
Damage: none
Range: None
Strength: Average
Quite expensive for a bunch of stakes banged together, don’t you think? Still, barricades are primarily used to protect lightning/sentry traps as they unleash their missiles on your foes. I use them for this purpose a lot, they block everything except missiles and flying creatures so can be used to fill in gaps in your dungeon walls. Enemy imps can not claim land after it meets a barricade, so your opponent will have to bring in a creature or two to break it down. If you put an alarm trap nearby, you can monitor every attack on your realm
Fear Trap
Cost: 750
Damage: none
Range: Low
Mostly I get fear traps just because they look damn good. They are obviously they are there to slow your invaders down, but they rarely stop them in their tracks. They don’t take your trolls too long to bash together, but can’t take a lot of punishment either. When lightning or sentry traps can be positioned behind them, especially in corridors, then do it as they will take their toll before being attacked themselves. My favorite setup has a fear trap in an alcove with a spike/gas trap in front of it, and then a lightning and a sentry trap further up the corridor. Fear traps can also be set up on their own to stop enemy imps from claiming your land when your attention is needed elsewhere.
Alarm Trap
Cost: 500
Damage: none, but it can be hard on the ears
Range: Average (4-5 tiles)
It does exactly what it says on the tin. Alarm traps will warn you when enemies come within their range, so you should put them in the appropriate places. Enemies will rush towards them to shut them up, so a few spike traps round them will be worth it. They are also good bait in any ambushes you want to set.
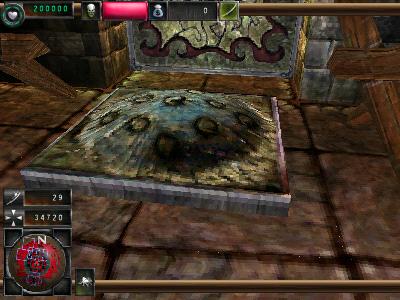
Gas Trap
Cost: 600
Damage: Little
Range: Adjacent tiles
The gas trap is a nice trap that works best in open areas, as it’s fumes spread out in all directions you’ll be wasting your gold putting it in a corridor. The gas trap does not cause a lot of damage to individual creatures, but will work best against large groups, probably heeding the Call to Arms. Groups of them in the right places can be devastating.
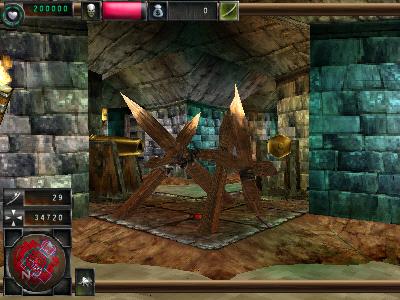
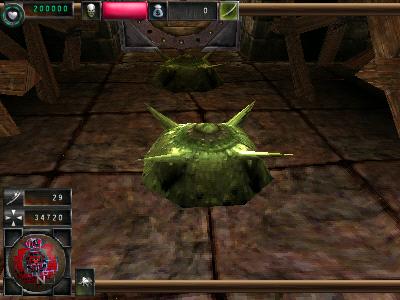
Spike Trap
Cost: 750
Damage: Average
Range: none
Spike traps work differently than Gas Traps. Since they only work when a creature steps on them, it’s best to put then in corridors where they are bound to work. They cause a lot of damage to the unfortunate creature who steps on it, and imps are so dumb they keep on trying to claim the tile, so they keep dying horribly. After it’s been discovered, a spike trap will be attacked and destroyed, but this takes time, so if you place a few sentry traps further up they can weaken the enemy even more. I do like my sentry traps don’t I?
Guard Post
Cost: 300
Damage: None
Range: None
The Guard Post expands the area guarded by the creatures in your guardroom. It’s important that you don’t send your guards off needlessly, so place guard posts in places that are important, such as gem blocks for example. By having your guards patrolling the routes taken by your imps you will be able to keep your supply lines safe.
Lightning Trap
Cost: 3000
Damage: Very Good
Range: Low (3-4 tiles approx.)
Lightning traps should be saved for those places where they will be most effective, such as around water or in places where they will get a lot of electrical charges off before being attacked. You get 3 sentry traps for each lightning trap, but it can be worth it. Also, lightning traps stun enemies as if they have been dropped, so it’s a good idea to have some around in areas where you think there’s going to be some action. They don’t have a very big range, so be sure that they will get used before you place them.
Fireburst Trap
Cost: 5000
Damage: Excellent
Range: Adjacent
Ouch. Don’t waste these babies, they are sweet but expensive. I tend to use them in places where I REALLY don’t want the enemy to go. They are good in corridors and open spaces, but use them with sentry/lightning traps or they’ll just get shot. When a fireburst trap goes off, it pushes the foes that it doesn’t kill back and confuses them, and this would be a good time to drop your creatures nearby to finish them off. When a fireburst trap has been discovered, it’s vulnerable, but you can still use it to your advantage by luring foes near it with alarm traps etc.
Freeze Trap
Cost: 1500
Damage: None
Range: None
Nasty nasty traps with two main uses. One, to stop creatures moving so they get squished by a boulder, and two, to stop creatures moving so they can be hacked to bits by your creatures. The later is pretty easy to achieve; just wait for the poor souls to enter your pre-prepared tunnels and slap that boulder (and then the other one, if you’re cruel). You’ll have to be smarter with the second. It’s best to have some bait (an alarm trap?) first of all, with Freeze traps lined up in front of it. Have a group of your minions in your Hand of Evil, and as soon as you hear a freeze trap go off, drop them near the bait. The enemy will rush to attack and be frozen on the spot! This tactic also allows relatively few of your creatures take on many enemies.
Trigger Trap
NO PICK!!!!!!
Cost: 300
Damage: None
Range: None, activated on contact
The trigger trap is, in my mind, only good for one thing, and that’s setting off boulder traps. This is my favorite trick involving trigger traps: you have one long corridor leading into your dungeon. Half way along it is a corridor branching out to the side. This side corridor has two other tunnels branching off it at different places. At the end of both is a boulder trap. Trigger traps lead from each to the main passage. Now when a large invading party enters your domain, the lead creature sets off the trigger trap, and it takes a while for both boulders, one slightly behind the other, to roll down. It doesn’t matter which way they roll; they’re going to kill something. WARNING!!! This method is extremely stupid and completely over the top. It’s also very expensive and should only be attempted in the dullest games. Therefore it’s not really appropriate for this site at all, but hell, call me wild.
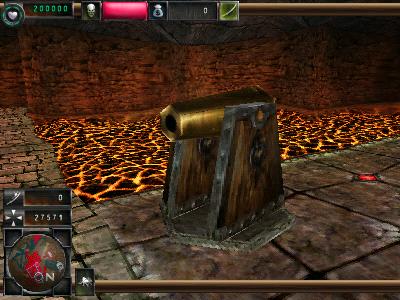
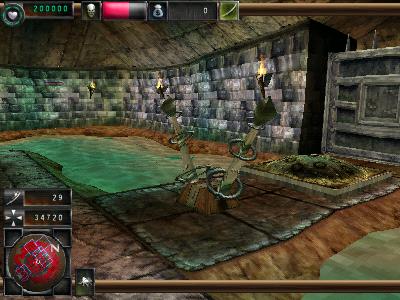
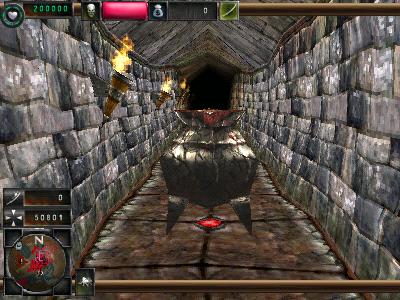
Boulder Trap
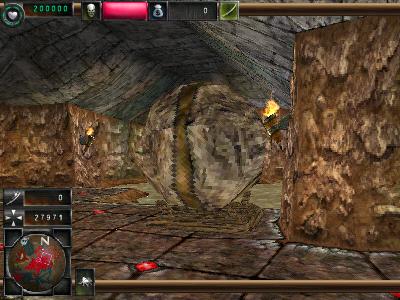
Cost: 1500
Damage: Excellent
Range: Adjacent (?)
Wicked when they work, a big let down if they don’t. A nice idea is to hide them behind doors and in alcoves. Don’t forget that you can slap them to change their direction.
Jack-in-the-box Trap (only available for version 1.7 (downloadable))
Cost: 8000
Damage: Huge
Range: None; activates on contact.
It looks just like a Magic Item, and when it’s set off it heads straight to the enemies Heart until it’s timer runs out, then it explodes. It’s good for clearing a way through the enemy ranks for your own troops, but is a waste of a lot of gold if it meets a door and can’t get past. Use it towards the latter stages of the game.