 |
|
|
|
|
|
|
|
|
|
|
|
|
|
|
|
|
|
|
|
|
|
|
|
|
|
|
|
|
|
|
|
|
|
|
|
|
|
|
|
|
|
|
|
|
|
|
|
|
|
|
|
How To Install Aftermarket Gauges in a 1965 Pony or GT Instrument Bezel |
|
|
|
 |
|
|
|
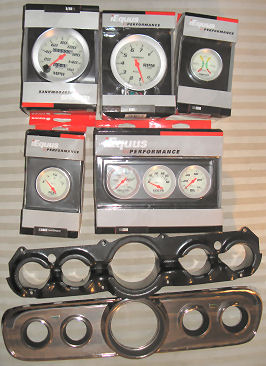
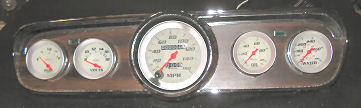
The fine people at Equus donated Trixie a complete set of their top of the line performance gauges. (160 mph Speedo, 8K rpm Tach, fuel, oil, water, volts, and a really cool diagnostic gauge).
The gauge support and woodgrain bezel were purchased from a restoration parts supplier. |
|
|
|
|
|
What follows are complete, step by step details on how the factory style bezel was modified for 2" gauges. In this mod, it turned out that I didn't use the gauge support as intended. It was used only to hold the turn signal sockets. Also, I opted to mount the gauges from the front, using their bezels and lenses. Other sites I've seen use the support and mount the gauges from the rear of the cluster, using the original lens cover. |
|
|
|
NOTE: NO MODIFICATION IS NECESSARY FOR THE SPEEDOMETER |
|
|
|
 |
|
 |
|
|
|
|
|
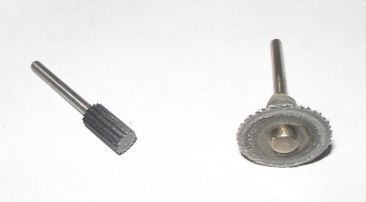
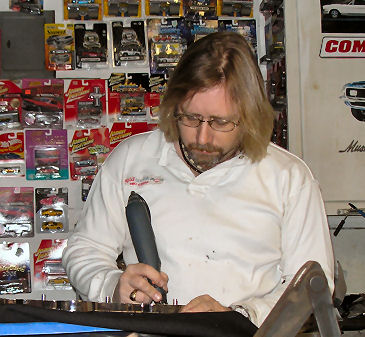
The only tool I used was a Dremmel with these two bits |
|
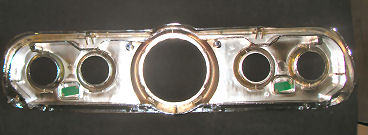
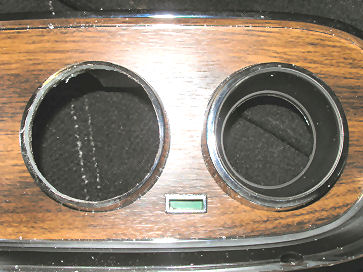
This is the back of the new bezel |
|
|
|
|
|
 |
|
 |
|
|
|
|
|
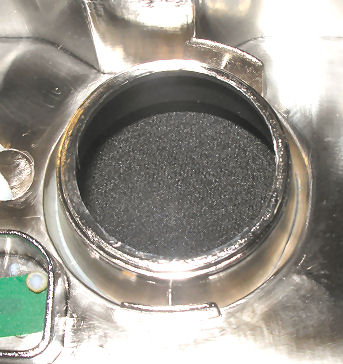
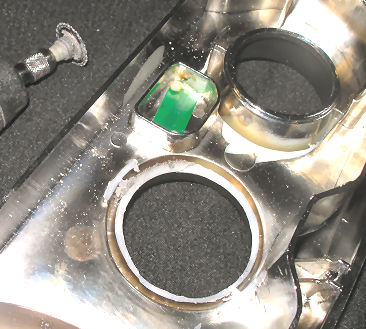
The left cone has been cut level with the back of the bezel |
|
|
A close-up of the back of the bezel.. The first step is to cut off this "cone" |
|
|
|
|
|
|
 |
|
 |
|
|
|
|
|
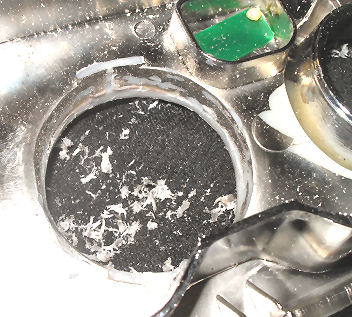
The next step is to grind down the "inner" part of the cone. Work slowly and evenly around, stopping VERY often to test fit. Remember, you can always cut material off, but it's impossible to glue the shavings back on ! |
|
This is what it looks like from the front. Notice the difference in the size of the opening from the uncut one on the right |
|
|
|
|
|
 |
|
 |
|
|
|
|
|
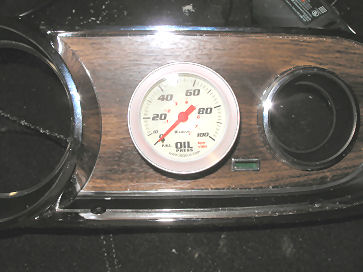
Final test fit on the first gauge |
|
|
|
HOME |
|
|
|
|
 |
|
|
|
|
|
|
 |
|
|
|
|
|
The next page is about how to mount gauges in the Shelby dash pod.
On page 25 are the wiring instructions for the gauges, turning signals, and how I improvised a great looking high beam indicator. |
|
|
|
|
All the gauges mounted. REMEMBER:
Work SLOWLY. Constantly test-fit your gauges.
Work EVENLY around the edges. |
|
|
|
|