|
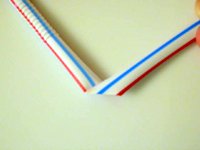
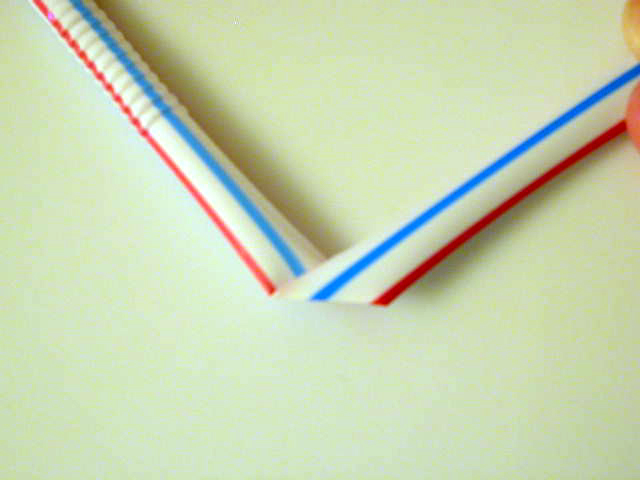
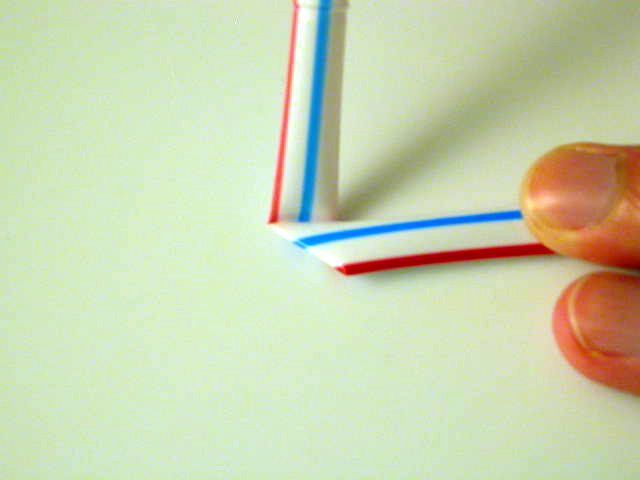
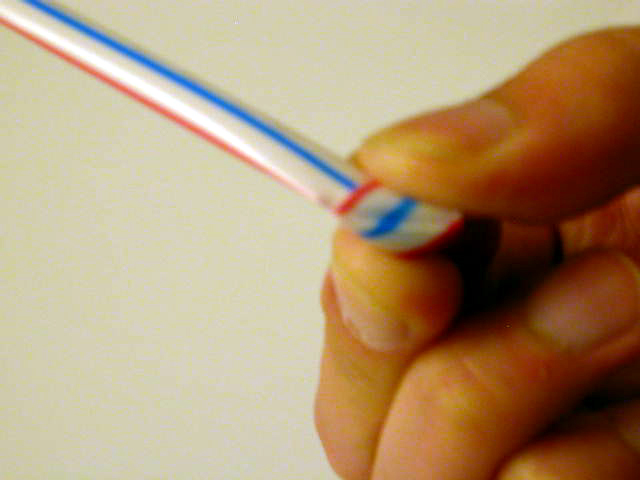
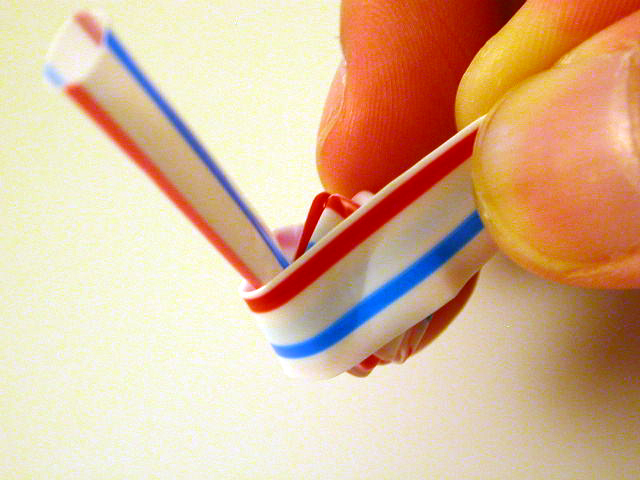
fold
straw in center at 90 degree angle
|
|
|
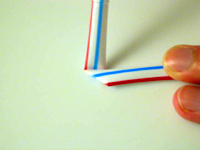
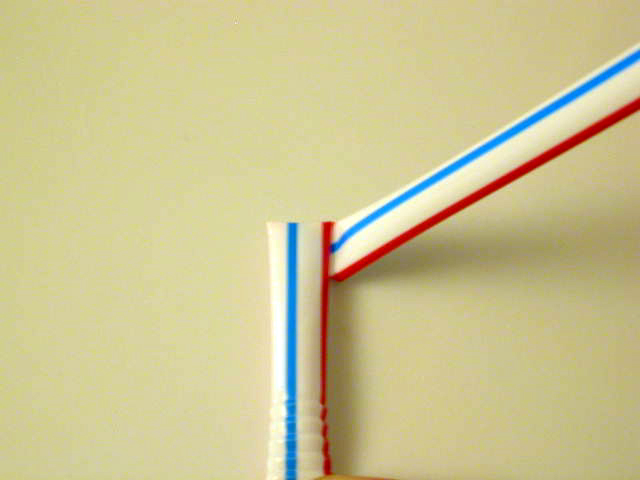
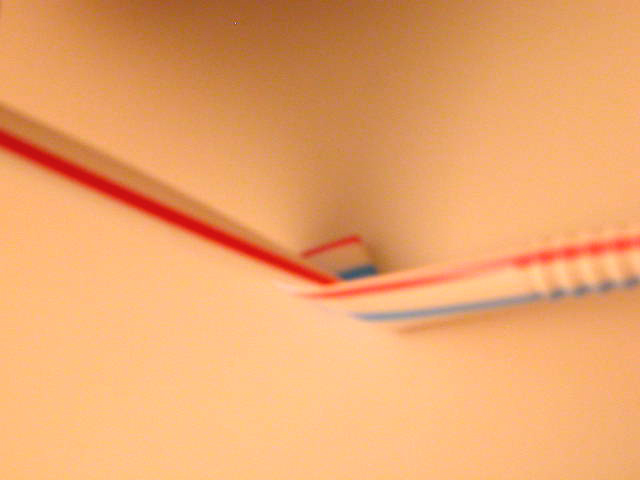
bring
left side down along the edge
|
|

|
| press
down when complete |
|

|
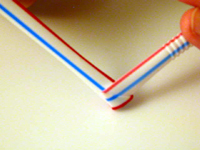
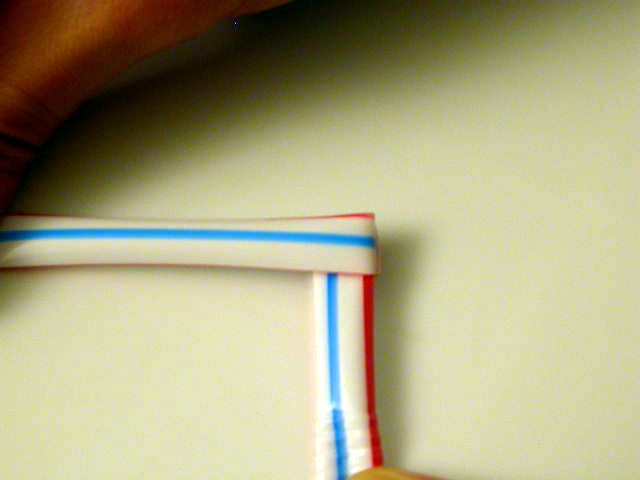
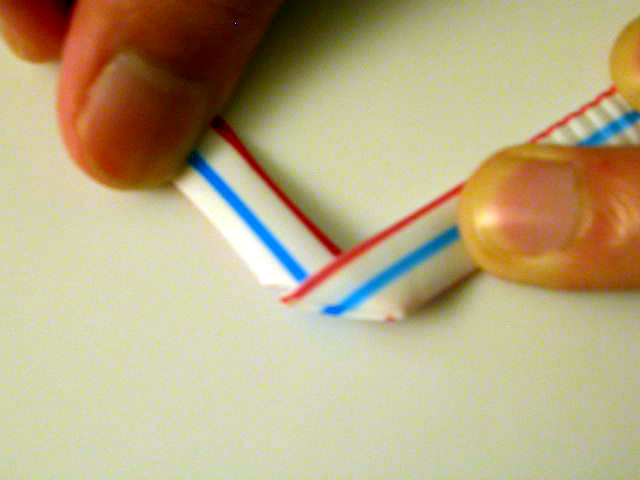
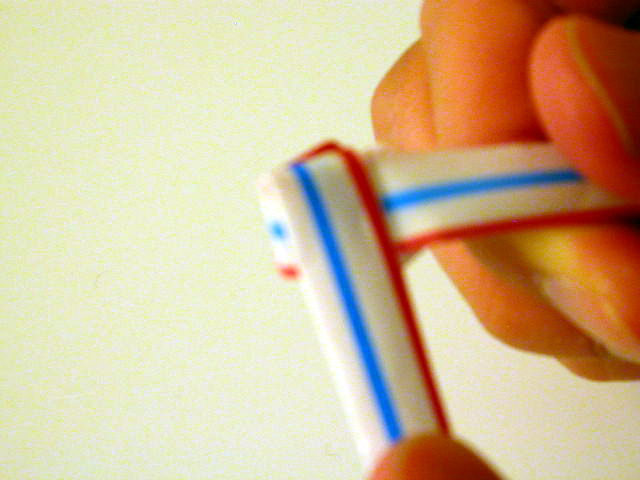
bring
right side down along the edge
|
|

|
press
down when complete
|
|
 |
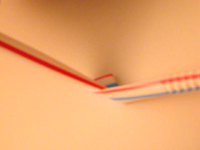
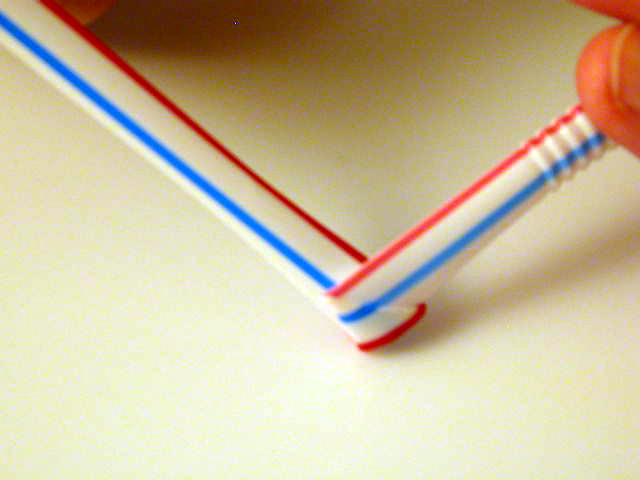
| view
from the bottom after the first 3 folds (the
bottom corner forms a right triangle) |
|

|
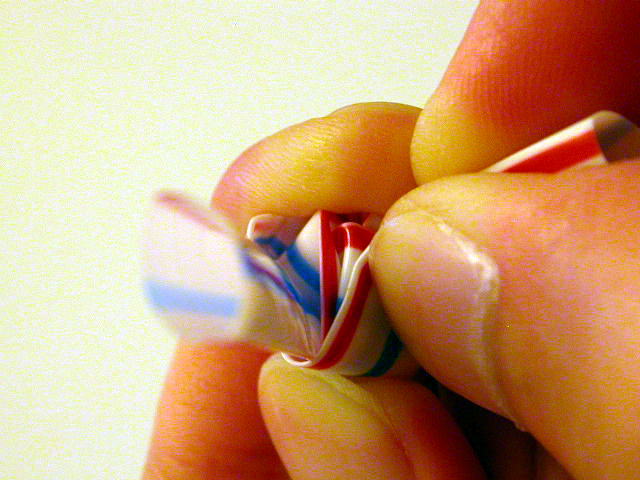
fold
the 2 crisscrossed ends away from the edge of the
triangle
|
|
|
view
from the top when the 2 ends are being folded
away from the triangle at bottom
|
|
 |
| press
down when complete |
|
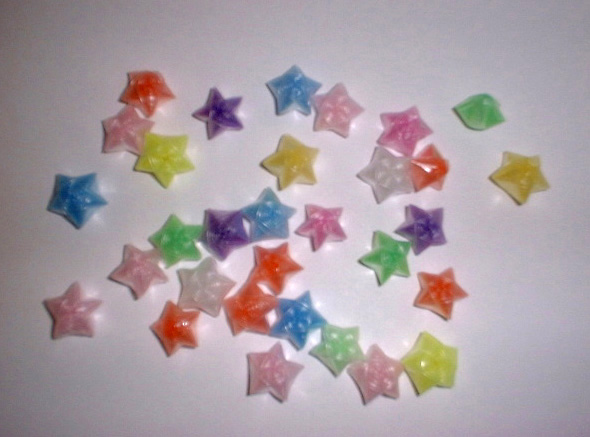
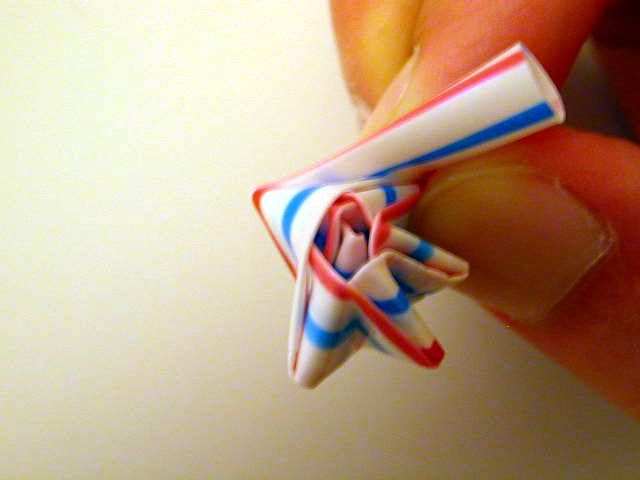
| By now, a
triangular pocket has been formed. Repeat the above steps
until you have 6 triangular pockets. |
|
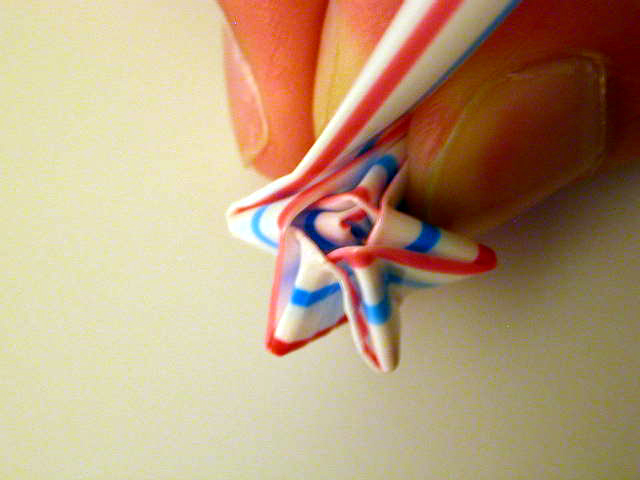
view with the 6 triangular pockets
|
|

|
insert
the 1st triangular pocket into the one closest to
the 2 crisscrossed ends
|
|
|
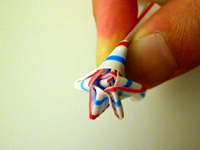
| There are
now 5 corners forming the base of the straw star.
Continue by wrapping the two ends around the star base in
crisscross motion. |
 |
| with
the 2 ends, wrap the star base in crisscross
motion |
|

|
make
sure to alternate the order of wrapping the ends
|
|

|
(do
not wrap either end on top or bottom
consecutively)
|
|
 |
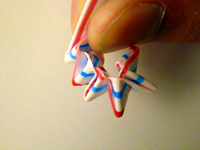
| continue
to wrap the 2 ends until when the straw is almost
done |
|
 |
| (or
the star at desired size) |
|
|
To
finish the star, insert one end into the outer layer of
the next side to be wrapped. then cut the excess from
both ends. The straw star is now secure on its own.
|


