|
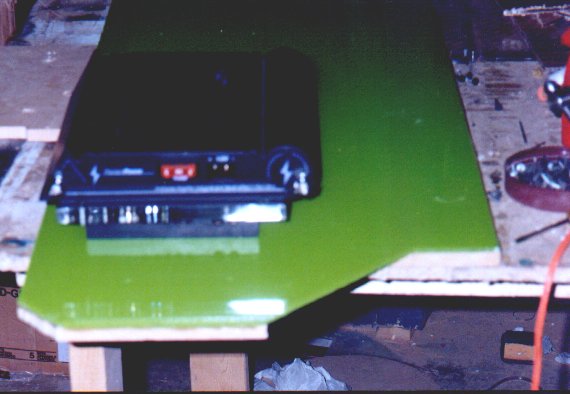
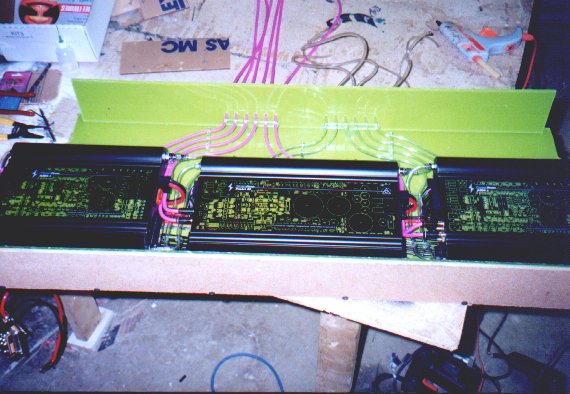
Green plexi, some polished edge plexi to mount the amps on, and some MDF legs are the start of the amp rack. |
|
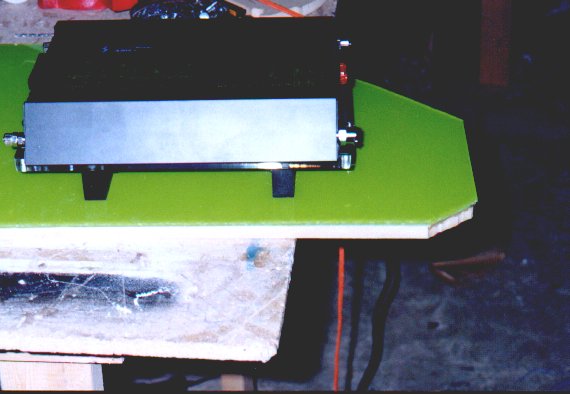
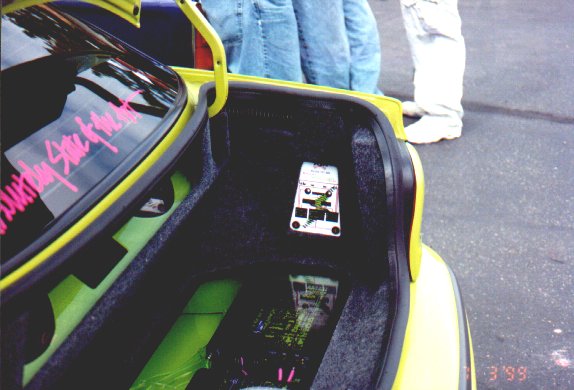
The first amp mounted on the polished plexi. With the perimeter neon lighting, they really appear to float. |
|
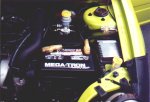
Another view of the same amp, you can't tell in this picture, but the amps were also rescreened to match the car. |
|
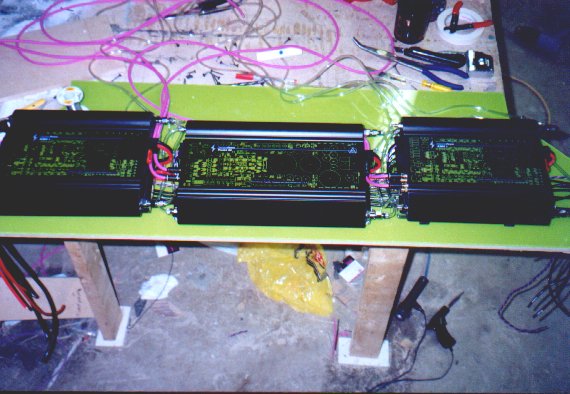
Add 2 more amps, a whack of wires and you'll find out that alot of planning went into this. |
|
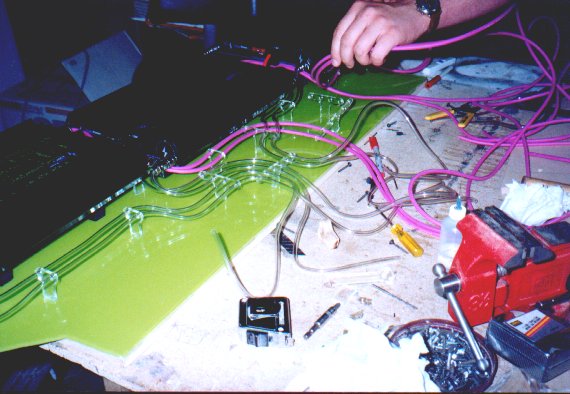
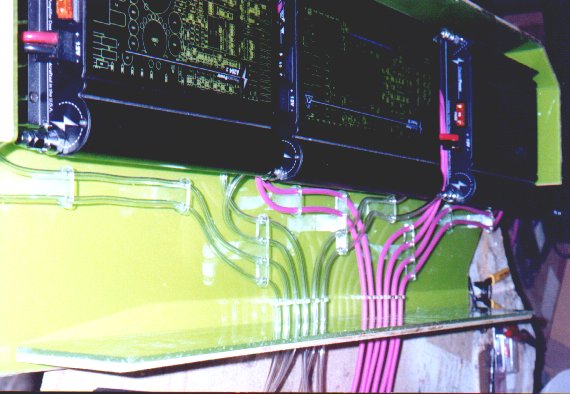
The wires had to be held in place somehow, so why not polished plexi "telephone posts". Why not? How about the hour each one took to make from cutting to polishing(even the holes are polished) |
|
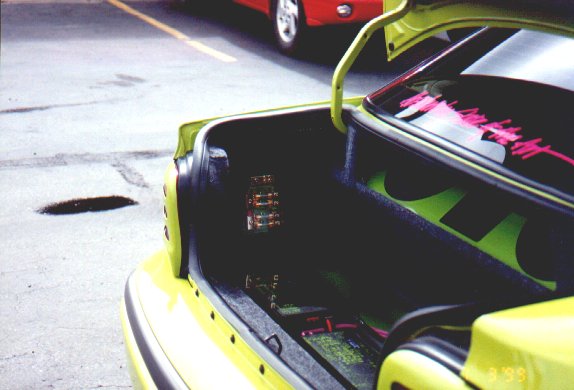
The front wall added to the amp rack....hey what are those tubes for? |
|
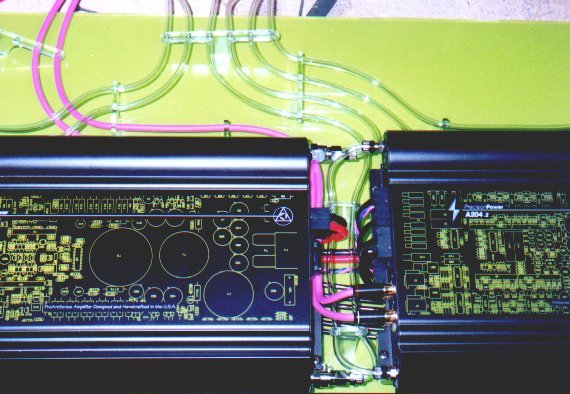
Another view of the wiring and those tubes?!? |
|
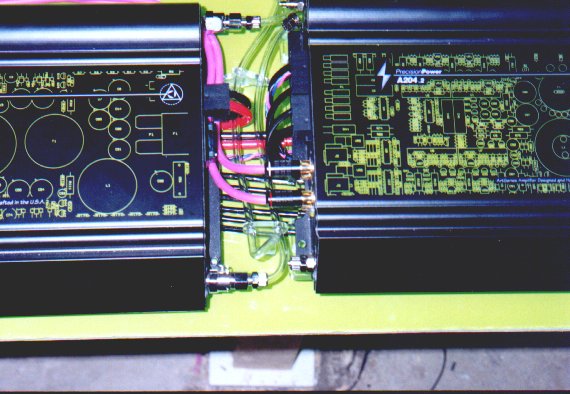
Hey wait a minute, I've never seen connectors like that on a PPI amp before...and those tubes look kinda transparent. |
|
You know they almost look like they have liquid in them... |
|
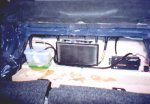
Hey that's what they mean by Mishayla's Liquid Cooled Neon...yes the amps are liquid cooled. Behind the back seat you'll find the guts of the liquid cooling system. |
|
For lack of a better place to put the picture....the factory battery was upgraded and the system is fused within 18 inches of the battery...blah, blah, blah! |
|
A system diagram was added to the trim panel on the passenger side. |
|
A fusing and distribution display was added to the driver's side. It's trimmed in green plexi like the rest of the car. Fuse status is monitored with a display above the deck. | � |
More pictures coming soon! |
Use the Pull-down menu to View the Install of the Selected Component