|
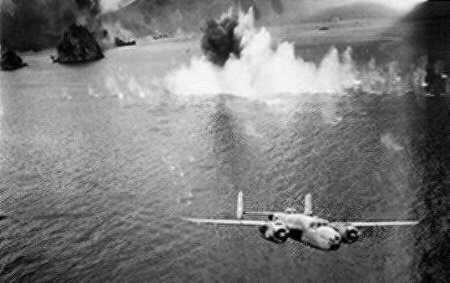
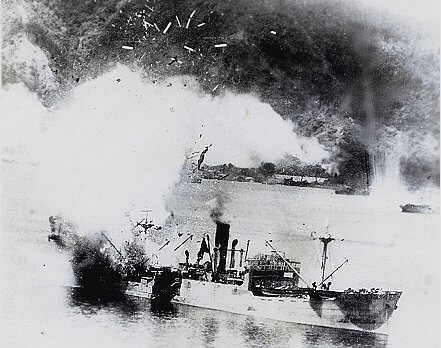
An A20 (unknown Squadron) peels away after dropping its bombs on a Japanese freighter. This is a good example of how close these bombers came to their targets!
|
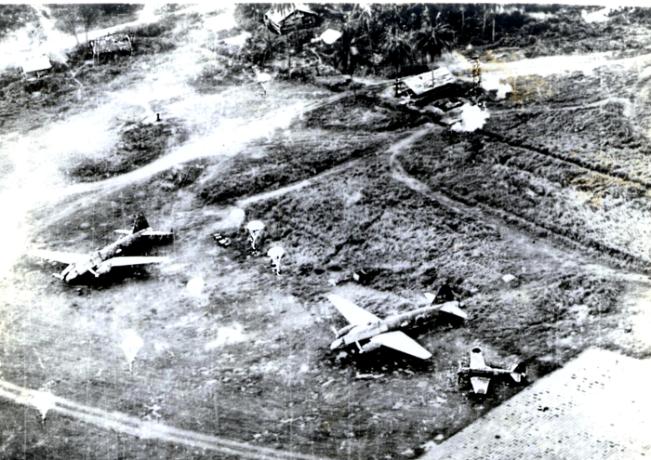
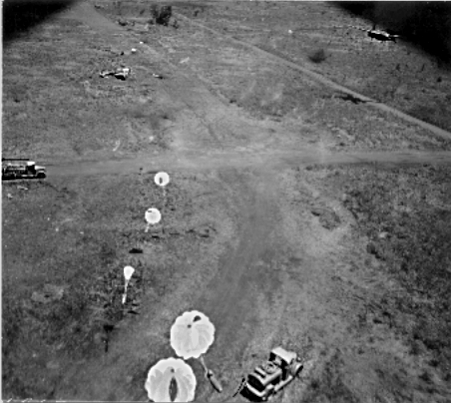
Two Betty bombers and a Zero lay wrecked on an airfield already 'plastered' by 5th Airforce attack planes. (location of airfield unknown) If you look carefully there are parachutes dropping down. These are believed to be delayed action bombs.
|
|
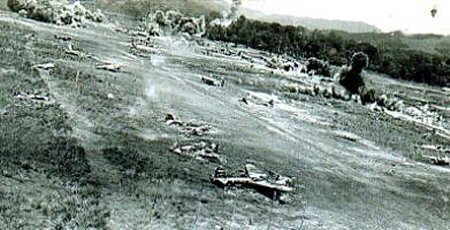
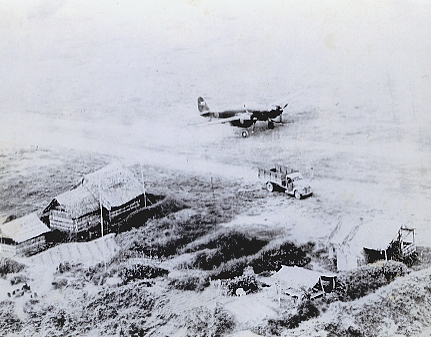
A Japanese airfield under attack during the Oct / Nov raids of 1943. More Betty bombers lay wrecked and some are unscathed. Note the bombs bursting in the background. (airfield believed to be on Rabaul).
|
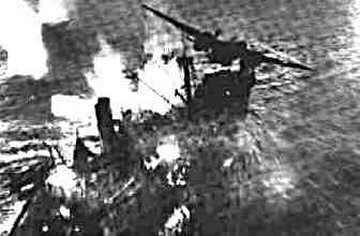
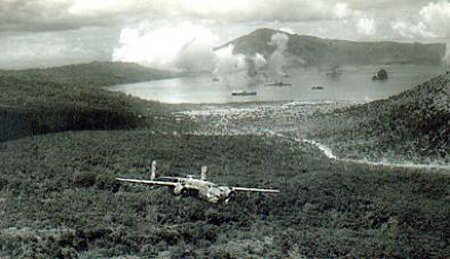
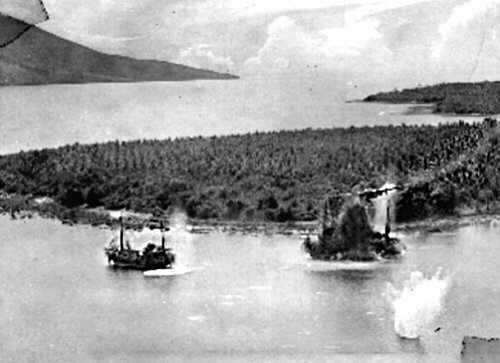
A B25 of either 13th or 90th Squadron climbs away after scoring a direct hit on a Japanese ship, during the Oct / Nov Rabaul raids of 1943. Note the Japanese warships in the background. It was during a similar action (2 Nov, 1943) that Maj Wilkins and his crew were lost while trying to draw the warships fire from his squadron.
|
|
A B25 of the 13th or 90th squadron heads for New Guinea and home after one of the Oct / Nov 1943 raids against the bases at Rabaul. Unfortunately, surviving the actual raid itself didn't mean they were safe, on one of these raids 18 B25's set out and only 6 returned. 6 were shot down during the attack and 6 more were lost on the return trip.
|
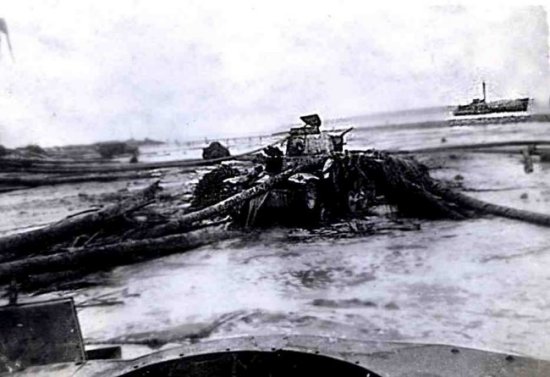
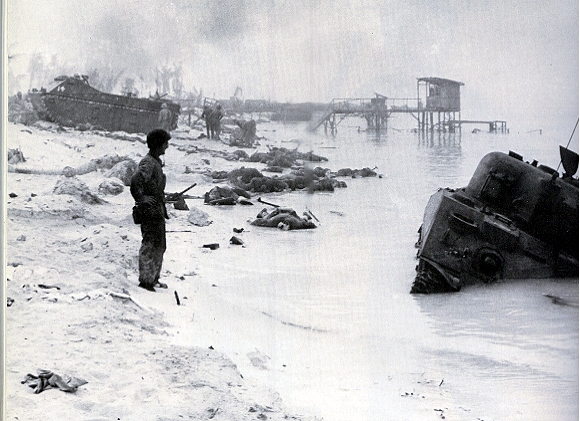
Knocked out Japanese light tank on a beach somewhere in the New Guinea theatre of operations. The ship in the background has not been identified, although it's thought to be Japanese. The tank was either part of a landing force trying to dislodge the Americans from this island or it was covering the evacuation of Japanese troops.
|
|
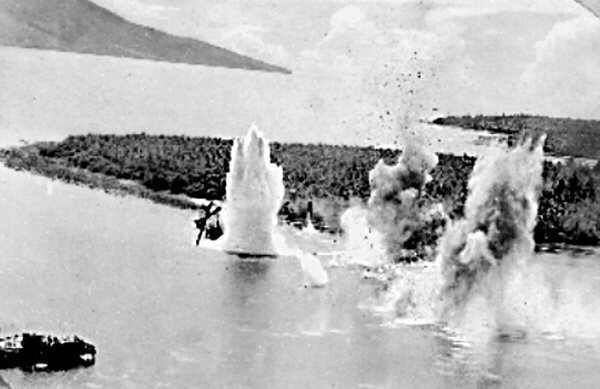
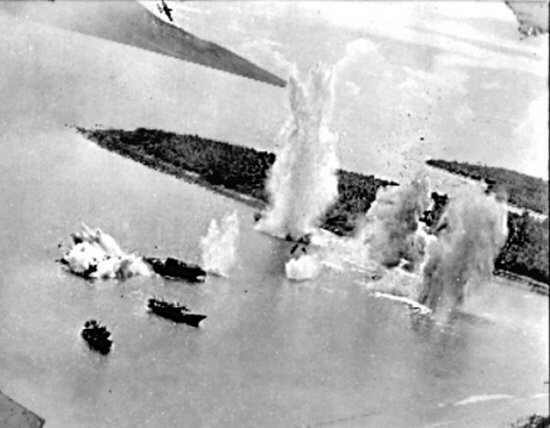
A very near miss on a Japanese freighter!! Location unknown, possibly taken during one of the Oct / Nov raids by the 13th and 90th squadrons against the bases at Rabaul. The warship in the background looks very familiar! (see pictures # 4 & 5)
|
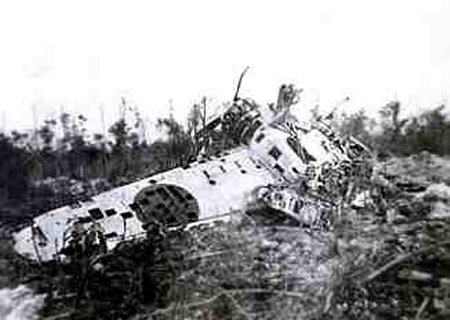
Wreckage of a Japanese fighter destroyed on the ground, believed to be a Mitsubishi Zero. Location unknown, possibly Biak, Hollandia or the Trobriand Islands.
|
|
|
|
|
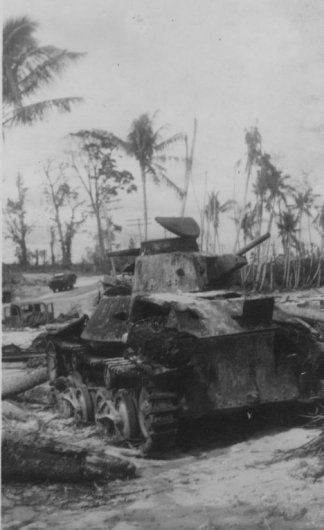
Knocked out Japanese light tank, note DUKW (duck) amphibious transport in the background. Island unknown, possibly Biak or Hollandia. Although these light tanks were easy prey for a Sherman or even a 'Honey' American light tank, they did pose a threat to troops without armored support.
|
This remarkable series of photos shows the tragic end of one bomber crew from the 3rd Bomb Group. At Hansa Bay, New Guinea, the hazards of low level bombing are graphically illustrated in this first series. An over anxious Grim Reaper (3rd Bomb Gps. moniker) follows too closely on the path of the preceding plane and receives the full blast of his bombs. It loses part of a wing and is tossed on its back. In the final photo of this grim sequence the plane strikes the water --- no survivors.
|