| PHOTOS OF HANDPOSITIONS CONTINUED |
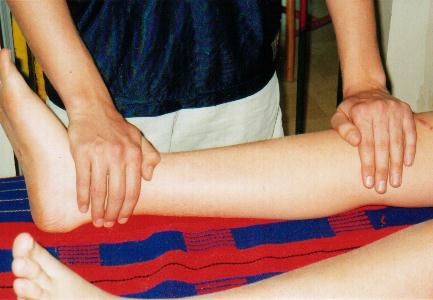 |
| This photo shows one hand on the ankle joint and one hand on the knee joint. If you feel guided, you may also include the middle of the calf - so you would have one hand on the ankle and one hand on the middle of the calf...and then move on with one hand on the calf and one hand on the knee joint. |
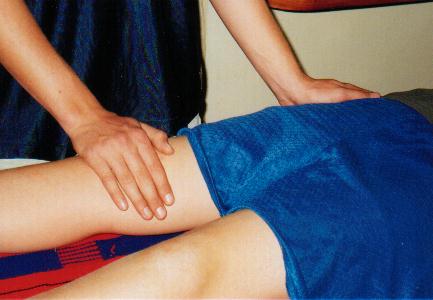 |
| Here we have the next hand position with one hand on the knee joint and the other on the outside of the hip joint. Again, if you feel guided, you may also include the middle of the thigh - especially if the person is tall and has long legs, you may feel the extra hand positions are necessary. |
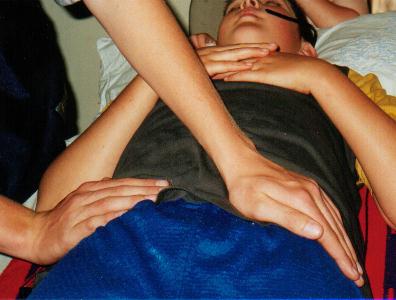 |
| In this photo we show one of the positions for working on the chakras - in this photo it is the base or root chakra. Here the healer has one hand on either side of the chakra with a clear gap inbetween. You may also have your hands close together with no gap - see the next few photos. |
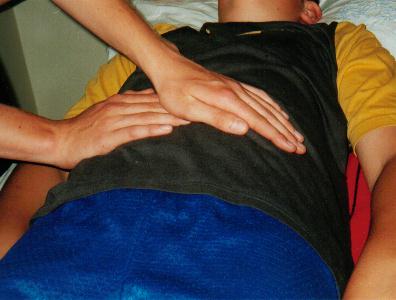 |
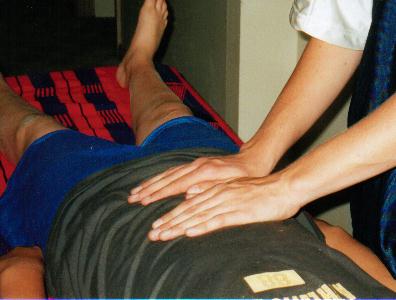
| Here the healer is working on the sacral chakra and is showing the position where both hands are touching and directly over the chakra itself. |
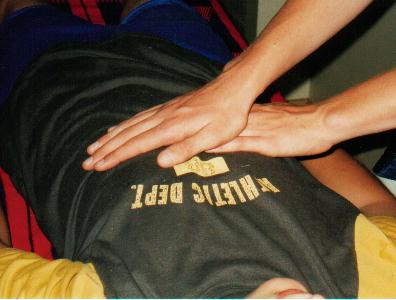 |
| Here the healer is working on the solar chakra just below the rib cage and has both hands close together and directly over the top of the chakra. |
 |
| In this photo, the T-position covering the heart chakra and also the thymus chakra is shown. If you began your healing with the head and then went down to the feet and worked your way up the body, this will be the last position you do - unless you decide to do the arms. This position often elkcitis a healing response such as tears or a welling of feelings as it deals with our emotions and our hurts. |
 |
| This photo shows an alternative way of covering the chakras as you move up the body. Here the healer has one hand directly on the base chakra and one hand on the sacral chakra. To continue on using this method of hand positions, you would move the lower hand up to the sacral and the upper hand on to the solar.....and then the lower to the solar and the upper to the heart...and lastly, the lower to the heart and the upper to the thymus - creating the T-position. Turn the page for more photos.................................. |