Home
Pictures
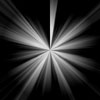
2. Press D to set the colours to default then select the gradient tool
3. Set it to linear gradient and draw a line from the top down to the bottom like the image to the right
4. Now go to Filter> Distort> Wave, keep everything default other than the number of generations which you should set to 10 and change the type to square.
5. Now go to Filter>Distort> Polar Co-ordinates and keep the settings as default.
6. Now press Ctrl + I
7. Now press Ctrl + U and set the colour to what you like, I chose (220 | 20 | 0).
8. Duplicate the layer.
9. Set the blending option of the duplicated layer to Colour Dodge.
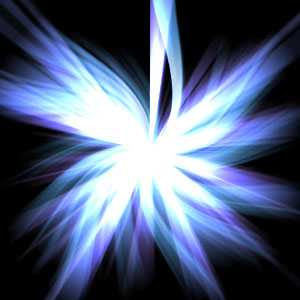
10. Now go to Filter>Distort> Twirl and leave the settings as they were. And when you finish you should have something that looks like this,