Sign Out
List Of Outputs :
Glow In The Dark
Vegeman Deluxe
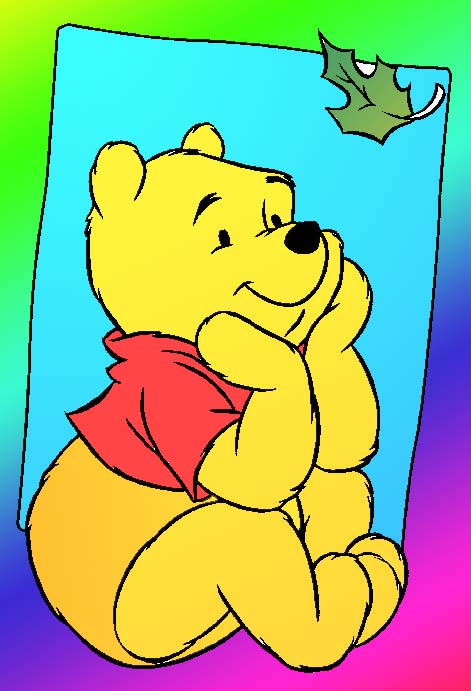
Coloring Pooh
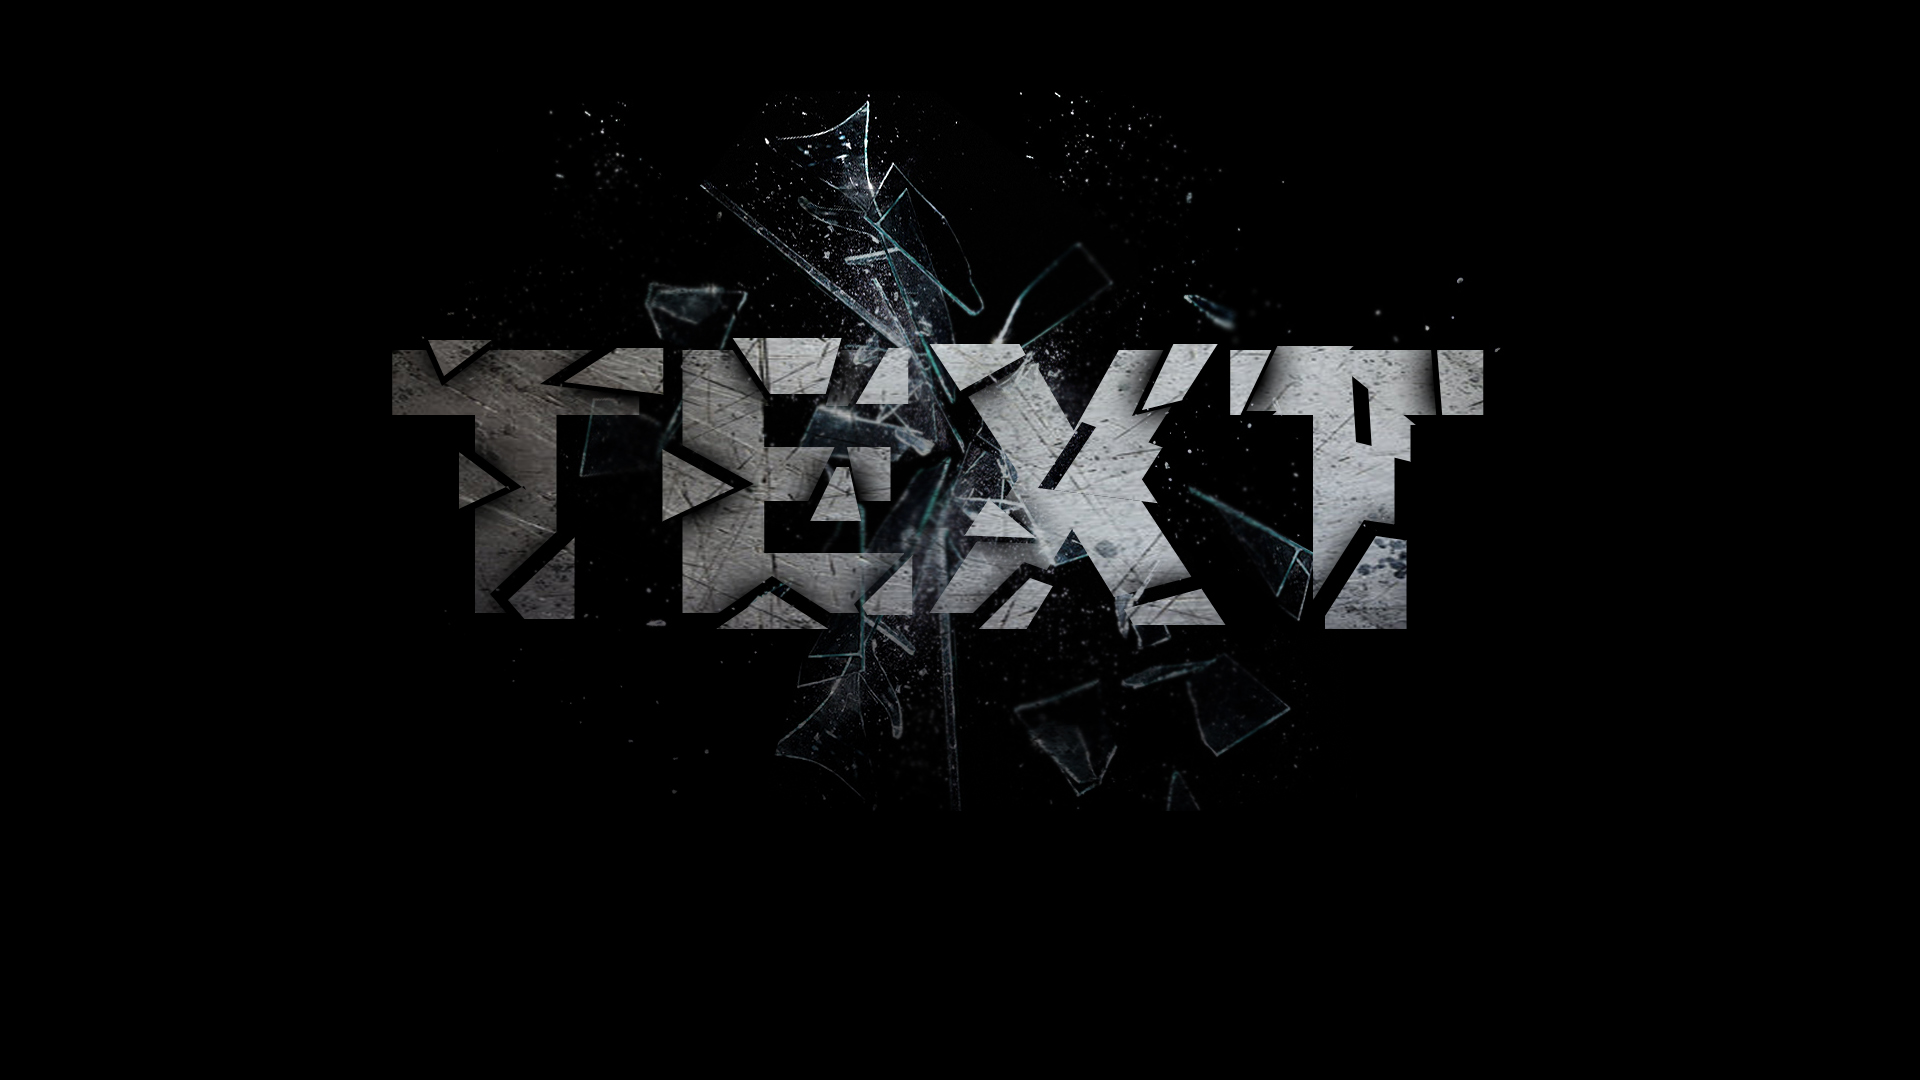
Shattered Text
Blur Baby
Knight
Glow In The Dark
Open Photoshop, make your foreground color to white and background color to black, now create a new document with measurements 1920 px x 1080 px and the Background Contents option to Background Color.
Use the Horizontal Type Tool and type any text you want using Arial as the font, Black as the font style and 300 pt as the font size.
Click on the image of the �T� in the layers tab while holding down CTRL. You will notice that the text will be selected.
Now create a new layer by pressing CTRL + Shift + N.
Now select the gradient tool and double click to where the COlors (2 overlapping squares) are.
Now change the first color to a mild light blue color, type in the �#� box �00c0ff� and the second color to a dark blue color as �0500d8�
Now use the gradient tool, start with the upper � left of the screen going to the lower � right of the screen.
Now deselect the layer (CTRL + D) and duplicate the new layer with the colored �TEXT� on it (CTRL + J).
Now delete the �Text Layer� and make new layer and place that layer above the two �TEXT� layers.
Now go to Filter > Render > Clouds.
Now change the blend mode of the new layer to color dodge.
Now select the copy of the �TEXT� layer and go to Filter > Blur > Gaussian Blur and change the radius number to about 60 � 120.
Now select the brush tool and scroll down to see the downloaded brushes.
Now select the clouded layer and start brushing with the brushes.
Congratulations you have finished this activity go and do the next one.
Vegeman
After Opening the Adobe Photoshop, as well as the Vegeman Resources choose the size of canvass you want.
First, Click the Magic Wand Tool and Select The Background then use the gradien tool or paint bucket to fill it with desired color.
Now use the Elliptical Marquee Tool to Select the Head, the eyes and the mouth of the Vegeman. Afterwards drag them to you canvass.
* In the eyes case, after you have selected and overlapped them, duplicate the layer the adjust it's size and position to make it equal.
To select the eyebrows, the ear and the chef's hat, bowtie and the nose use the Magnetic Lasso Tool then drag them to your canvass.
(You may also use the magic wand tool to selct the white spaces then delete it)
* In the ears and eyebrows case, after you have selected them, duplicate the layer the adjust it's size and position to make it equal.
Coloring Pooh
The Main Tools to be used in this coloring are the Magic wand tool for selecting ,and the paint bucket tool and the gradient tool for color fill.
First, Select using the Magic wand tool the background. Then fill it with the chosen color using either of the two coloring tools.
Then proceed to the coloring of the other parts, from Pooh's body to her clothes. Same proccess is applied but it's your color choice and combination to make the output better.
Shattered Text
Open Photoshop and create a new document with measurements 1920 px x 1080 px and the Background Contents option to Background Color.
Use the Horizontal Type Tool and click type in any Text with your customized font style and size that will fit the canvass.
Now rasterize your Text Layer and then use the Polygonal Lasso Tool and select some areas in the text - move it to make it look shattered.
Afterwards open the �Scratches� image and drag it into your photoshop canvass and resize it to match the sizeof the text.
Now change the blend mode of Scratches to "Multiply" .
Then use the magic wand tool to select the cuts of your �TEXT� layer.
Next to it is to right click on of those selections and choose �Layer Via Copy�
You can now apply an outer glow with the following settings.
Drag the �Smashed � Glass� image onto photoshop and move and resize it until it covers the whole �TEXT�.
Finally, change the blend mode of the Smashed Glass layer to Screen.
That was awesome, you are now done doing the Shattered Text You may now continue :)
Blur Baby
First open your canvass and resources.
By the use of any selection tool, carefully select the baby then drag it into your canvass.
Afterwards, go to your flower resource, click Edit > Define Pattern > Ok
Now back to the baby canvass, select the baby then click CTRL + SHift + I (Inverse)
Next, by the use of pattern Stamp Tool, fill the selected spaces with the pattern.
Then by the use of elliptical tool (or any selection) make a selection which includes the baby and some flower patterns. Then Inverse.
Lastly, Go to Filter > Blur > Radial Blur.
And walla! your Baby Blur is finish :)
Knight
First, open adobe photoshop and make a new canvass 8.5 x 11 in size.
Second, Select the Red Background box using any selection tools then drag it to your canvass.
After it, duplicate the layer and fill the duplicate with the blue color using the Paint Bucket Tool.
To select the head, use the Elliptical Marquee tool to satisfy the semi-circle condition at the top part.
Next, select the net behind you Knight, drag it into you canvass the use the magic wand tool to select one of the white spaces in it. Afterwars right click on the selection then choose "Similar" and delete.
The Eyes of the Knight will go like this : select all the components of the eyes then arrange them into their corresponding position. Duplicate the layer then resize and put the two eyes in the correct position.
Continue to select the nose, the letter K at sides, the hair and the mouth. use to magic wand tool or quick selction tool to select and erase some or extra parts.
The Elliptical marquee tool will also be used to select and delete the unnecessary part in the arm of the Knight.
The Handle of the sword will be taken from the arm, use polygonal lasso tool.
Lastly, The sword will be made by duplicating the other half of it after it's selection. Resize it then arrange to it's position.
At Last you have finished the activities! you may now go to the Exercises and Test Your Skills!