| Hi, I'm Steve, also known as the first S in the SAELS part of
StarSAELS (the "ae" combination is Latin, which is pronounced like "ai" in
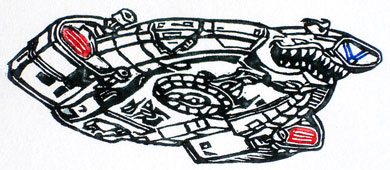
"sails". If you live in the Southeast, particularly Georgia, then chances are you've seen some of my work. I consider my best examples to be City of Homes and It's a CHRISTMAS Tree!; the Peachtree City Puzzleboxes; the Florida Marlins PLB stamp; the River Otter, Painted Turtle and Series Stamp for the Southeast Carvers, Inc. series; and the 99 Bottles boxes. If you've found any of those, you know I'm qualified to give this dissertation on stamp carving. Usually I'm pretty modest about it. I'm definitely not a person who brags about their deeds, at least not in public. I read a lot of messages about carving first stamps and how terrible people think they are. Umm... what I mean is, how terrible the people who carved the stamps think they are. Whew—dodged a fireball there! I also read a lot of messages from people who are frightened out of their wits when they think of picking up a blade and slicing through rubber. Never mind that the results of their efforts are supposed to be recognizable when an impression is made on paper! And when you mention letters, it's like raising the terror alert level to extreme! This tutorial of a sort is designed to help you alleviate your fears and build up your confidence and improve your carving technique so that someday, when somebody sees your stamps, they'll ask the trees and rocks, "HOW did they DO that?!" Chances are the first stamp you carve won't be the prettiest thing ever (mine wasn't). There will be mistakes along the way (I've made plenty). The thought of accidentally slicing off a critical element of the design is frightening (almost did it). But if you start simple, get comfortable with it, exercise a great deal of patience, and practice, practice, practice, someday you'll be able to carve stamps that look like this (or even better):
|