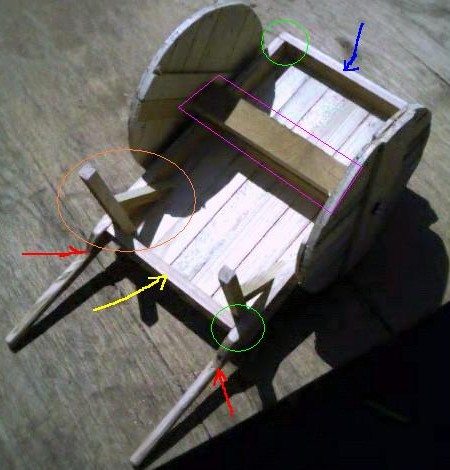
Notice again the joints in green, and the newly installed rear supports and their bracing in orange circle . The braces are easily done with a 45 degree angle at each end of a piece of scrap. The supports are 5 inches long, giving the cart a wee pitch to the rear.
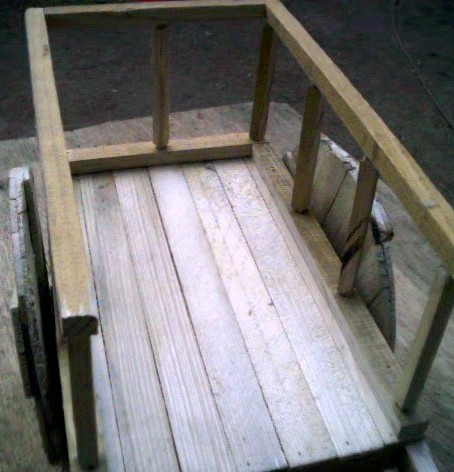
Next, drill out holes to correspond to your choice of uprights. Use a hole smaller than the upright and carve/grind the ends to fit inside (remember, a square peg fits a round hole much tighter). Do both ends of the uprights, and attach a toprail in the same manner.
Important note; I did a little trick to strengthen the rail. Notice that the cross section in front is the one with the holes for the uprights. When attaching the toprail, I connected it to the corner uprights. This way, two directions are being reinforced, resulting in a sturdier arrangement.