
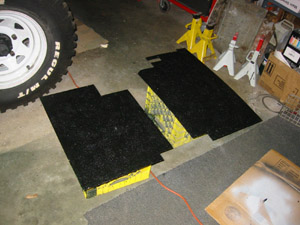
I was now faced with the task of fabricating new interior parts...both because the old ones were rotten, and because the new transmission is bulkier. So, I bought some sheets of 16 ga steel, and started making patterns.
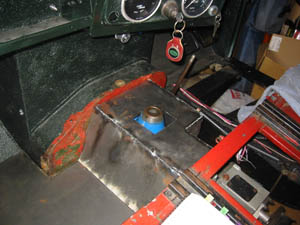
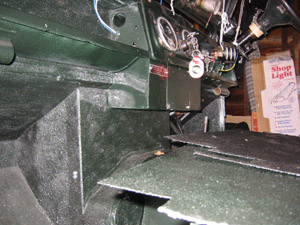
I also tried to do a little "frankenstein" action on the old transmission tunnel, but there were so many changes to be made that I decided to start from scratch. I made a cardboard mock-up, and then duplicated it in steel.
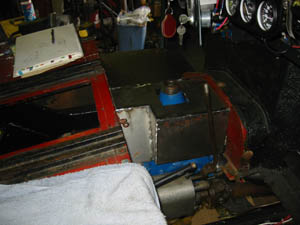
I had to do about a dozen dry-fittings before I got the look that I liked, and before they fit in a way where they would support each other. Once the cutting was done, I coated all of them with Herculiner, and did some fill work on the tunnel itself to smooth out some of the gaps. Then it was time for paint.
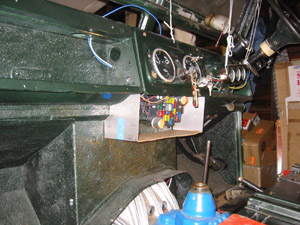
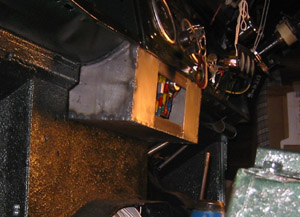
And while I was cranking out new interior parts, I also decided to fabricate a new cover for the new fuse box and additional wiring under the dash. Same process - cardboard, cut, weld, smooth...and dry-fitting it about 25 times. I decided that when it is done, I am going to mount the VIN plate to the removable door - should look smart.
This is what it looks like after being painted and mounted.
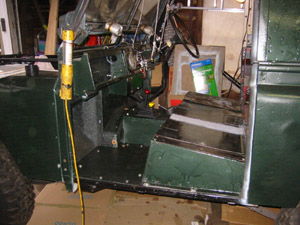
I finally got a day warm enough to shoot paint, and got everything covered with an extra-thick couple of coats. Fitting went well, especially since I had welded nuts on the back of most of these pieces. That way, all it takes is a 1/4" bolt through the top layer, and they are stronger than most body nuts. Other places used the existing sheet metal screws into the seat box.
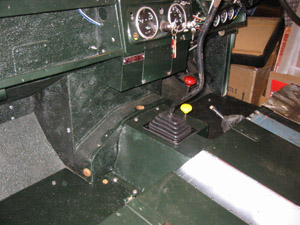
On went the tunnel, and then some of the new knobs that I bought FIVE YEARS AGO. Man, they have been in that box since my last shopping stop in the UK! Overall, I am really pleased with the end result. It all fits, is really strong, and is treated to withstand most of the nasty weather and mud that I am dying to encounter!