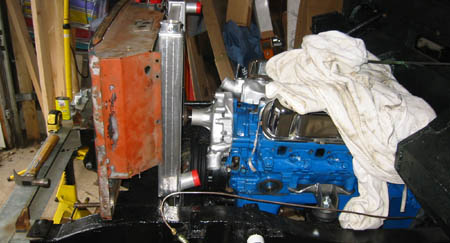
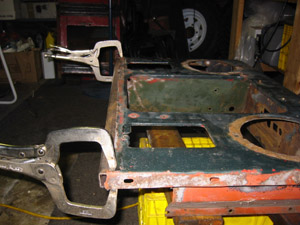
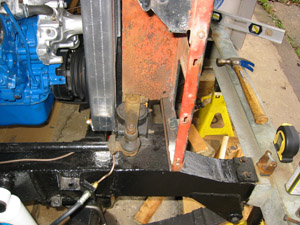
After getting the engine fitted in place, it was time to see if I was indeed going to be able to fit in a radiator without major chassis modifications. Using the metal straight edge, it looks like I have about 2 5/8" from the fan pulley to the front cross member. That means that the old 4" radiator is not an option, and that one was pretty rusty.
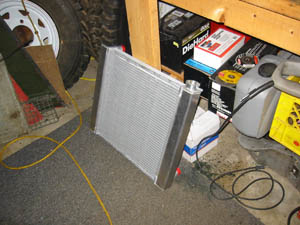
I did a lot of research, and found that Be Cool makes an excellent universal radiator for Ford that is a cross-flow, but is only 2" thick. Lovely! I ended up buying one off of e-Bay for a fraction of the $300 retail price.

The radiator was gorgeous coming out of the box - a few bent fins from the previous owner, but it never had been used. Next step was to fit it behind the breakfast, and see how things lined up.
It became apparent that the breakfast would need some trimming, but the radiator would fit behind the crossmember with about 1/2" to spare.
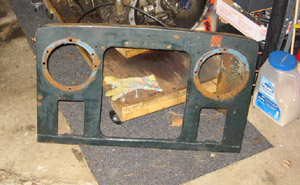
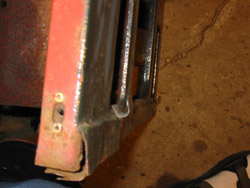
Before getting too carried away with the breakfast, I had to do some major repairs to it. It was covered in rust, and the bottom edge had already dissolved, and the previous owner had tack welded a piece of thin angle iron there to try and keep it together.
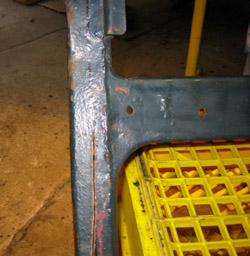
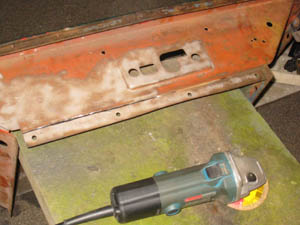
I did not want any flimsy bits on the front, so I sawed off the edge and welded on some square tubing. And thus began the long process of patching, welding, grinding, and filling to get it up to snuff.
Then I got around to trimming the top and drivers side flaps, I re-fitted the radiator. Immediately I became concerned with the movement of the steering arm, but it appeared there would be enough clearance. So, I made some brackets as I worked on the breakfast.
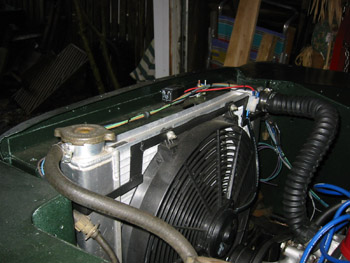
Once it was dry-fitted, it was obvious that neither an electric nor mechanical fan was going to fit in there, and that I would have to mount an electric one in the front. Everything I read said that it was best to "pull" with an electric fan, so I made the decision to mount the radiator up and on top of the cross-member. A bit more cutting and welding, and it was ready to go. This also eliminated my issues with the steering arm, so all was good.

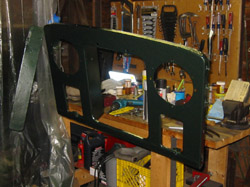
After lots of welding and filling, I finally shot the paint. It turned out pretty well, and is way sturdier than before. Of course, I brain farted, and don't have many pictures of this process. But, fast forward a few months, and this is how it turned out...