JULIA'S TRIANGLE WORLD TUTORIAL
NEEDED:
- PSP
- Letter Creator
- Mehdi: Julia's World: http://www.mehdiplugins.com/
- Tube of your choice
LEVEL:
Beginner with basic knowledge of paint shop pro, letter
creator and filters.
PREPARING
- Open tube, width/height maximum: 340 pixels
- Duplicate tube (Shift D) and close original
- Choose a light color from tube and select it as foreground color
in the material box
- Choose a dark matching color as background color
- Edit � Copy
- Minimize your tube
BACKGROUND TILE
- Left click once in our foreground color box in the color
- In the material properties box look at the Hue and
Saturation numbers and remember these or note down

- File � New Image: 200 x 200, transparent
- Effects � Mehdi � Julia's World: these settings:

Settings: Julia: 957, Grad Offset: 41 and Grad Period: 190
- Adjust � Hue and Saturation � Colorize: settings: put
here the numbers you noted down before (of the
foreground color)
- Effects � Image effects � Seamless Tiling: default settings
- Layers � New raster layer
- Floodfill with your light foreground color
- In your layer palette lower the opacity of this raster 2 layer.
Between 60 and 90. I used 72 and 78 and 68.
- Layers � Merge � Merge visible
- Effects � Texture effects � Blinds:
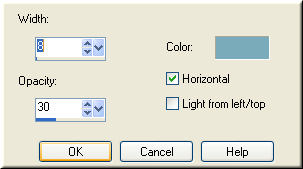
Settings: Width: 8, Opacity: 30, Color: background color,
Horizontal checked
- Repeat your blinds effect, but now with horizontal NOT
Checked.
- Effects � Image effects � Seamless tiling: default settings.
- Your pattern is now ready, minimize
BACKGROUND
- File � New Image: 1280 x 400, transparent
- In your background box in your Materials Box change color
to pattern
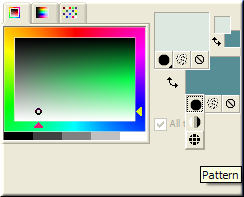
- Click once in your background color to go to your
Materials Properties box and change settings to: Angle: 0,
Scale: 100, Select your just finished pattern.
- Floodfill your new image with your pattern
- In your toolbox choose your selection tool

- Selection Type: triangle, Mode: add, Feather: 0 and Anti Alias
checked
- If you haven�t activated your rulers yet, it�s now time:
View - Rulers
- We are going to draw now: Starting point: 30 horizontal and 30
vertical (30-30). End point at: 300 horizontal and 370
vertical (300, 370)
- Layers � New raster layer
- Floodfill with your pattern again
- In your background color box choose a new color from the tube.
A contrasting color works best.
- Note down (like you did before) the Hue and Saturation numbers
of this color
- Adjust � Colorize � Hue and Saturation: fill in the colors you
just noted down.
- Effects � 3d effects � Inner bevel:
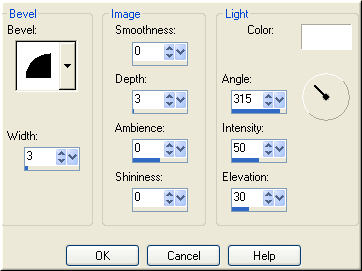
Bevel: 2, Width: 3, Smoothness: 0, Depth: 3. Ambience: 0,
Shininess: 0, Angle: 315, Intensity: 50 and Elevation: 30
- Effects � 3d effects � Dropshadow: settings: Vertical
and Horizontal: 3, Opacity: 40 and Blur: 15, Color: Black
- Effects � 3d Effects � Dropshadow: settings: Vertical
\
and Horizontal: -3, Opacity: 40 and Blur: 15, Color: black.
- Selections � Select none
- Layers � Duplicate
- Image - Flip
- Image � Rotate � Free rotate: Left checked, Free checked: 15,
Rotate single layer around canvas center checked.
- Image � Resize � Resize to 90 %, Resize all layers NOT
checked
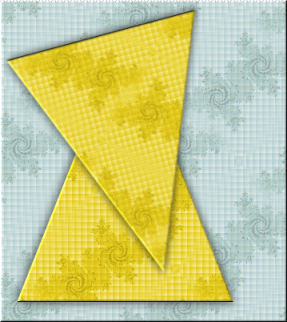
- With your mover tool move your second triangle to the
left top corner. See example:
- Edit � Paste � Paste as new Layer
- Effects � 3d effects � Dropshadow: settings: Vertical
and Horizontal: 3, Opacity: 40 and Blur: 15, Color: Black
- Layers � New raster layer
- Add your watermark
- Layers � Merge � Merge all (Flatten)
- File � Export � JPEG Optimizer: compression of 22
FINISHING
- Open Letter Creator
- In your Body open your background
- Tile in your Body
- In your Footer mention your credits
- Finish
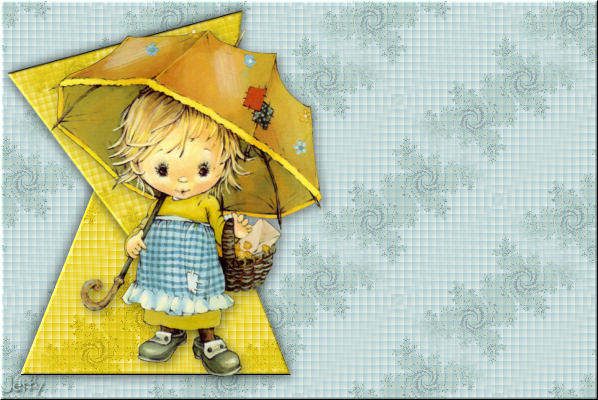
Another example with a different triangle comtination and I
used a wider triangle. Use your creativity and variate..:
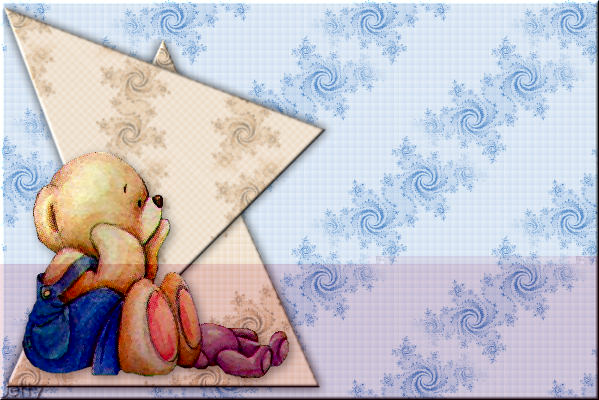
And the last example:

I hope you enjoyed making this letter. I would love to see the results.
You can reach me at:
[email protected]
Please put a link to my group:
http://groups.yahoo.com/group/IMtutorialsbyJetty
For the creatorscommunity, please put a link to my website:
http://www.geocities.com/ladyluna37/index.htm
My tutorials can be found in my groupfiles.
http://groups.yahoo.com/group/IMtutorialsbyJetty
or when they are released in the creatorscommunity at the
earlier mentioned homepage.
With thanks to the brilliant women who have given me
lessons in PSP and Incredimail.
Many things I learnt have been used by me in creating.
Any resemblance with other tutorials is purely coincidental.
And special thanks my testers for their testing.
You are free to share my tutorials. If you want to use them
for
lessons or a groupshare please ask me and please
acknowledge it
as my tutorial.
Hugs
Jetty