1 Resistor 450ohms
1 Clear Bic pen. The type that some stores sell 10 for 2 bucks
16 gauge wire
Soldering Iron
.32 in solder 60/40
1 ziptie or twist tie to hold the wires while you solder them

| LED Tubes: | |||||||||||||||||||||||||||||||||||||||||||
| Items Needed: | |||||||||||||||||||||||||||||||||||||||||||
| 2 LED's (Radio Shack has a pack of 16 misc colored for around 3 bucks) 1 Resistor 450ohms 1 Clear Bic pen. The type that some stores sell 10 for 2 bucks 16 gauge wire Soldering Iron .32 in solder 60/40 1 ziptie or twist tie to hold the wires while you solder them |
|||||||||||||||||||||||||||||||||||||||||||
| Directions: | |||||||||||||||||||||||||||||||||||||||||||
|
|||||||||||||||||||||||||||||||||||||||||||
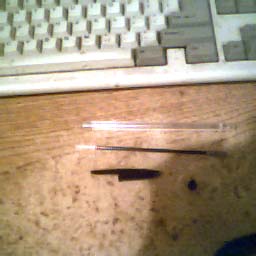
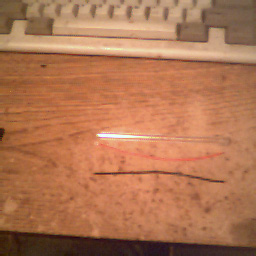
| Step1: Take the Bic pen and remove the ink tube and end caps. | |||||||||||||||||||||||||||||||||||||||||||
|
|||||||||||||||||||||||||||||||||||||||||||
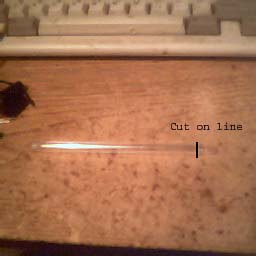
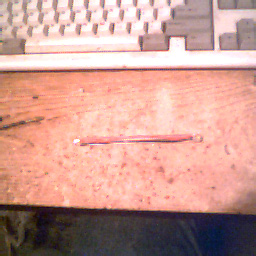
| Step 2: On the small end of the pen cut about 1/3 of an inch from the end of the small end of the pen off. | |||||||||||||||||||||||||||||||||||||||||||
|
|||||||||||||||||||||||||||||||||||||||||||
| Step 3: Slip the LEDs into the ends of the pen tube and bend the prongs so they are flush with the side of the tube. Remember which side is "+" and "-". Usually the side of the LED that is flat is the "-" side | |||||||||||||||||||||||||||||||||||||||||||
|
|||||||||||||||||||||||||||||||||||||||||||
| Step 4: Trim the prongs of the LED so that the LED and prongs forms a "U" | |||||||||||||||||||||||||||||||||||||||||||
|
|||||||||||||||||||||||||||||||||||||||||||
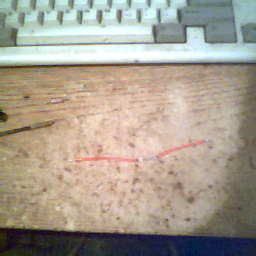
| Step 5: Cut two equal lengths of wire almost the length of the pen tube. Trim 1/8 of a inch of insulation off from the ends | |||||||||||||||||||||||||||||||||||||||||||
|
|||||||||||||||||||||||||||||||||||||||||||
| Step 6: Solder the LED's to the wires using the ziptie to hold the wires in place | |||||||||||||||||||||||||||||||||||||||||||
|
|||||||||||||||||||||||||||||||||||||||||||
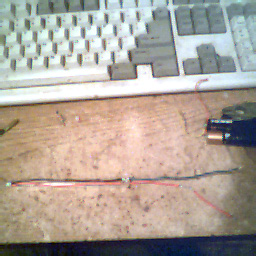
| Step 7: Cut a six inch piece of wire and cut it in half. Strip the ends and solder the resistor in the middle | |||||||||||||||||||||||||||||||||||||||||||
|
|||||||||||||||||||||||||||||||||||||||||||
| Step 8: Solder the wires to the LED's and make sure that the "+" and the "-" wires are not touching each others. | |||||||||||||||||||||||||||||||||||||||||||
|
|||||||||||||||||||||||||||||||||||||||||||
| Step 9: Test the LED tube out to make sure it works | |||||||||||||||||||||||||||||||||||||||||||
|
|||||||||||||||||||||||||||||||||||||||||||
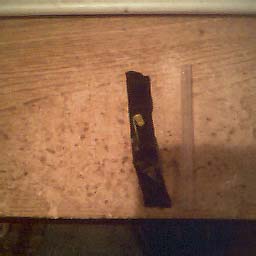
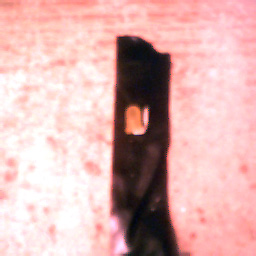
| Step 10: Use electrical tape to tape up the ends. | |||||||||||||||||||||||||||||||||||||||||||
|
|||||||||||||||||||||||||||||||||||||||||||
| Step 11: Trim excess tape off | |||||||||||||||||||||||||||||||||||||||||||
|
|||||||||||||||||||||||||||||||||||||||||||
| Step 12: Wrap Tape around the resistor and then ground wire for strenght. | |||||||||||||||||||||||||||||||||||||||||||
|
|||||||||||||||||||||||||||||||||||||||||||
| Step 13: Test it out again to make sure it works properly. | |||||||||||||||||||||||||||||||||||||||||||
|
|||||||||||||||||||||||||||||||||||||||||||
|
|||||||||||||||||||||||||||||||||||||||||||
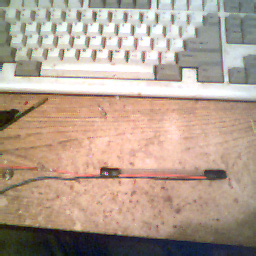
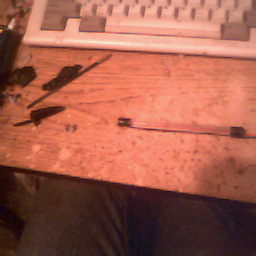
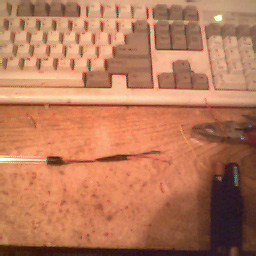
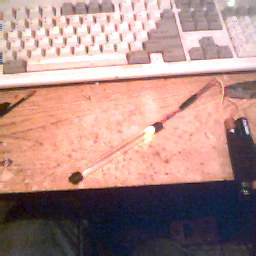
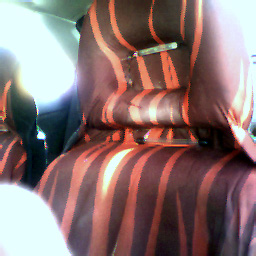
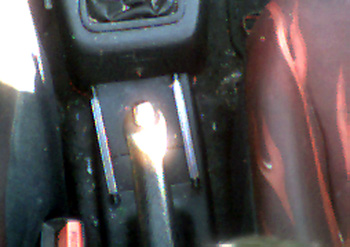
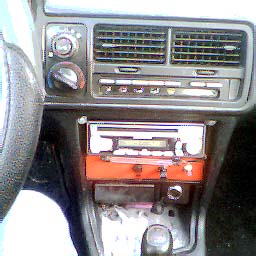
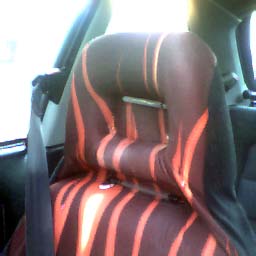
| Here are some ideas on the tube placement | |||||||||||||||||||||||||||||||||||||||||||
|
|
||||||||||||||||||||||||||||||||||||||||||
| Back to MOD Page | |||||||||||||||||||||||||||||||||||||||||||