Filled Slats with Borders
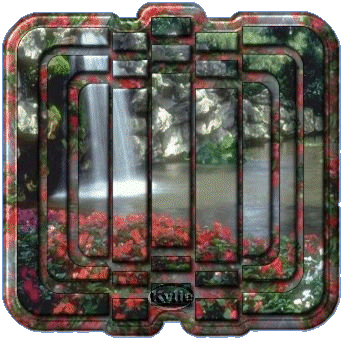
| The above Slatted Picture is what we�ll be making. A first actual finished tutorial by me, another one is still in the pipelines and well, might be finished one day, lol, but for now this one is quick and pretty easy. |
| I used PSP 7 for this tutorial but I�m sure it can be done in earlier versions. The download is a 30 day free trial. The slat tube if you haven�t already got, can be downloaded here |
| The only filter I used in this tutorial was when I wanted a graphic used for background fill, the filter is Xaos tools � terrazzo 2d7. I can�t remember how I came across this filter but I think it can be gotten from this >site, only thing is it�s not freeware. I�ve only had a real quick look at this site, so have a look around, it should be there somewhere. This filter is definitely not a necessity, any pattern, filter, gradient, tube etc can be used, its just up to your imagination! Even using PSP�s own kaleidoscope filter is great! |
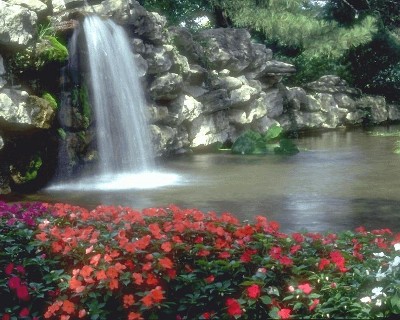
| The image used in this tutorial is one I�ve received through yahoo groups, I�m assuming its copyright free but if this is not the case and someone knows who this image belongs to please let me know so that I can ask permission and give credit or remove it. If you want to use this image, right click and save. |
| Have the image your using opened in psp, put it aside for now. Create a new canvas 500x500 will give plenty of room, and will be cropped later on. Open the slat your using and copy it, you can close it then. Go back to your blank canvas and paste the slat as a new layer. Now, select all, select float. |
| Change your view to the image you chose to use. Copy it. Minimize it again. Back to your slat image, paste into selection. This is what you should have. |

| Add a bevel. Effects, 3d effects, inner bevel. The settings in the bevel are totally up to you, but heres the settings I used. |

| Then add a dropshadow, once again, your choice of settings, but here's mine.
V+H = 2, Opacity = 62, Blur = 5.6 Now, activate your first layer, and make sure its highlighted in blue. |

| Flood fill this layer with whatever you want, whether it be a gradient, pattern, initial image, filter/plugin etc etc. For me I used the terrazzo plugin on the initial image then tiled it and flood filled my slat image with it. Now, go back and activate your second layer, the layer with the slat on it.Selections, Select all, select float. Selections Modify, expand 15. Selections, invert, click back on the first layer and press delete(or edit, cut). Deselect. Add a bevel, heres my settings, but you choose whatever bevel you like, add the same bevel two or three times to give a better effect. I added it 3 times. |

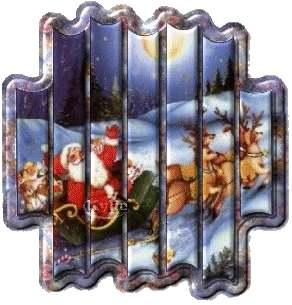
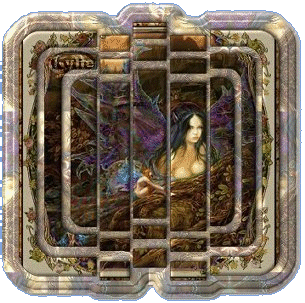
| To finish off, select all, select float, select defloat and crop to image. Save it as a jpg or gif file. Thank you for trying my tutorial, please let me know if there is anything that is hard to understand or maybe a mistake that I wasn't aware of by writing here. I hope you enjoyed creating the slats. Below are some more examples of others that I made. |
 |
 |
| Created December 10, 2002. Copyright � 2002 Kylie D, all rights reserved. All Graphics, Layout or Content may not be copied or used without the expressed written permission of the Author. |