Driver Reinstall Guide
Introduction
This module will cover basic
navigation and use needed to efficiently troubleshoot with a customer. This
module is designed to familiarize any participant with the driver reinstall
process.
Drivers for a Dell system can
be reinstalled in different ways. The resource CD that ships with the system
will contain most of the drivers that are needed for that specific system. Some
devices such as Sound Card and Modem drivers are contained on a separate CD.
Objectives
At the completion
of this module you will be able to:
- Install drivers using Dell Resource CD.
- Install drivers manually in Device manager.
- Download and install drivers from
Support.Dell.com.
Overview
All the Dell systems are
shipped with a resource CD. The Resource CD contains
driver files, diagnostic utilities and User's Guides for systems shipping as of
the RTS date (1/31/01). The new RCD has an updated User Interface and adds
detection which can identify the system type and installed PCI devices. The UI
will present appropriate files for the identified system grouped by device type.
Installation:
As soon as the Windows
installation is complete, you need to install the drivers for the devices in
the system in order for them to work properly.
As soon as you insert the Dell Resource CD, the installer for the CD
will start automatically in most cases.
In the event that the installer does not start automatically, you will
need to run it manually. The figure
below shows the upper file structure of the Dimension
Resource CD.
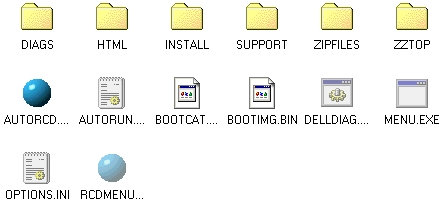
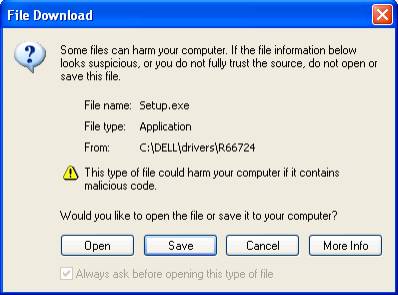
You can try clicking on the “AUTORCD”
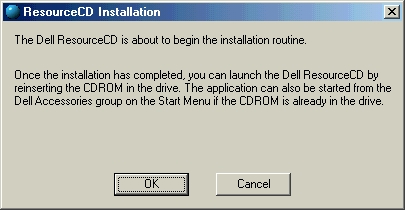
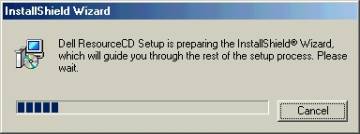
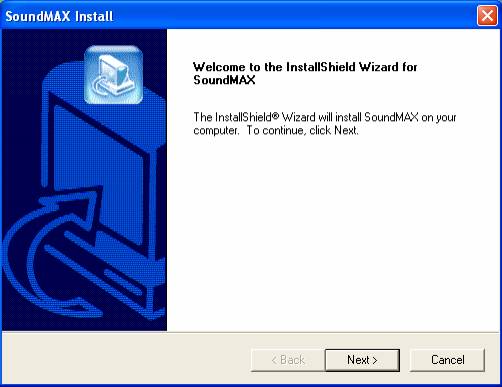
or you can open the “Install” folder and click on “Setup.exe”. The following are the screens that you will
go through to get the CD installed in your system. You can access the resource CD software by going in to
Start>Programs>Dell Accessories>Dell Resource CD after the installation
is completed.
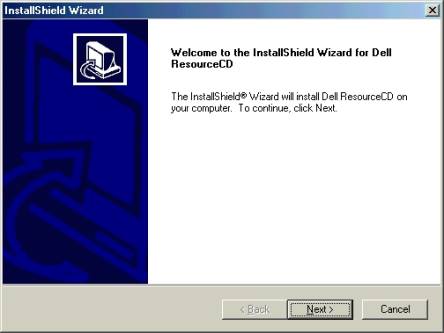
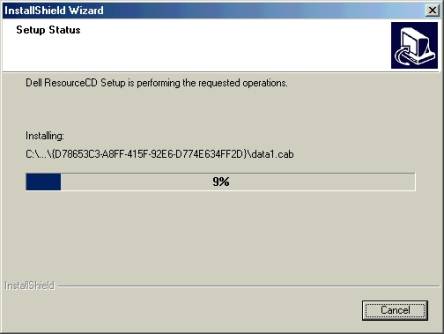
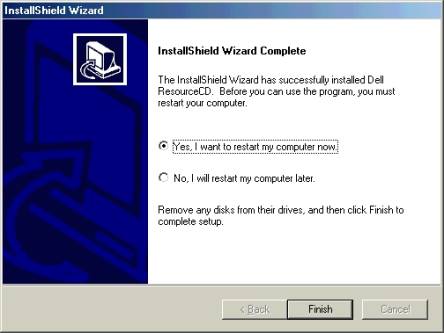
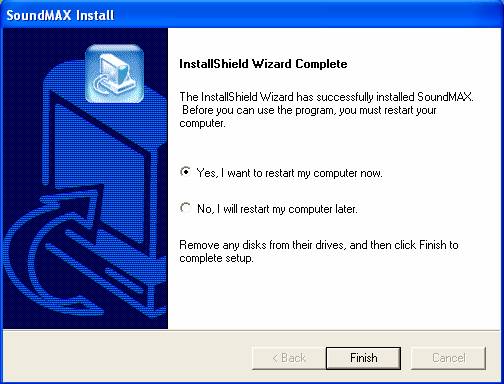
The software is installed
and ready to run on the system. The following
is the installation process for drivers.
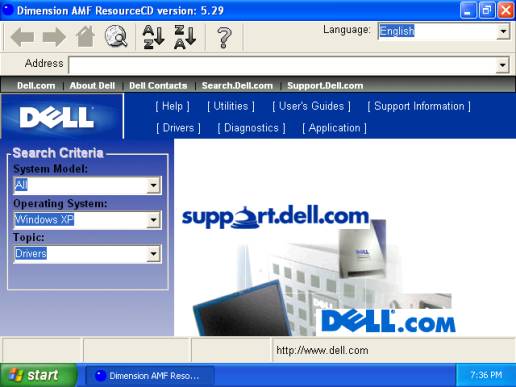

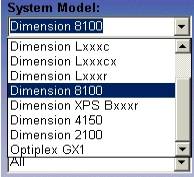
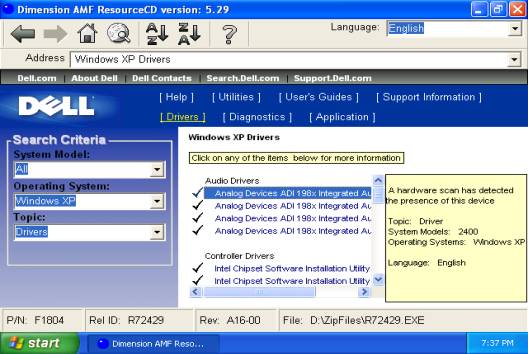
You can select the model of
the system and then click on Drivers.
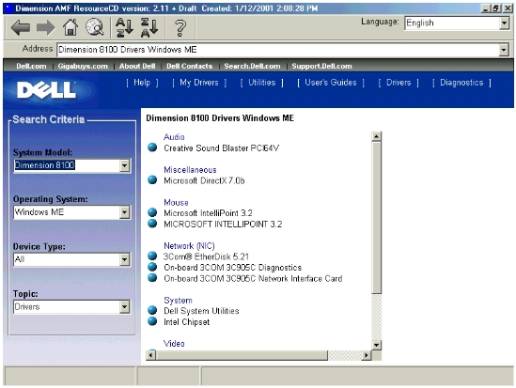
The Resource CD will default to
the devices that the Operating System knows about (i.e. those found during the
OS detection process). If a new device has been installed and the driver
installation canceled, the OS won't know about that device until detection is
accomplished. So Resource CD will not auto-display that driver. You would still
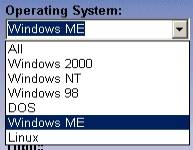
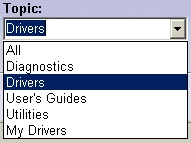
be able to choose "All" for the System Model, Operating System,
device type and/or Topic to display everything available on the CD.
The following cutouts represent
the pull down menus in the left hand frame:

Once the software detects
the drivers this is how it is going to look.

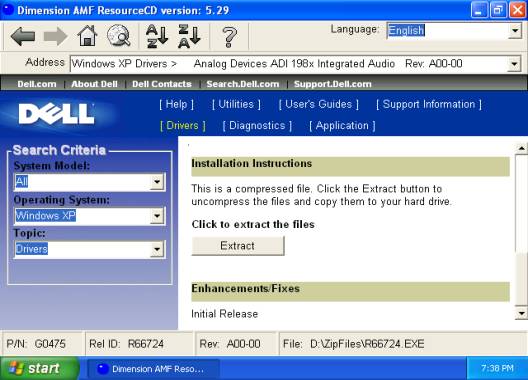

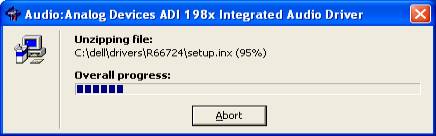
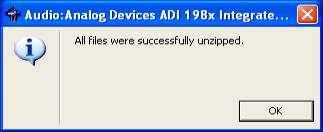
Click on Extract and you
will be taken through the following screens.
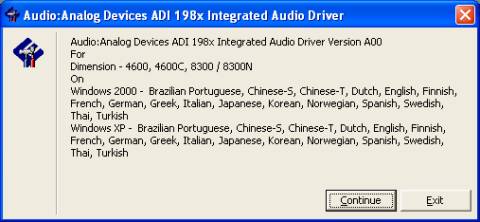
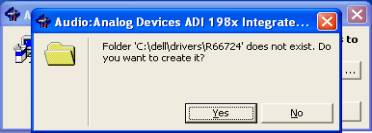

We may have to install the
drivers manually for certain devices.
Instead of “Install Now” on the above screen, it may say please follow the
instructions below. An example will
follow involving such a situation.
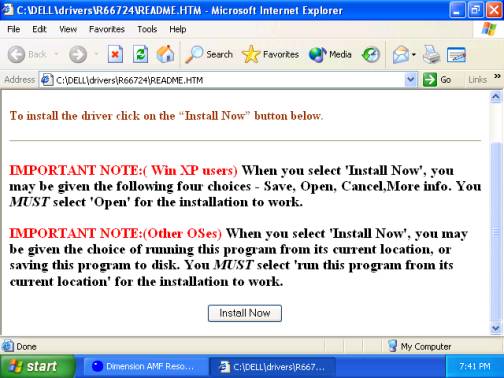
The following is an example
where it gives you the instructions to install the drivers for the device.
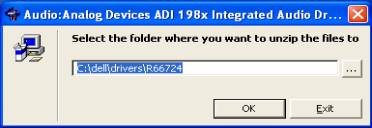
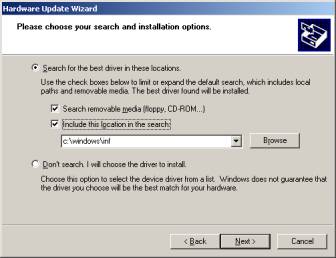
In the event when you are
installing drivers for a video card and it is giving the instructions to
install the drivers, you can do the following.
- Browse to the driver folder in drive C:\DELL\
- Then choose the folder where the drivers were
extracted to.
- Select the operating system and then click on
“Install” or “Setup.exe”.
Installing drivers from
Device Manager
If you find out that you
need to install the drivers manually, you can follow the steps below to get the
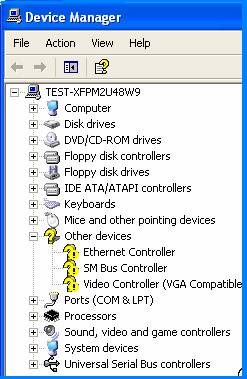
drivers installed. If there is an issue
with a driver then it will be listed in device manager under ‘Other Devices’
with Yellow question and exclamation marks as shown below
Downloading driver from the web site
If the customer does not
have the resource CD, they can download the driver for the device from the
internet as long as their internet connection is working fine. The customer can visit
http://support.dell.com and down load the drivers.
- Browse to http://support.dell.com
- Click on downloads under product support.
- There are 2 ways to get drivers from this
pager. You can enter the service
tag for the system or you can choose the product and model of the system. Enter the information and click on the
arrow right to the information.
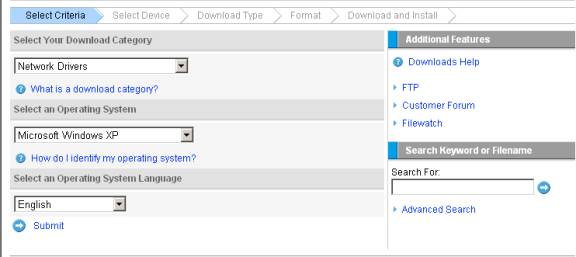
- Now you will have the option to select what you
want to download as shown below.
- Select the type of driver you want to install
and then click on submit.
- The next screen will give you all the drivers
that are available for the system that you have selected. Select the driver that best matches the
hardware that you have in your system.
- Then you will be taken to a page where it will
give you the name of the file.
Click on the file and then you will have the option to choose the
type of download. You will usually
have the option to download from a FTP or HTTP site.
- As soon as the download is completed, you can
run the self extracting file and then follow the instructions.
Installing Driver for a USB Device
Sometimes, reinstalling a
driver for the printer can be tricky.
We need to make sure that we install the driver or the software for the
device before we connect the device to the system. Install the software first.
Then you will be prompted to connect the hardware to the system. Connect the hardware to the system only when
it is prompting you to do so. You will
run in to issues installing drivers if you connect the hardware before you
install the driver for the device. Some
devices (USB drive, some digital cameras) do not require a driver to be
installed. The drivers for such devices
are already built into Windows and they will use a generic driver.
Composite devices in Device manager
Some of the USB devices will
be detected as composite device by the system.
If you open device manager, they will be listed as “composite
device”. You will have to remove the
composite device or update the driver for the composite device in order to get
the driver installed properly. This
will generally happen when you try to install the driver for a cable modem.
Removing a USB Composite Device
- Make sure that the USB cable is plugged into your PC.
- Go to the Start button; choose "Settings" and then
"Control Panel".
- From inside the "Control Panel" choose
"System".
- Choose the tab on the top of the screen for "Device
Manager".
- Click the "+" next to "Universal Serial Bus
Controllers".
- Click "USB Composite Device" to select it and choose
"Remove".
- Once the USB Composite Device is removed, restart your PC.
Installing Driver for a cable modem
- Plug the “Type A” end of the USB cable into the USB port of your
PC. Plug the
- “Type B” end of the USB cable into the back of the Cable Modem.
- Insert the USB Drivers CD-ROM into your CD-ROM drive.
- Follow the instructions described in "Preparation" on
this page. After connecting the USB cable, the Add New Hardware Wizard
appears. Click "Next".
- Select “Search for the Best Driver for your device" and click “Next”.
- Select "CD-ROM drive" and click "Next".
- Confirm that the path is correct and click "Next". Windows should then begin copying the
installation drivers.
- Click "Finish" to complete the driver
installation.
- Once this is complete, the process will be repeated for the “Networking
Support”
- Once complete, you are ready to surf the internet at warp speed
using your new Cable Modem.
Reinstalling Driver for a Printer
- Turn the Printer Off – ensure it is connected to
the computer
- Checked Add/Remove programs for printer
software, uninstall if needed
- Go to Start /Control Panel/ Printers
- Right click on the Driver to be reinstalled and
click Delete – click yes when prompted
- Then click on File/ Server Properties/ Drivers
Tab
- Select Printer just removed then click Remove
(repeat for all desired Printers) – click ok when prompted
- Insert the Printer CD supplied by the vendor and
reinstall driver.
- Turn the Printer On, allow windows to install
additional software if needed
- Set Printer as default if needed (Start Control
Panel/Printers the Right Click desired printer and select “Set as Default
Printer”)