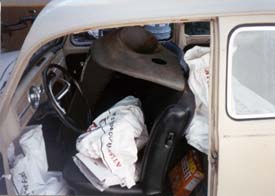
As you can see while you are doing other work the cab becomes
a convenient storage unit. You can see one of the fenders that I bought to replace
the two front ones that got bashed by the previous owner. I bought one from the Kelly
Park show in San Jose and I bought the other from the Bugs by the Bay show in Vallejo.
I spent a total of $60 on them when if I ordered them I would have spent $140. Now it's
time for interior removal.
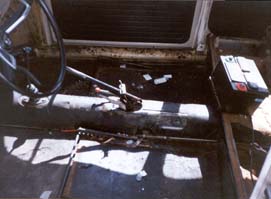
As you can see I took out all the seats and the carpet. That was all pretty easy, but,
when it came time to take out the tar paper and the insulation that was on the pan and the
body I had a tough time. This is what it looks like in the front seat and half of the back
seat after I took out the seats and the carpet.
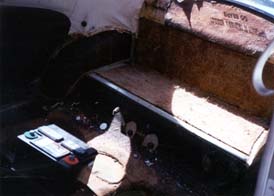
Here is the back seat and the cargo area behind the back seat. You can see that the battery
goes just under the passenger side of the back seat and I was lucky not to have very much rust on
that part. When I took off the tar paper on the driver's side of the vehicle I found a medium sided
rust spot that will need to be replaced. As of May 10, 2001 this is as far as I have gotten. The next
step will be to remove the windows and the headliner. Then the fun begins for prepping the car for paint.