 |
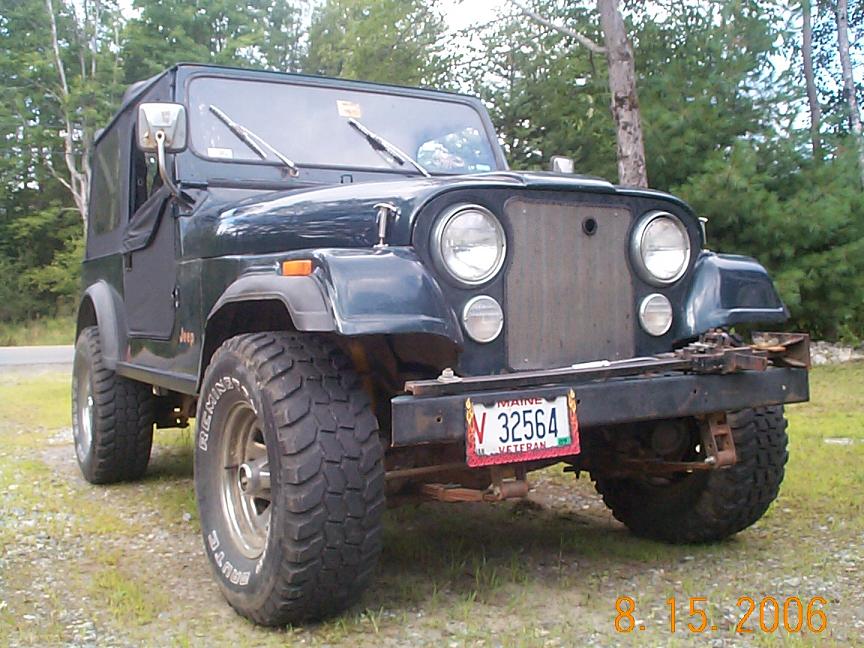
| My Daily Driver 1982 CJ-7 |
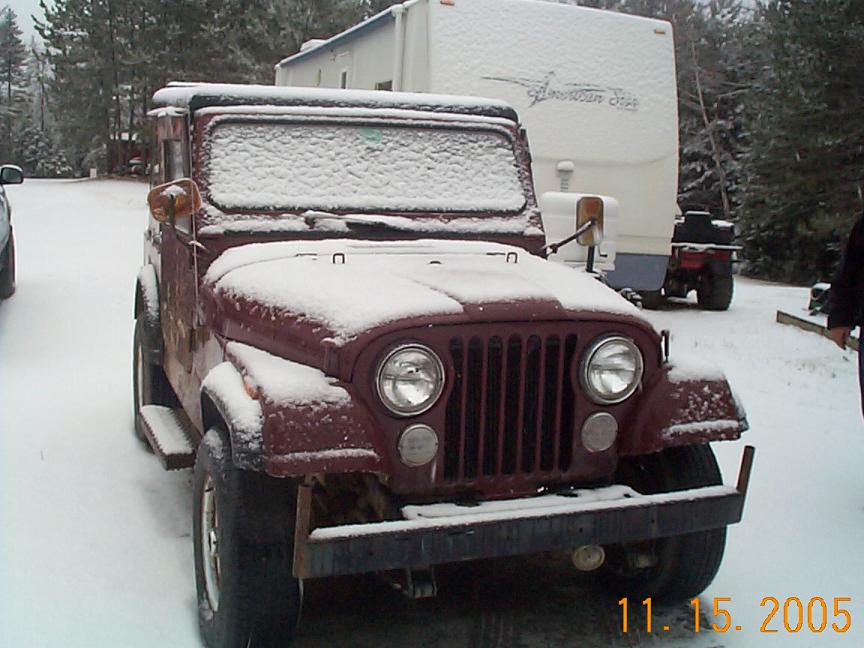 |
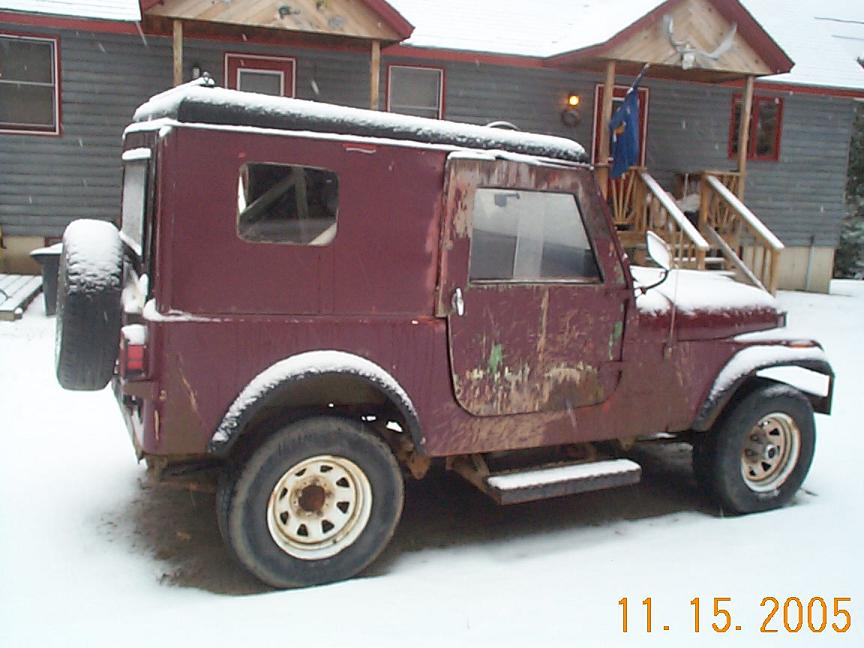
| Sasha's 1985 CJ-7 When I first got it. |
 |
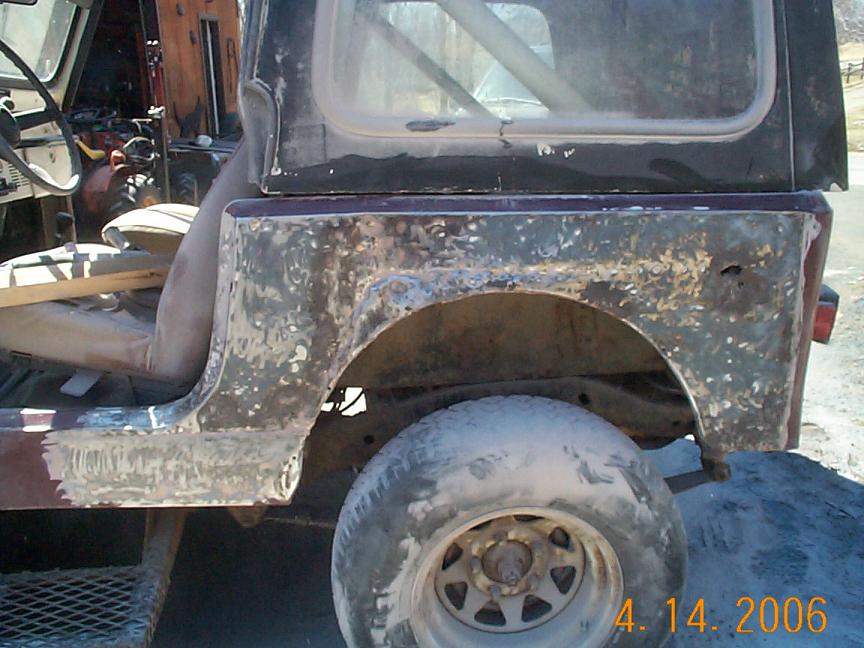 |
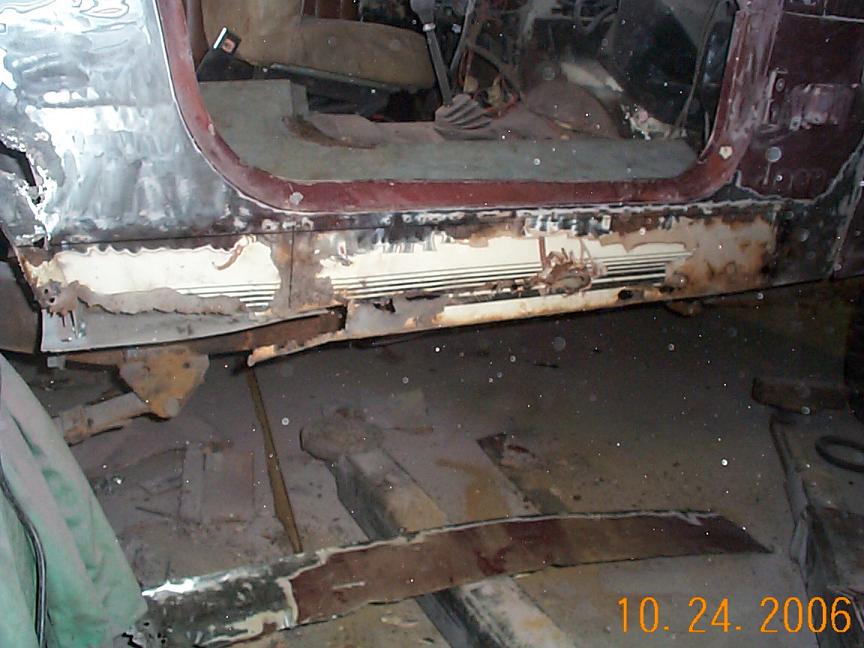
| The side looked a little hinky so I started taking off the paint to see what condition the panel was in. After going through an inch of bondo I discovered that the side was a network of crinkles and crappy spot welds. Apparently this Jeep had gotten hit really hard in the rear corner. If you look close enough even the door opening was distorted so much that the door wouldn't close. That explaines why you see those old wooden doors in the original pics. |
 |
| Because of the door opening being warped I decided to remove and replace the entire panel instead of piece mealing it together and having to worry about getting the opening the right size and welding it. |
 |
 |
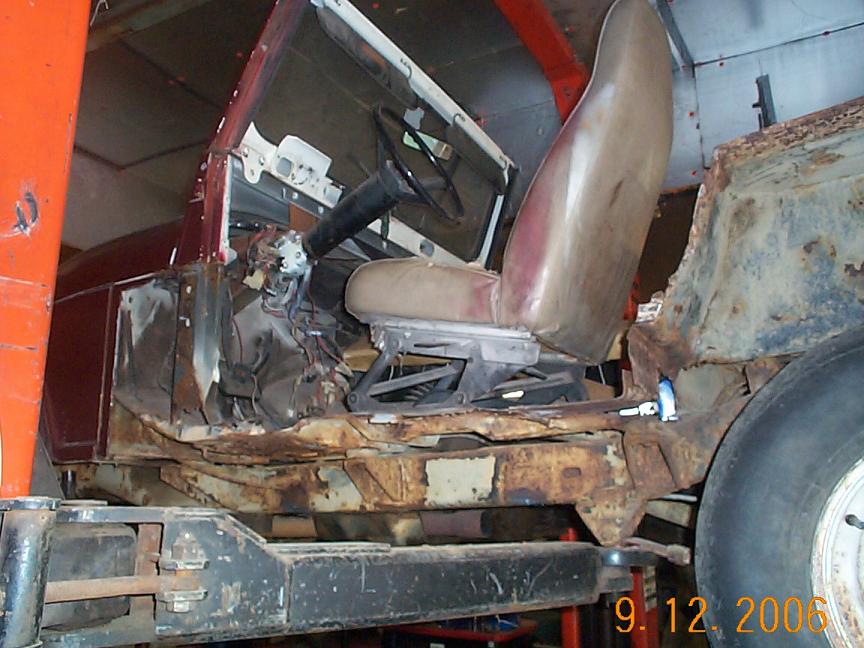
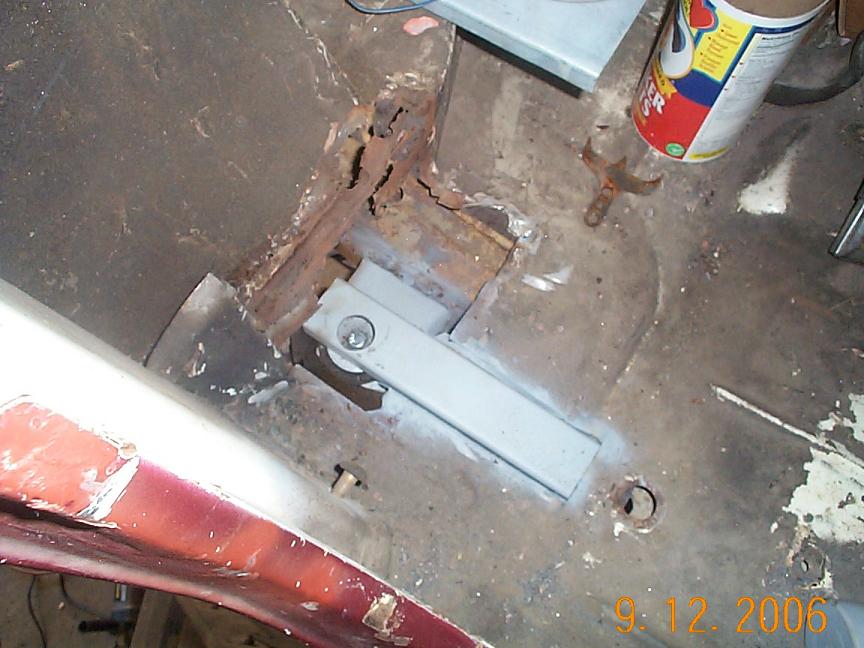
| The floor is in pretty bad shape as well. It was covered in bondo and crap. I could tell that this Jeep had been patched together over the years instead of being repaired. The bondo was just covering weak, decayed and rusted metal. In these pictures I used 1 X 2 tubing to replace the floor support that was completely gone as well as recapped the body mount supports. I'll be fabricating new floor panels to cover the supports. |
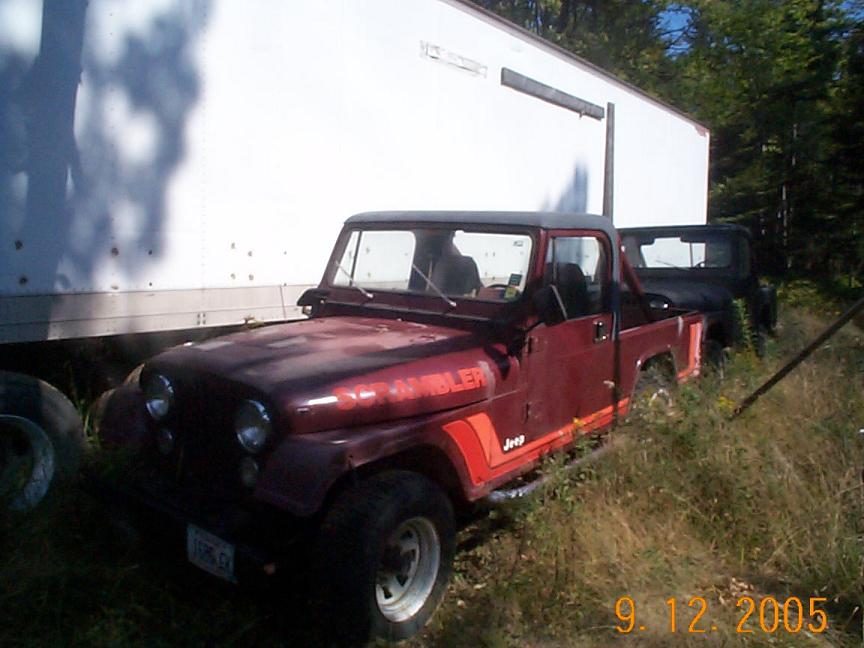 |
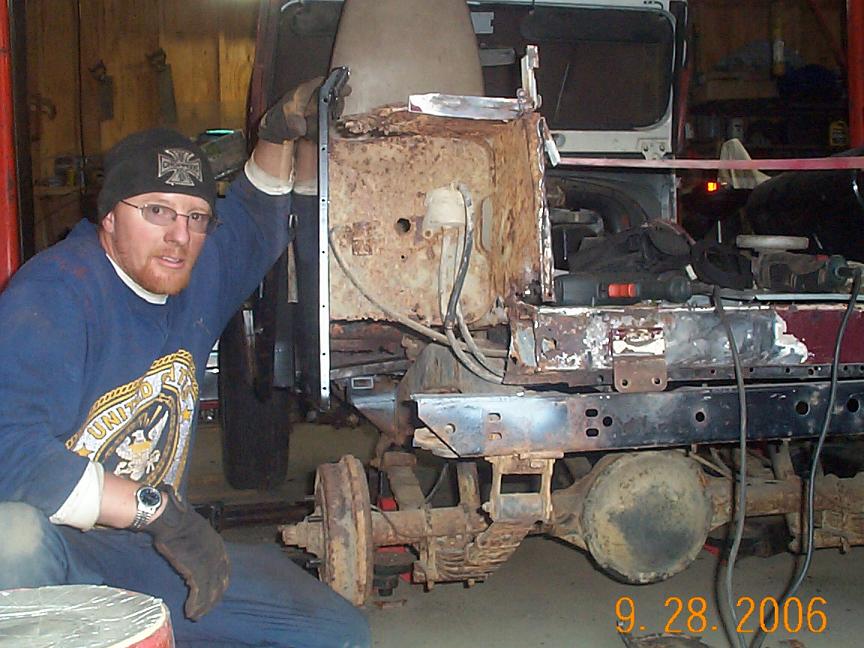
| 1981 CJ-8 Scrambler |
 |
 |
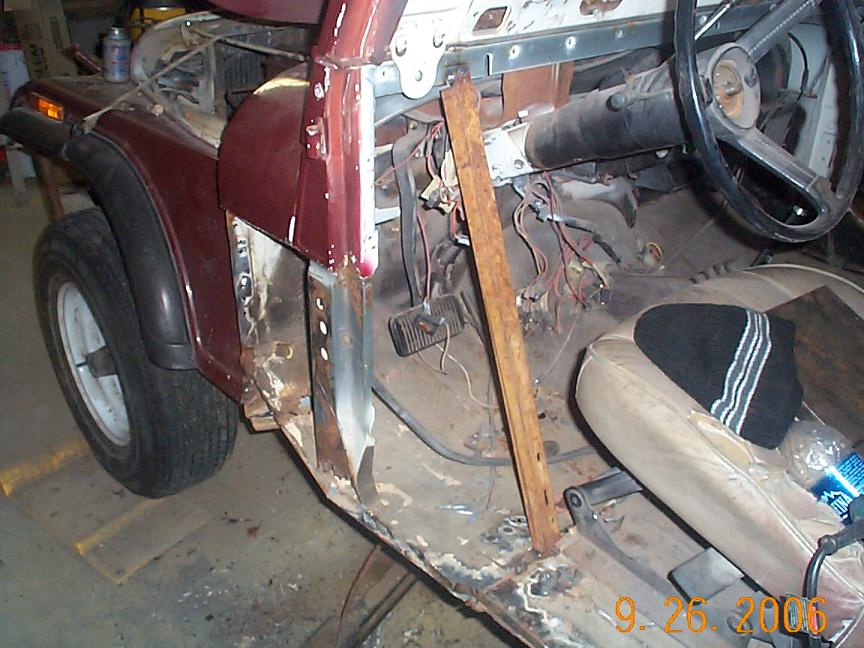 |
| I tack welded an angle iron in place to support the cowling/dash before I cut out the old support in order to put the new side in place. |
 |
 |
| As you can see here, the rear corner is gone and I will have to remove the wheel well to be able to line up the side panel correctly with a new corner installed. I might even have to fabricate a new wheel well. It's pretty rotten. |
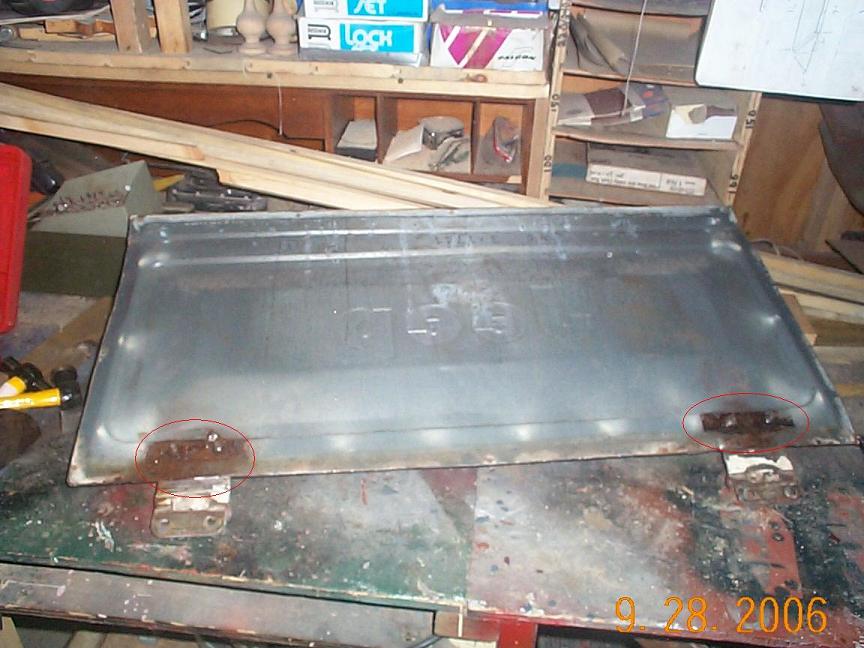
| Here I split the skin on the tailgate to be able to bang the dents out of both halves and repair the nut plates on the inside. They had rusted free and the hinge bolts just spun with the nut so I couldn't get the hinge off withouth opening it up. |

|
  |
| Sign my guestbook before you go. |
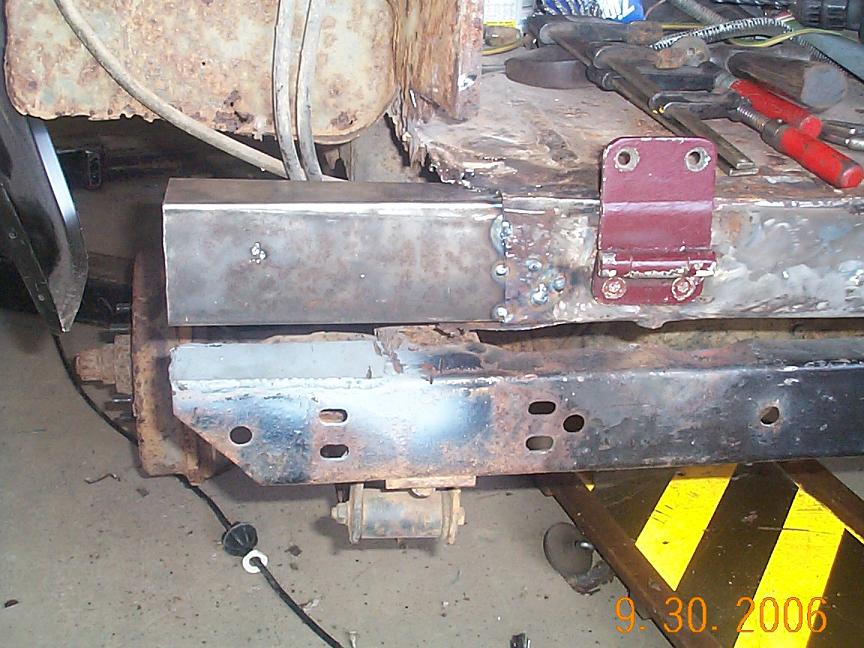 |
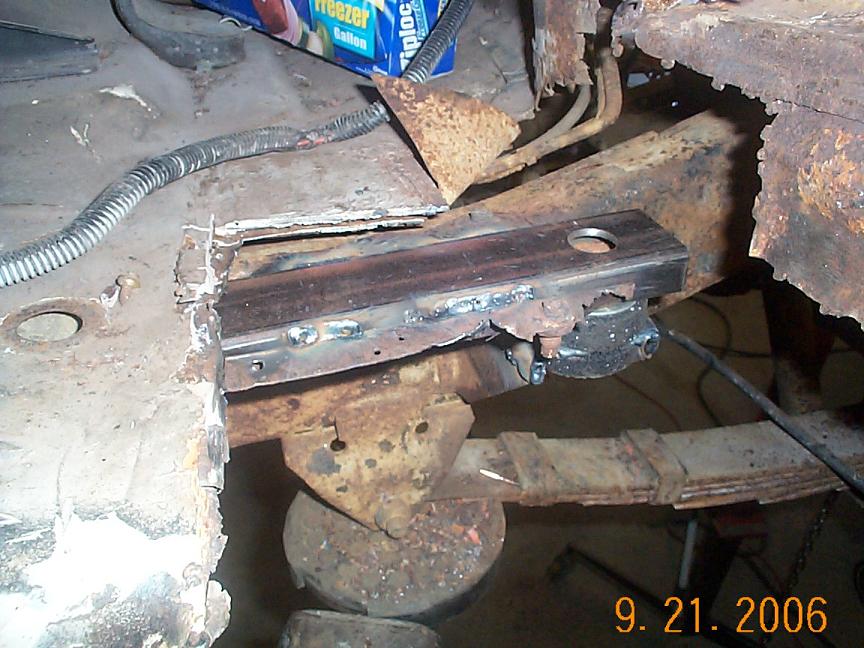
| 9/30/06 Today I made a new box and slid it into the rear channel of the body and spot welded it in place. This is where the rear body mount will attach to the corner of the body. |
|
|
![[History]](http://us.yimg.com/i/ligans/cb/smtdih.gif) |
 |
| 10/2/06 Finally attached the new side and tack welded it in place after bracing and measuring and getting it exactly in the right postion compared with the frame. |
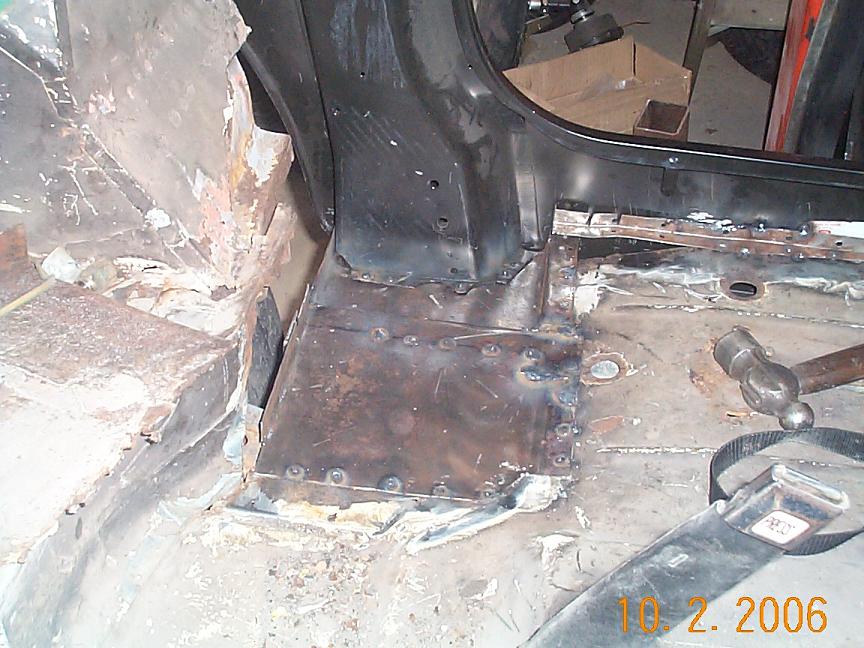 |
| 10/2/06 Layed in the floor patch over the new support behind the driver's seat. |
 |
| 10/9/06 After I cut and shaped the repair panels I needed, I tack welded them in place to form the new floor pan and the front of the wheel well. |
 |
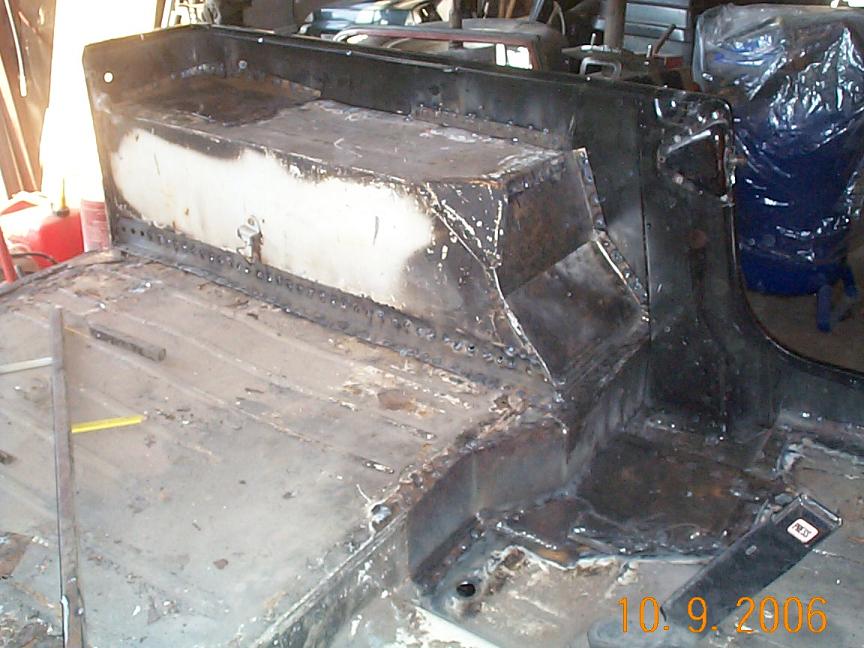
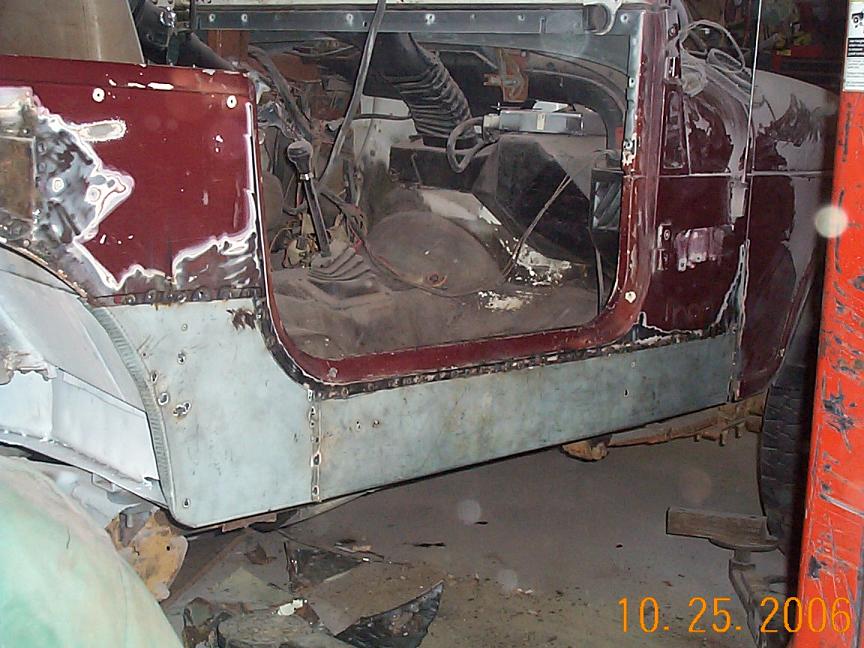
| 10/10/06 The driver's side panel is replaced and the cap fits just right. I am really proud of this one. |
 |
 |
 |
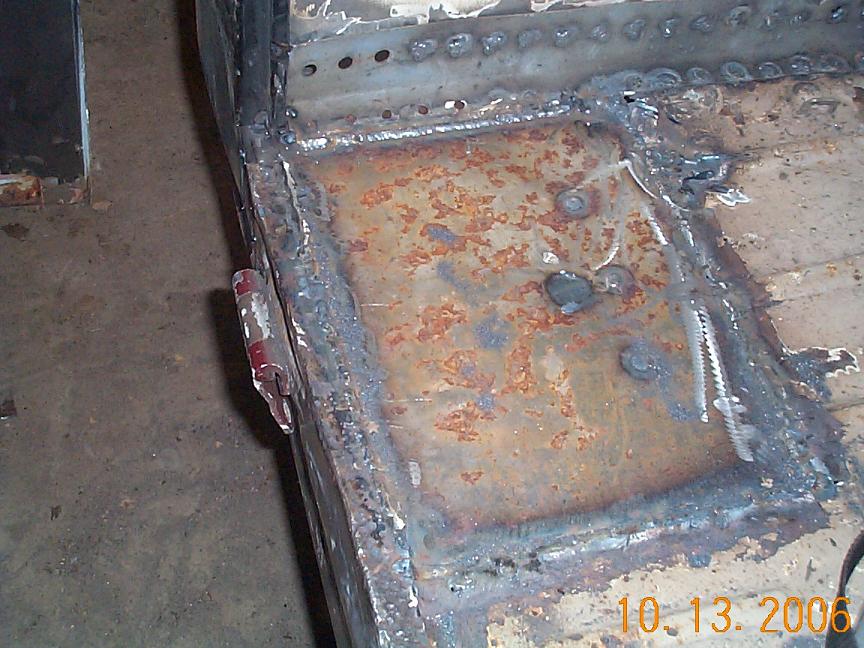 |
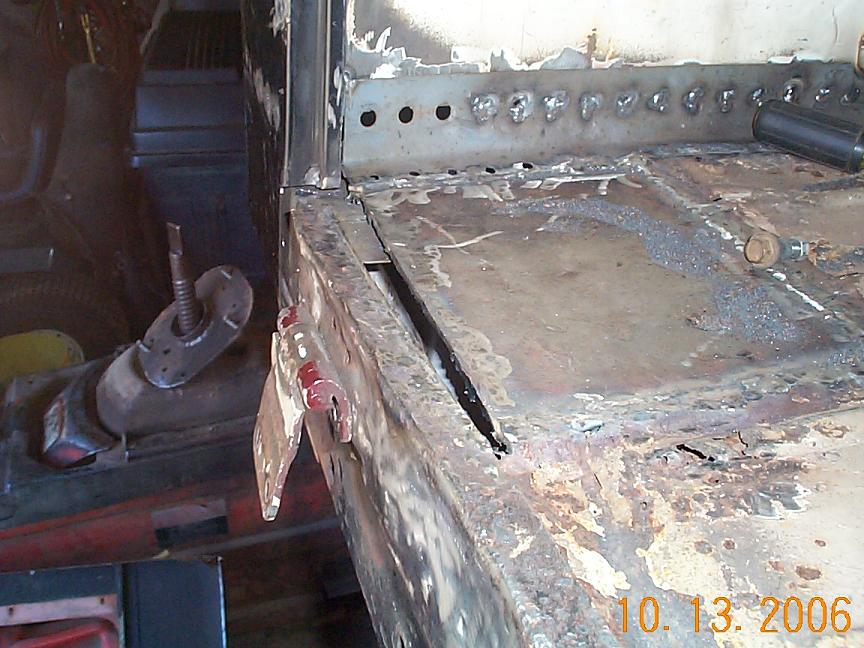
| 10/13/06 Because it got hit in the rear corner the floor was crinkled and inset about 1 1/2" so I had to cut the floor and push the crossmember back where it belongs with a porta-power. Then weld a new plate in place. |
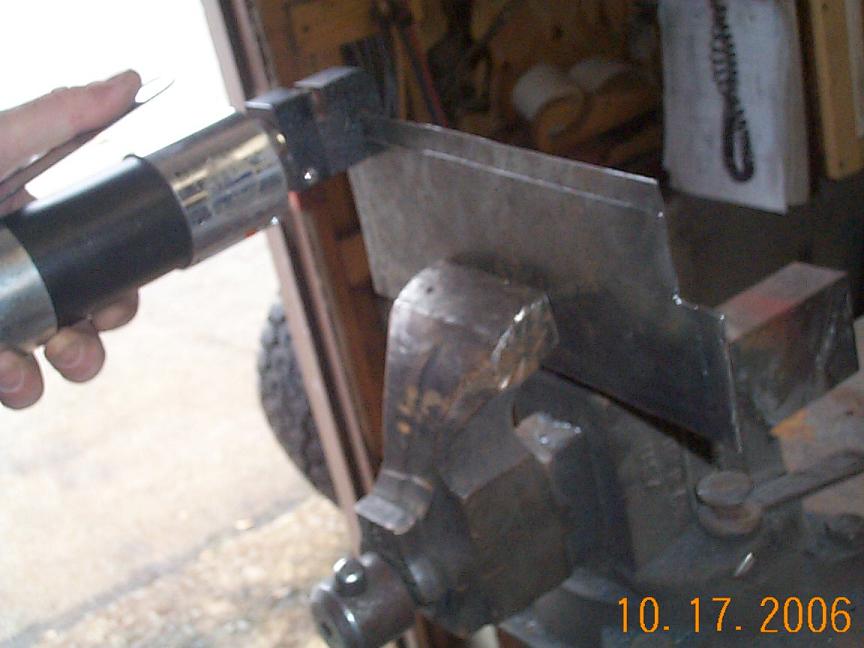 |
| For all the panels I have been making I use this air flange tool around the edges to make the fit flush with the metal on the Jeep. |
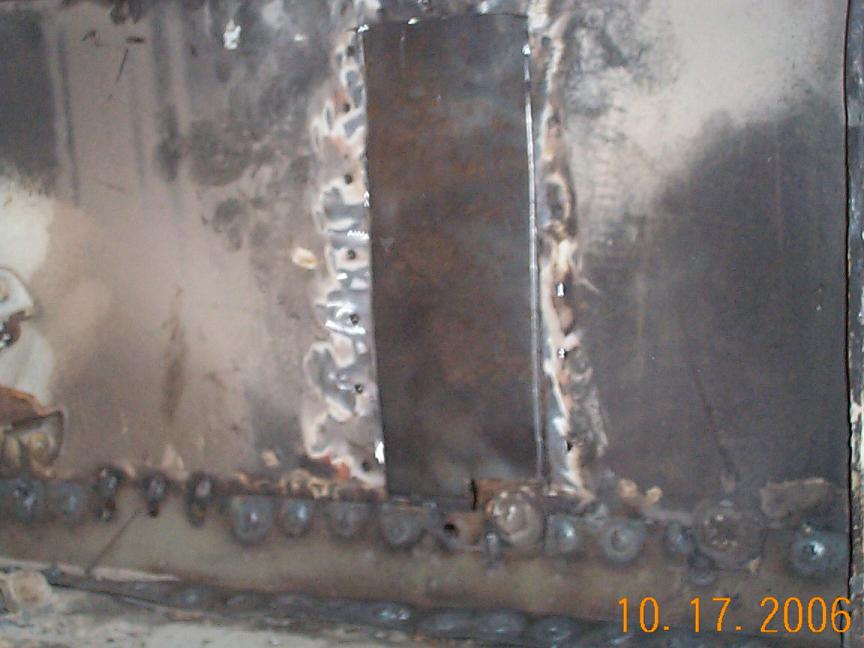 |
| The same tool also punches holes in the body for tack welding. If you look close you can see the holes. |
| 10/18/06 Today I cut the rotted floor pan out under the driver's seat. Then I cut and fit a new panel in. I'll tack it in place tomorrow. This section has to be done in two pieces because of the curves involved. |
 |
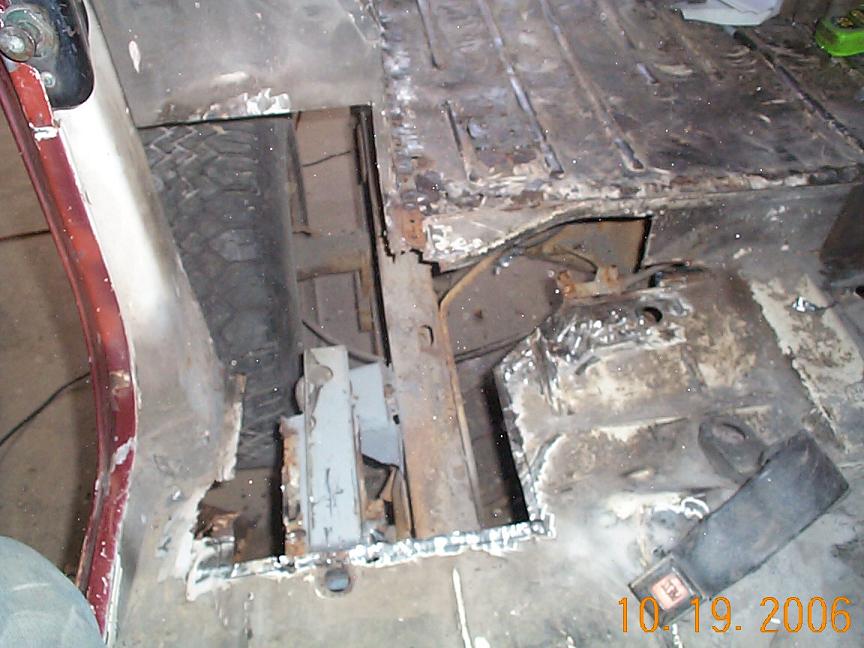 |
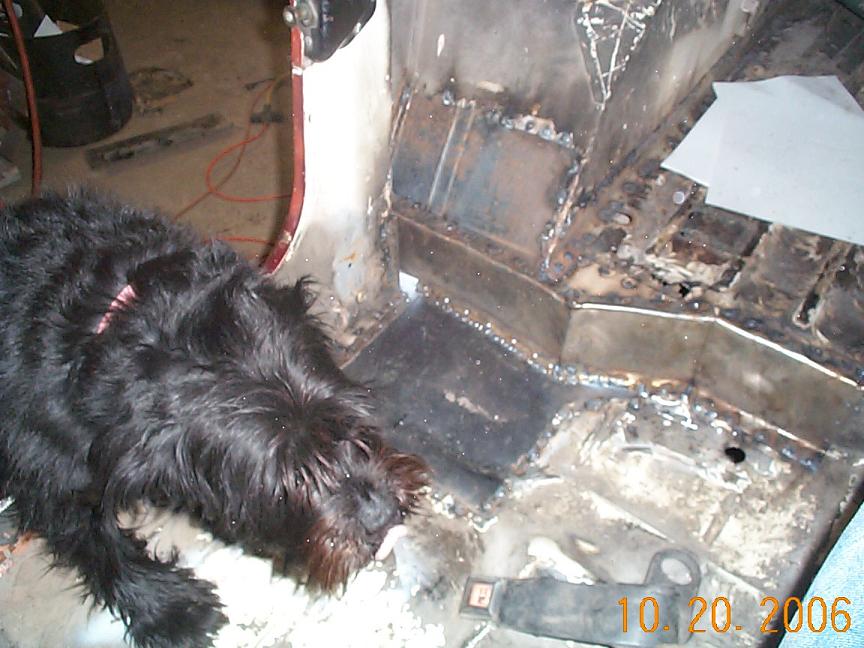
| 10/19/06 Here is the hole of rot I cut out behind the passenger's seat. The floor was gone and part of the wheel well. I cut and formed the repair panel and aftger I welded it in place Molly had to inspect my work for safety and integrity. I passed. |
 |
 |
| 10/21/06 Today I patched the passenger side rear quarter. Luckily it wan't as bad as the driver side but you can see that I still had a good size hole to patch. |
| I also finished the wheel well by patching a big hole in top. |
 |
| This is what I found when I removed one plate of metal that was rotten.... the original paint and pinstriping that is also rotting away. |
 |
| This is how it's supposed to look like when you remove the old rotting metal instead of covering it and then having to use way too much bondo to cover your sloppy work. |
 |