|
Outline Tool
Fun
Supplies needed
Gold and Diamond fill
HERE
A copy of PhotoImpact 30 day
Free Trial
I used PhotoImpact 12 for this Tutorial. I have also done
this effect in PI X3.
Step 1. Open a new image, size is up to
you.
Activate your Outline Drawing Tool and
choose the Sun shape from your list.
NOTE:
The top 2 lines of shapes do not have
the blue nodes so they can not be used for this tut.


Draw out the sun shape on your new image.
Activate your Edit Path Object Tool
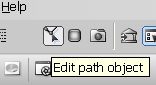
Can you see the blue nodes!! This where the
fun begins.
Hover over one of the inner blue nodes and
when the pointer turns white, click on your left mouse button and drag the node
in toward the centre. You will notice when you drag the node that all the
inner nodes will move at the same time!!
When you click on the blue inner node, you
will also notice that the control handles for each node also have blue nodes and
yes you can also drag these any way you like and they will also move in unison.
The point of this tut is for you to make
your own design and mostly just to have fun along the way.
Point
of interest!

You can add single node sets, this will
give you 1 blue node in the same spot all the way around your shape.
You can also add a node pair, this will add
2 nodes opposite each other in the same spot all the way around your shape.
You can also delete a node. When you delete
a node it will automatically delete the node that is in the same place all the
way around your shape, at the same time. Just hover over the icons and it will
tell you which one is which.
Another tip: When you have
dragged your blue node inward and you would prefer the straight lines to be
curved, just click on the line and then on the cure icon
Graphic provided by Mary
Lou from the PIRC forum,
a really great place if you are into PhotoImpact Graphics Program

Thank you Mary Lou for your
generosity (tips and graphic) which has allowed me to make this tutorial a lot
more fun.
Isn't that neat!! I think
so.........rofl


During your design stage, you can click on
toggle to take you back to the full image so that you can look at the design you
have created. If you don't like it, then activate your Edit Path
Object Tool again and play with the blue nodes some more.
Finally, when you have got the design you
like, goto the Set Line Width and choose a width of 1. Then click on the line
style and select the line style you would like, I choose the small dash.


This is your result, which I found very
handy when I was doing an Adobe Illustrator conversion tutorial called Just
Lines.

Part 2
Path Tool
Fun
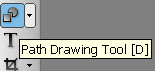
Activate your Path Drawing Tool and
choose the Gear shape from your list.


Activate your "Edit Path Object
Tool"
Click on a blue node or the blue
nodes on the control handles and pull or push them in or out. Exactly the same
way as you did in the above instructions for the outline path tool.
You can click on the toggle to
take you back so that you can look at the design you have created. If you don't
like it, then activate your Edit Tool again and play with the blue nodes some
more.
This is my result from playing
with the Gear Shape set at 12 number of sides or convex points.

This shape was created with the Asterisk
shape


Created with the Sun shape.
The above blue one and the next one below
has a 2 colour gradient fill.
Goto Edit/Fill


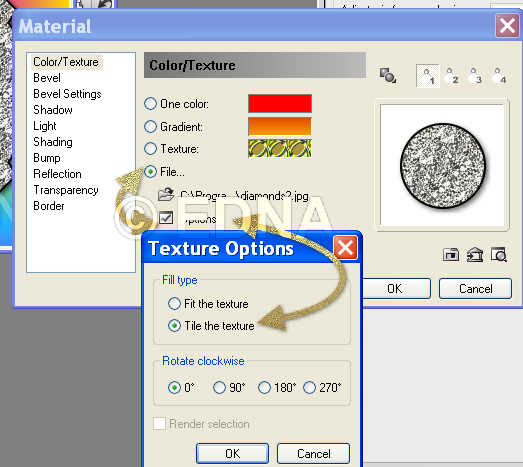
The shape below is the same shape, however
I went to  Then to File, choose my
fill, then click on Options and set it to Tile the texture. Then to File, choose my
fill, then click on Options and set it to Tile the texture.
Click OK
Right-click and convert to image, If you
don't do this step, you will lose the border on your image when you take it to
GA to animate.
Then duplicate the shape 3 times.
Goto Photo/Noise/Add Noise and give
each layer a value.
Top Uniform/Monochrome 20
Second layer Uniform/Monochrome 25
Third layer Uniform/Monochrome 30
Save as a UFO and open your UFO in GA and
animate the sparkle.
Hope you have enjoyed this tutorial.
Please feel free to print
this tutorial
out for your own personal use, but do not copy it in any way to
put on-line, pass out, or
re-write and claim as your own.
Any resemblance to any other
tutorial like this, is
not intentional and is purely coincidental.
This tutorial was written on
the 14th November 2008 and is therefore
© to Edna Munn
Curve Graphic © Mary Lou
Website and web set Design
Also created
by
Edna Munn
|