
Making Picture Frames in Photoshop 7.0
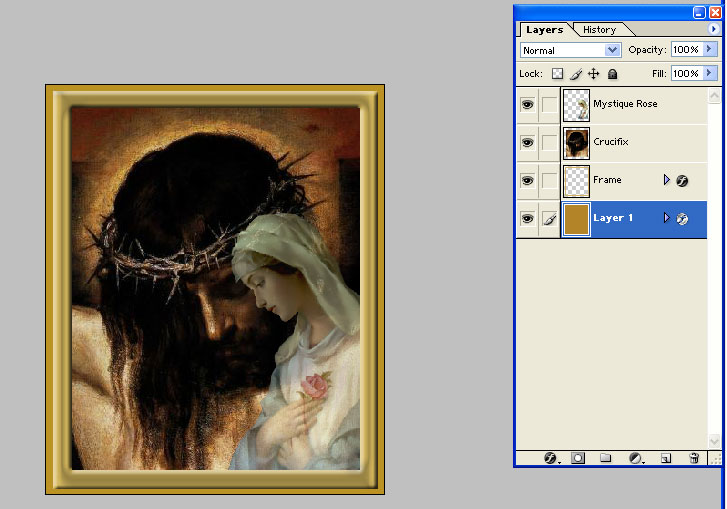
Ok, first thing you'll do is make a new layer. After you've made it you want to place your mouse on it and drag it to the bottom of the layer palette. It needs to be the very first layer. Like this
Click image to enlarge.
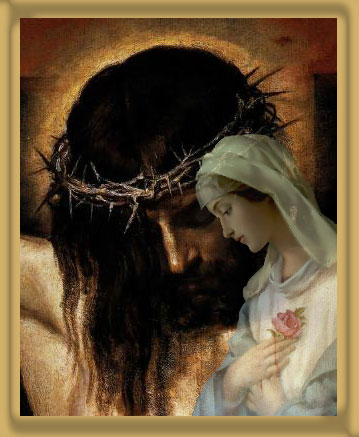
Next, choose your color. To choose mine I selected the Eye
Dropper Tool ( ![]() ).
To use this tool, place your mouse on a color in the image that you'd like and
click. That will choose that color in your color palette.
).
To use this tool, place your mouse on a color in the image that you'd like and
click. That will choose that color in your color palette.
Click image to enlarge.

Now, in order to get the effects we want, we have to delete part of the background we just filled. Hold down your control key and click on the Crucifix layer then go to Select, Inverse and click the delete key on your keyboard. If you'll now turn off your crucifix layer, you'll see that there is only a frame there. Like this.
Click on image to enlarge.
Now, let's add some Layer Styles to make it look 3D. Go to Layer, Styles and click on Satin. I slid the Opacity bar down to 30%.
Click to enlarge.
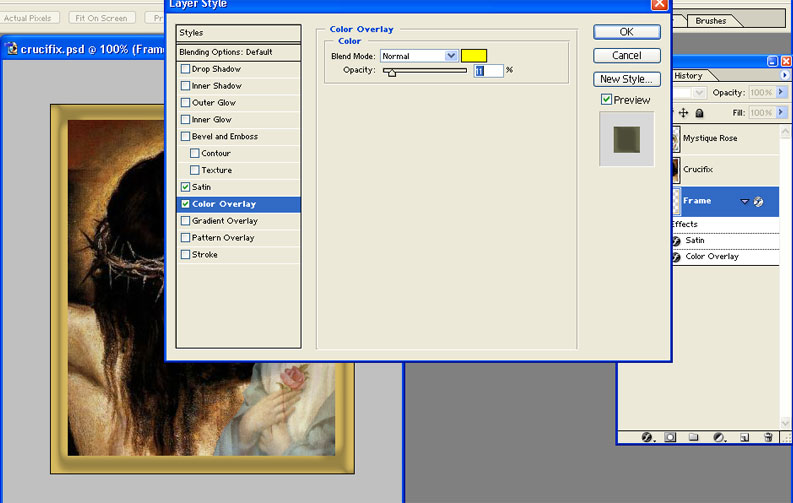
Next we'll add a Color Overlay from the Layer Styles. Go to Layer, Layer Styles and click on Color Overlay. Next, choose yellow for your color as shown in the example and then slide the opacity down to 11%. (Bear in mind that if you chose different colors to work with, you'll need to choose a color other than yellow.)
Click to enlarge
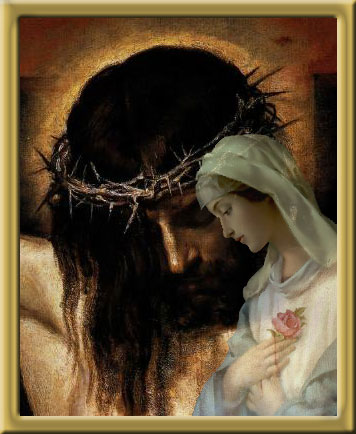
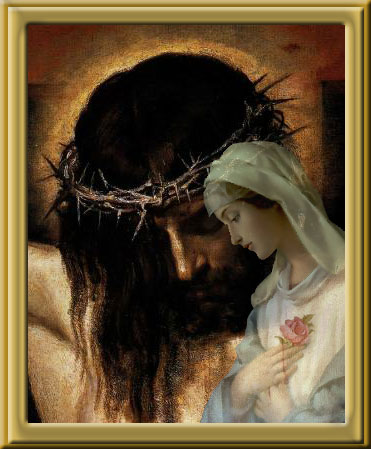
Now, lastly you'll go back to Layers, Layer Styles and choose Bevel and Emboss. Just leave the default settings and click OK.
Click on image to enlarge.
Now, lets jazz this frame up a bit....Take your crop tool and enlarge your canvas size again. Like so.....
Click on image to enlarge....
 With a result of this....
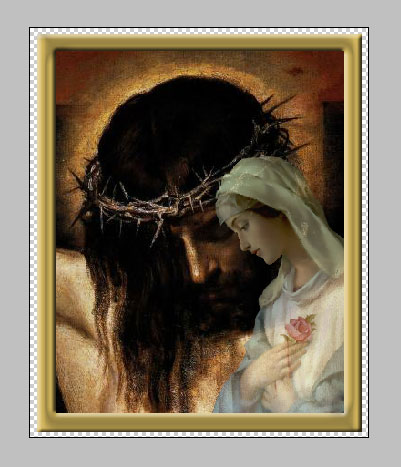
Now, create a new layer and drag it to the very bottom again. Get your Eye Dropper Tool and choose the same color you filled your first layer with , now fill your new layer.
Now, go to your first "frame layer" and right click and copy layer styles then go back to your new layer and paste layer styles. You'll have another version of the first frame you did behind the first frame layer..
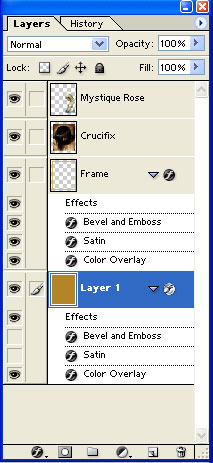
Click image to enlarge.
The possibilities are endless. I just wanted to show you some Layer Styles and how to make your own frames, when you play with it in Photoshop you can get some magnificent stuff. This IS NOT magnificent.....lol this is less than mediocre. But, it'll do for a lesson. hehehe