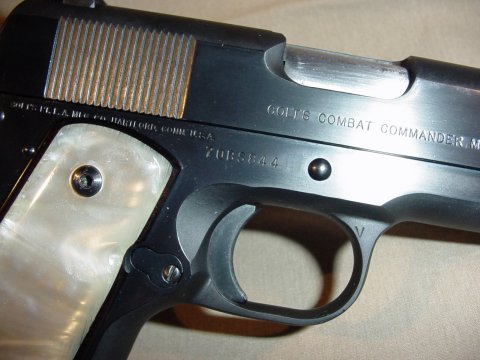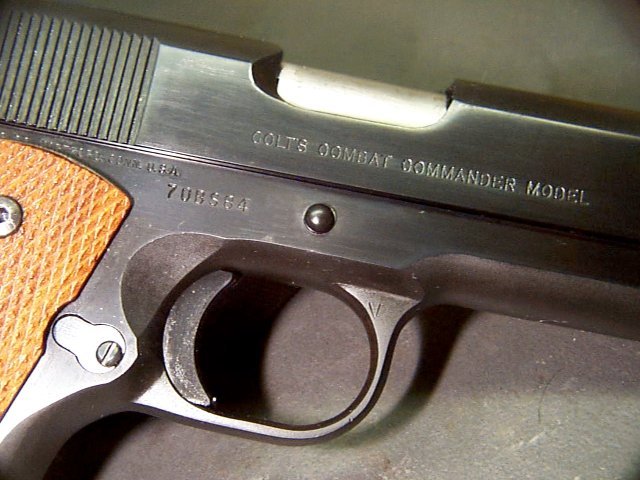
This gun had some minor rust and pitting spots in addition to normal bluing wear. I had used cold blue to touch up some of my earlier gunsmithing efforts, and this was wearing off as well.
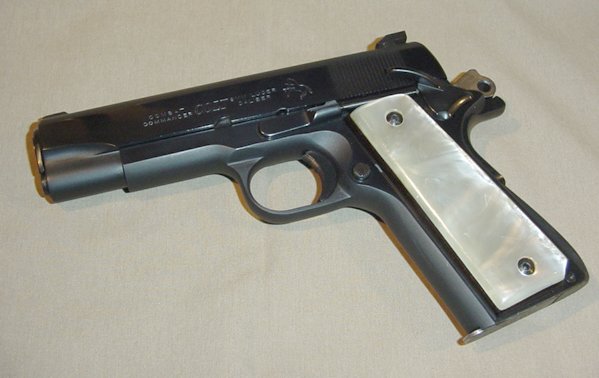
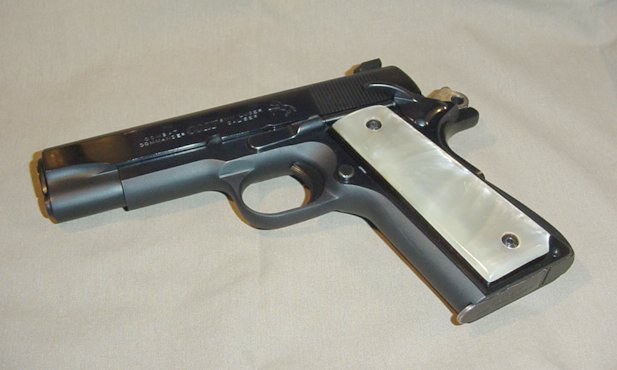
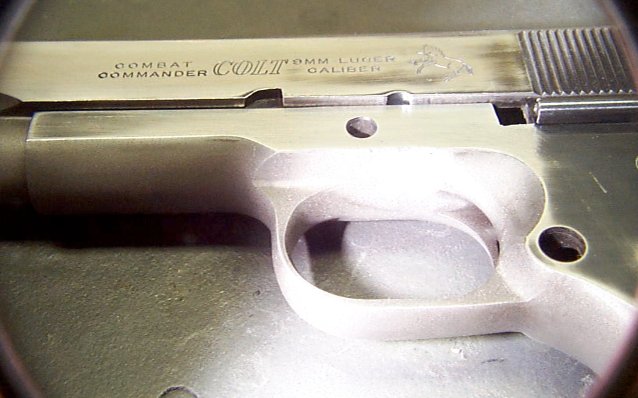
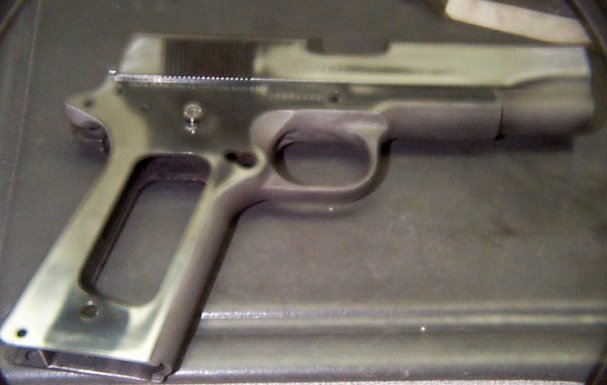
On the polished surfaces, I used a hard Arkansas stone to smooth the pitting, and then used 400 grit sandpaper, followed by 600, 800, and finally 1000 grit. For a final polish I lightly used a muslin buffing wheel lightly loaded with Dico stainless steel polish. Below you can see the polished surfaces contrasting with the sandblasted trigger guard, frontstrap, etc.
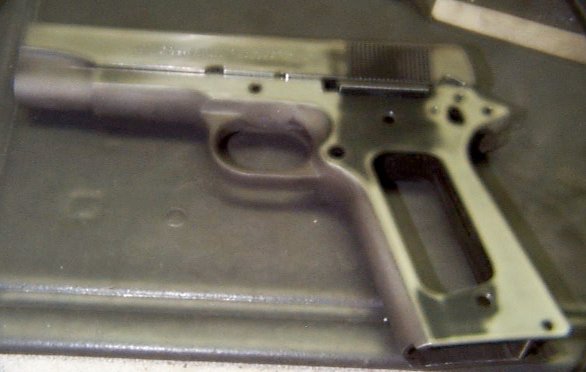
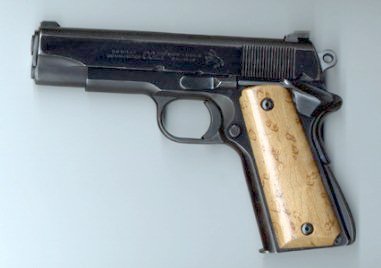
The bluing salts consisted of the ammonium nitrate + lye formula heated to 290 degrees. I strung the frame & slide on a piece of wire and placed them on the bottom of the pot. The small parts were placed in a steel wire basket and lowered into the solution. I left the parts in for about 30 minutes and rinsed them off. There were a few spots of stubborn, fine rust on the larger parts, but this was easily removed with the Metal-Glo paste. After rinsing and drying, I sprayed all the parts with WD-40 and reassembled the gun. I haven't attempted buffing the finished surface again but I don't think it would do any harm if lightly done.