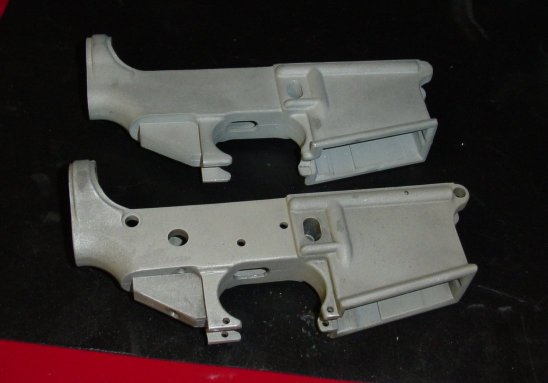
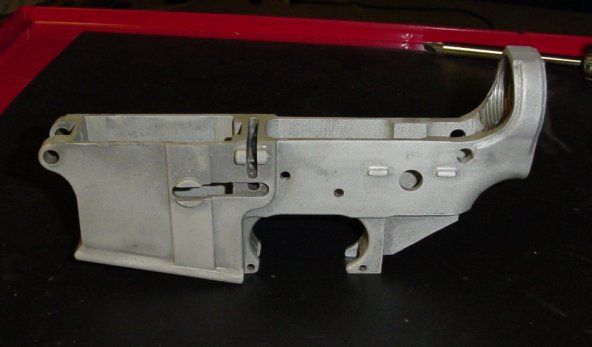
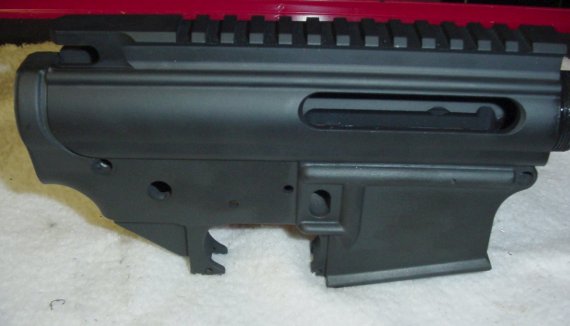
The top casting is untouched, and the bottom one has been completely machined and anodized.
In Progress
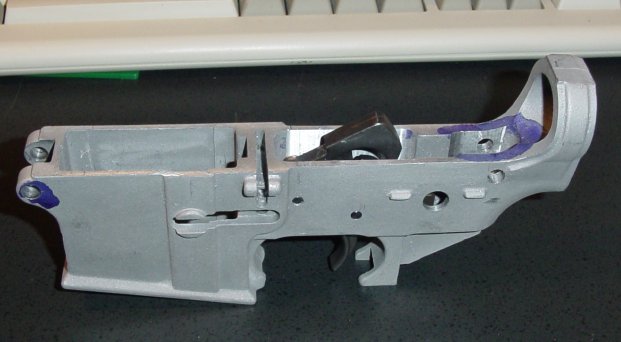
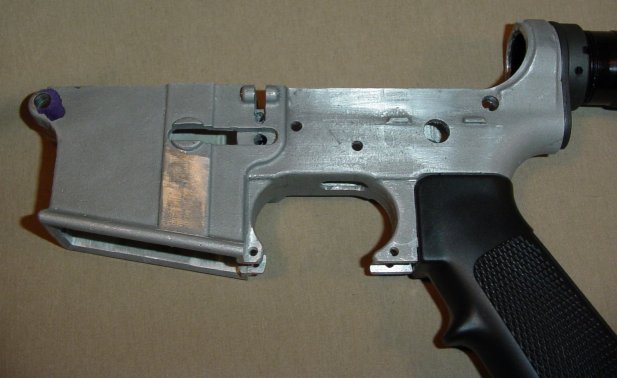
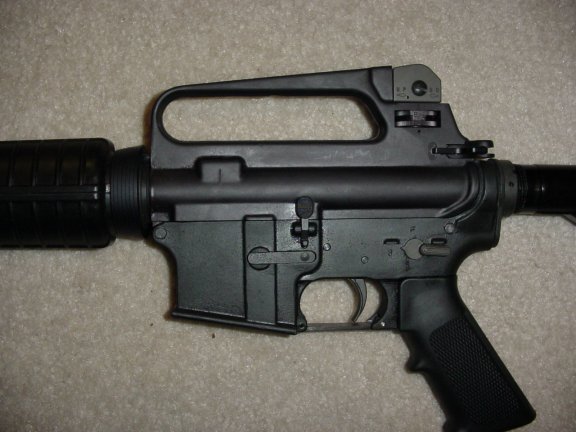
Here the pivot and takedown pins have been drilled, along with the fire control holes, safety switch
hole, and the mag catch spring hole. I did have to mill out the inside of the fire control area somewhat
to allow the trigger and hammer to fit.
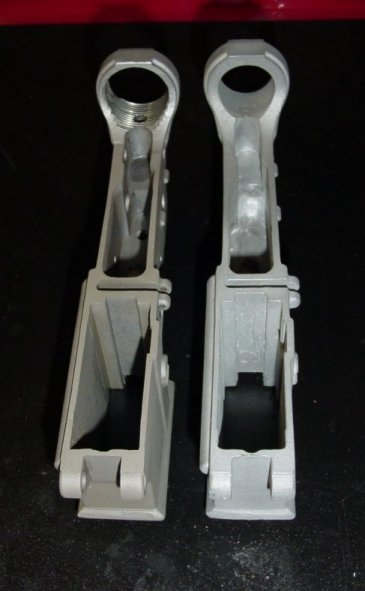
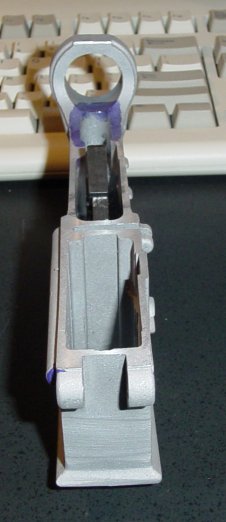
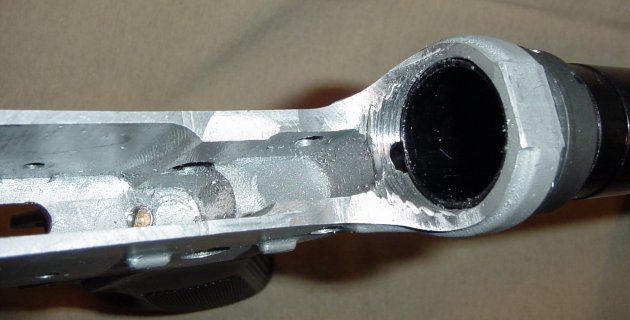
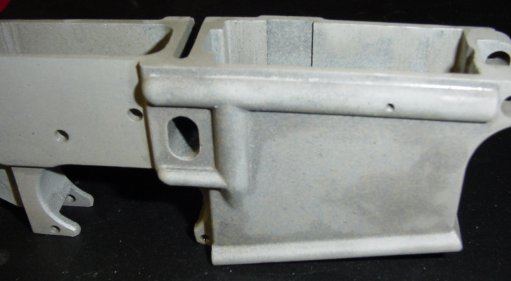
A detail of the work done inside the fire control area, and the buffer tube hole threaded.
Originally I had drilled the buffer tube hole at an improper angle, and had to thread and
epoxy in a plug to allow redrilling and tapping. This can be seen in the photo below.
Anodizing
Anodizing converts the outer layer of aluminum to aluminum oxide, providing a hard coat on all
surfaces of the receiver. This is to protect against scratches and abnormal wear, since the casting
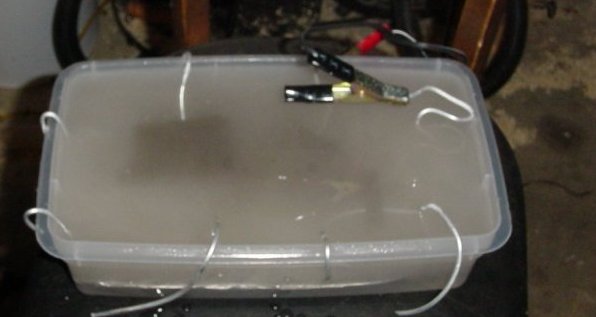
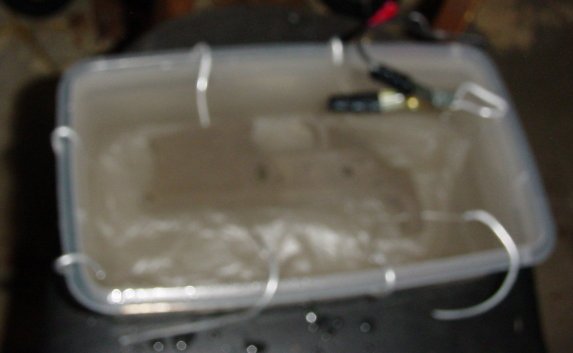
is pretty soft. I used a mixture of 1 part battery acid to 1 part distilled water. The receiver acts
as the anode (+), and a sheet of aluminum foil wrapped around a loop of aluminum wire on the bottom of the
tank acts as the cathode (-). The cathode and anode should not touch each other. I used a manual battery
charger set to 12 amps, and ran it for 90 minutes. If everything's hooked up right, you should see bubbles
originating from the aluminum foil. If the bubbles are coming from the receiver, you've reversed the leads.
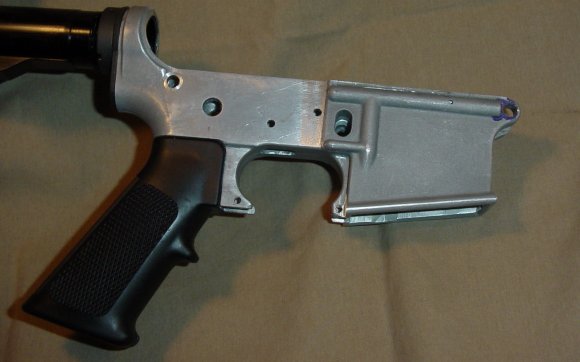
I didn't attempt to dye the casting since I intended to paint it anyway. When the receiver comes out of the
bath, it was covered with a brownish smut that wiped off with a wet cloth. You can see that the anodized
casting has a slightly yellowish tint compared to the raw casting.
Finishing
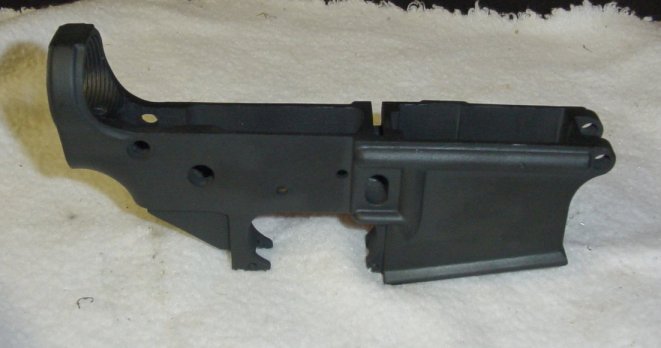
I used John Norrell's flat black SOCOM moly resin coating. I applied it with an airbrush and baked it for
1 hour at 300 degrees in my garage-sale toaster oven. I like the Norrell resin because it goes on thin enough
for controlled application, and it cleans up easily with MEK. Others have used Brownell's teflon moly coating,
GunKote, barbecue grill paint, etc. It doesn't much matter.
Most of the instructions, plans, and tips for making this receiver came from Roderus Custom.
I also got lots of guidance from the Builder's Squad page.