 |
|
|
|
|
|
|
|
|
|
|
|
|
|
|
|
|
|
|
|
|
|
|
|
|
|
|
|
 |
|
|
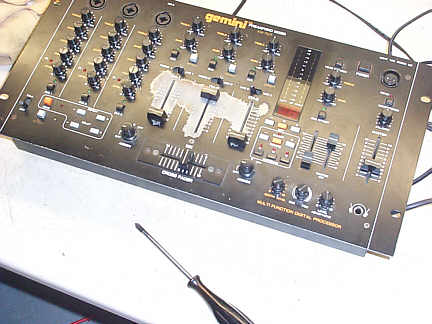
Over-view of a Mixer Repair. |
|
|
|
|
|
 |
|
|
This well-used mixer's faders are noisy, so it's Out with the Old and In with the New ! |
|
|
|
|
|
|
 |
|
|
|
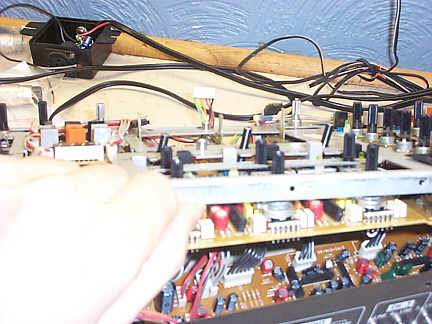
First all the knobs come off, the crossfader and the rear panel. |
|
|
|
|
|
 |
|
|
|
|
The sub-chassis is gently eased away from the multiple PCBs in this model. |
|
|
|
|
 |
|
|
|
|
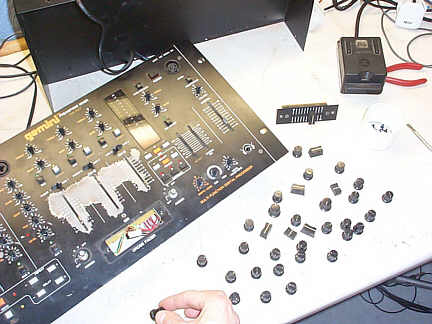
Then off with the front plate, and then all the chassis pins and pot-nuts. |
|
|
|
|
 |
|
|
|
 |
|
|
|
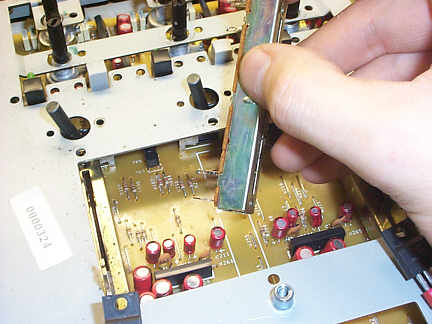
The faders are unsoldered and removed from the PCB, and new ones fitted. |
|
|
|
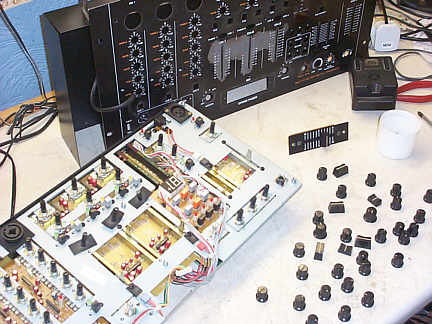
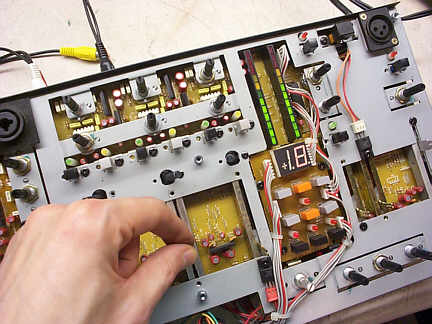
The mixer is carefully powered-up and the new work is tested. |
|
|
|
|
|
After attention to any obvious dry-joints, the mixer is declared fit again and can be re-assembled before soak-testing on a sound system. |
|