| Clone Stamp Tool |
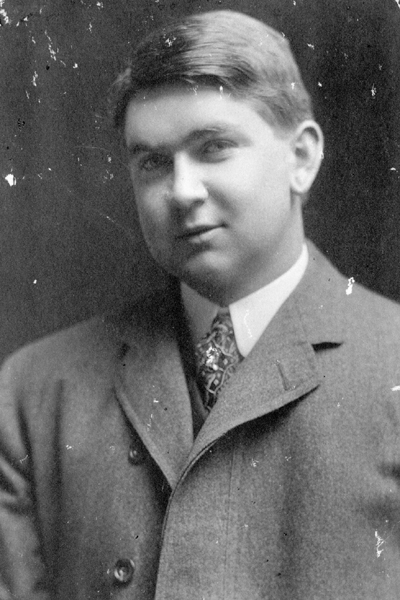 Stock Image Stock Image |
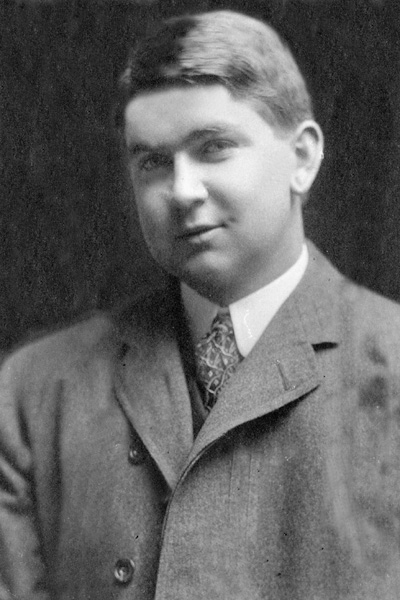 Finished Product Finished Product |
Using the clone stamp tool, we can make old photographs such as at the right into a new one uing the mighty clone stamp tool. You can download any of the stock images from the Resources page of this site. This tool works like magic, you can "repair" or "revert-back" an old image to its normal state. Old images tend to have a somesort of scratches and stuff so, you do't like that and you want it repaired. First open an old image in photoshop. Then select the clone stamp tool and then whle pressing the Alt key,click on any part of the image having no deformities.  Then after clicking, release the Alt key then click, stroke, ,brush or whatever you want on the part of the image with deformities. You must only click on the part which supposedly have the same color like the background of the image. In "repairing" the suit of the person in the image, you need to Alt+click on a surface
without deformity again but belongs inside the suit so it matches. Just click and stroke repeatedly until there are no more "scratches" remaining. Then after clicking, release the Alt key then click, stroke, ,brush or whatever you want on the part of the image with deformities. You must only click on the part which supposedly have the same color like the background of the image. In "repairing" the suit of the person in the image, you need to Alt+click on a surface
without deformity again but belongs inside the suit so it matches. Just click and stroke repeatedly until there are no more "scratches" remaining. |
| Coloring Tools: Brush Tool |
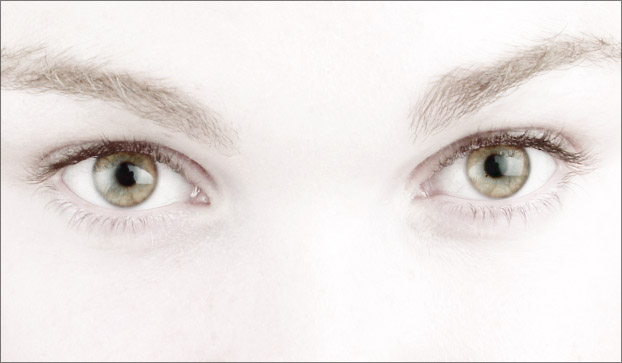 Stock Eyes Stock Eyes |
 Finished Output Finished Output |
Using the brush tool, with the opacity and flow minimized and you may also want to change the brush size by clicking the drop down arrow located at the options bar then changing the size there or simply pressing the [ and ] keys in your keyboard. You can use the brush tool in any way you wantand you can also change its brush styles. |
| Coloring Tools: Gradient Tool |
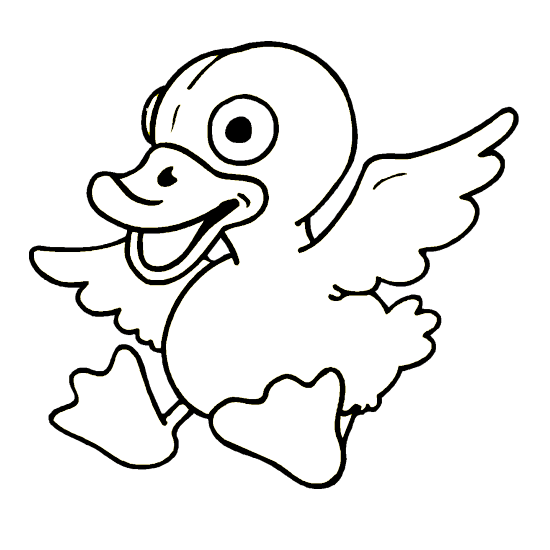
 Starting Image Starting Image |
.png) Finished Output Finished Output |
The Gradient Tool lets you fill same pixeled areas with artistically styled colors having different presets of colors or colors going to opacity. You'll understand what I'm talking about when you select the Gradient Tool and try it. The images at the right was done using the Gradient Tool so you get the idea of what it does. If you want to do this then download the starting image in the resources page then open it in photoshop, then use the gradient tool to color the image. You might want to use the magic wand tool though to select the parts to be colored. If you didn't make selections of what you are to color, then the gradient tool will fill the whole canvass with color and of course you don't want that happening. |
| Coloring Tools: Paintbucket Tool |
 Starting Image Starting Image |
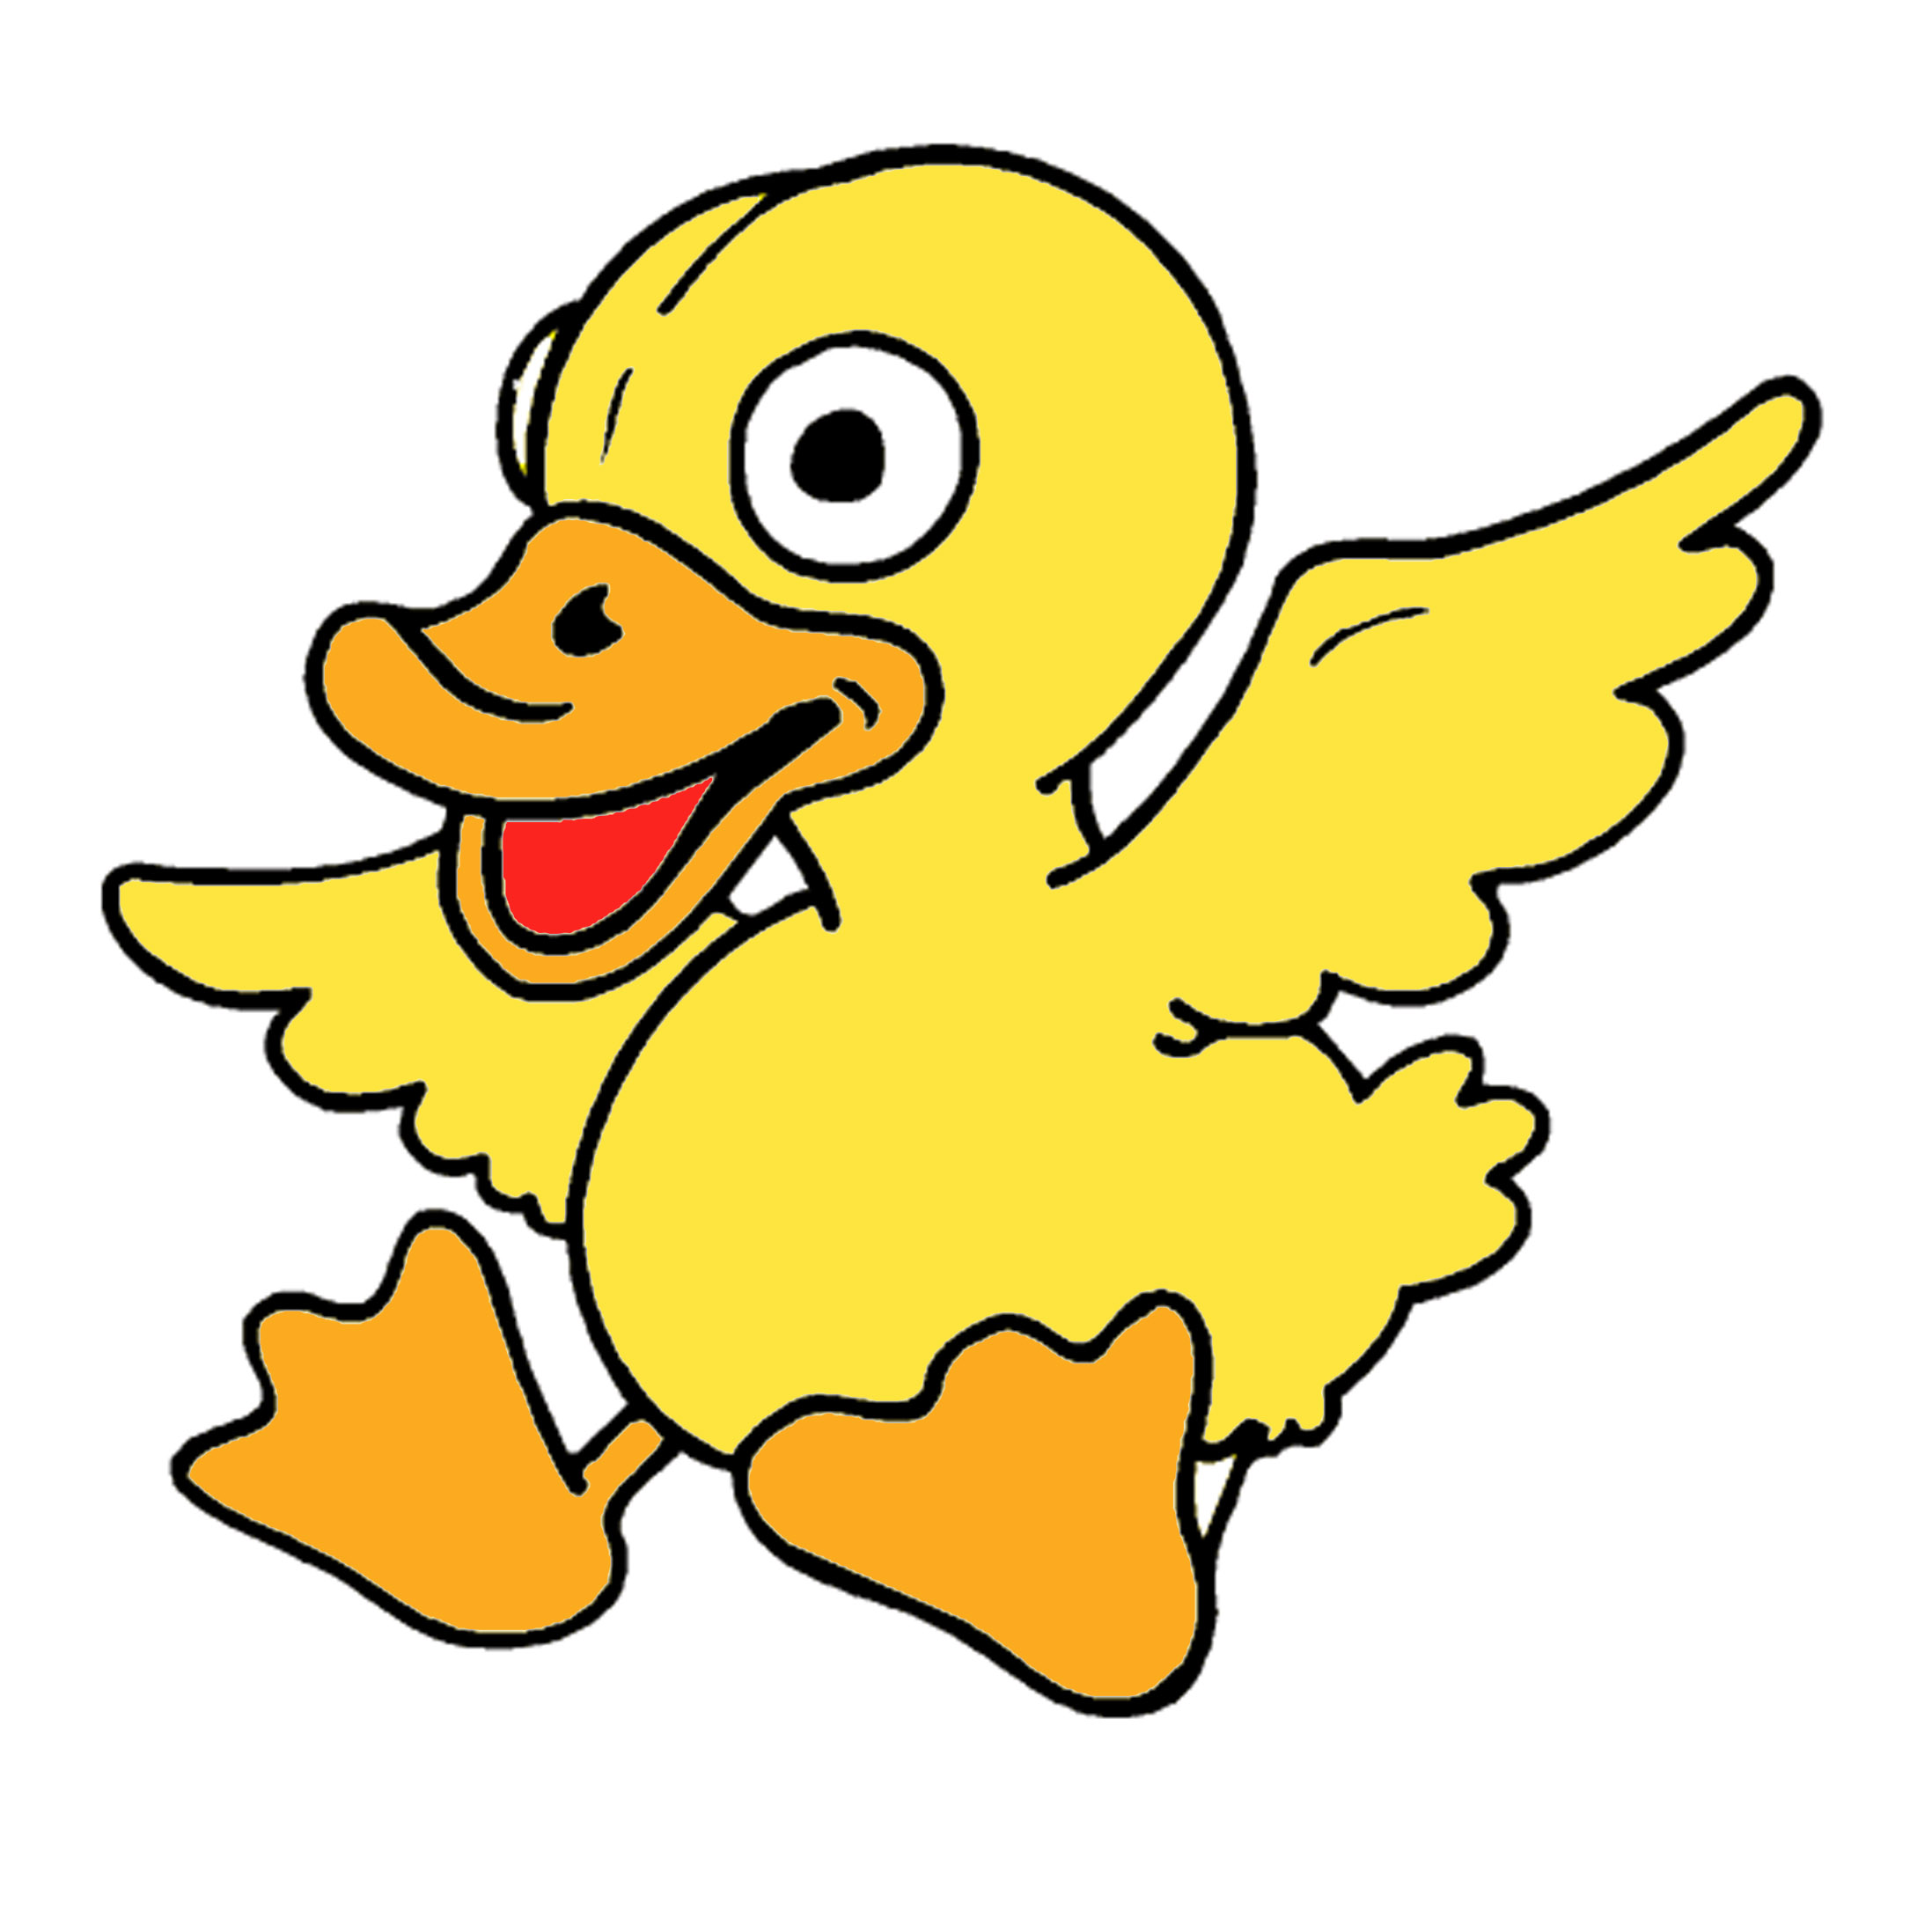 Finished Output Finished Output |
The paintbucket tool unlike the gradient tool fills similarly colored pixels and just that. It does not have artistic patterns and it just plainly fills areas just like the one at MS Paint. I will not elaborate this much, to do the image at the right, ownload the image, then open it in photoshop, select the paintbucket tool, select your desired color then start fillin'. You could also use the magic wand tool as said above because the gradient tool and paintbucket tool are similar. |
| Eraser Tools |
 Irobot(Eraser Tool) Finished Output Irobot(Eraser Tool) Finished Output |
Eraser tool like any other erasers, erases pixels or parts of images either to opacity and to erase normally like when erasing in a paper. We have 3 eraser tools, the eraser tool, the background eraser tool, and the magic eraser tool. The eraser tool is the standard one that only erases normally and none other, the background eraser erases parts of the image to opacity and the magic eraser tool erases similarly colored or pixelled parts of the image. In the picture at the right, move the images into one canvass(the finished output is made of more than one pictures) then start erasing! My tip is to experiment withe the eraser tools, use all of them as you wish and to play with the tolerance, opacity, and flow. Just try things out and do not be afraid to fail for there is a trick if you mess a line. Press Ctrl+Alt+Z to undo ( it undo or repeat the steps you have made and is shown in the history) and Ctrl+Shift+Zto redo (it redo or forwards to the step you have made in case you undo once or many times). |
| Patch Tool |
 Starting Image Starting Image |
 Finished Output Finished Output |
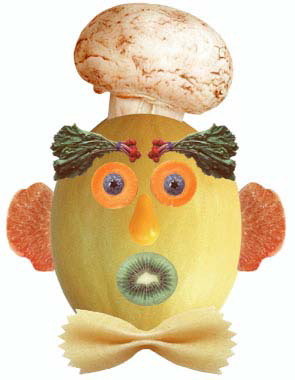
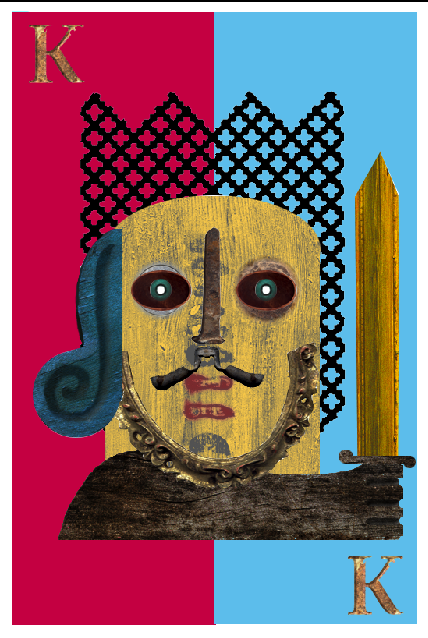
The patch tool is used to patch parts of images from an image source to the canvass you are working on.To do the activity, download the two images, the starting image and the finished one, then open it in your photoshop. Them, select the patch tool and select the source image which would be the finished image then click on the destination button at the options bar do the same thing on the canvass you are working on.Then make selections in the old man's face and drag or patch the selection to your canvass. Make sure that the patched parts fit s the location where you place it. |
| Pen Tool |
 Stock Image Stock Image
| 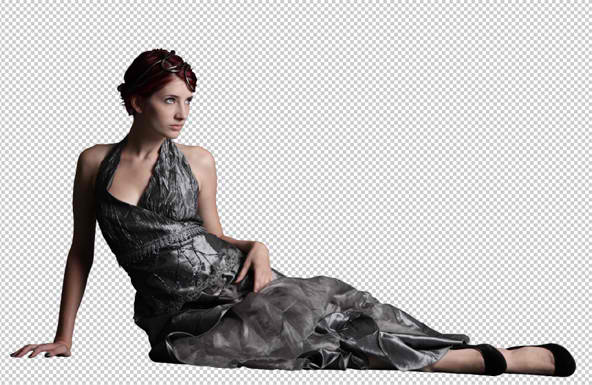 Finished Product Finished Product
| Using the pen tool, one can make paths and selections like th marquee tools. The pen tool also is the most commonly used tool by artists in removing backgrounds so it is vital to learn how to use it. Now,to remove backgrounds, first open a picture you want to remove its background. In this case I used the image at the right and is from deviant art you could download it from the resources page of this site. Then select the pen tool and click on the edges of the picture you want to keep. Keep clicking and making paths until it meets the opposite side then click on the first point you created. Then right click then press Make Selection. The path should now become like a christmas light flashing and flashing, then select the Magic Wand Tool and rigt click again. Then click on Refine Edge then click on the edges of the image you want to keep, all edges of the part of the image must be clicked. Then click on OK and then right click once more and click on Select Inverse and then press the backspace key.There now it is supposed to be done. |
| Selection Tools |
 Magic Wand Magic Wand
 Marquee Marquee
 Lasso Lasso |
The selection tools, Magic Wand, Lasso, and Marquee Tools all have the same function that is to make selections of parts of images. In the magicwand tool activity, first open all the pictures in photoshop once downloaded. Next is to create a canvass and apply a background color as you wish and then drag the images one by one into your canvass. Then remove the background by using the magic wand tool. Select the white spaces in the images then press backspace to delete the areas.Just repeat it with the other images and move the images to its respective places using the move tool. In the Lasso Tools activity, open the images from the resources page, there should be two of them one for reference, one is where you will get the parts. Next is to create a canvas and then select the lasso tool. You can choose any from the lasso tools that you want to use. Next, go to the images having the parts for it will be your source.Then click on the edges of the parts you want to get and then when the ends meet, select the move tool then drag your selection to the canvas you are working on. The same also applies to that in the marquee toolaltough the marquee tool has shapes and you may need to use the magicwand tool to remove the excess white areas. |