Again, this has absolutely nothing to do with hand dyeing. I just needed a place to put this for a while. :)
This is the completion of two different class projects. Almost two years ago I took a class on kaleidoscopes to learn the technique. Six blocks were made into a quilt as a present for my mother, and the other four were made into a top that I just wasn't inspired enough to quilt.
Then I took a machine quilting class with Shannon Hicks of Washington State, and realized I needed to practice the techniques before I forgot what I'd learned. I dragged out the kaleidoscope top, and the results are below. (Thanks, Shannon!)
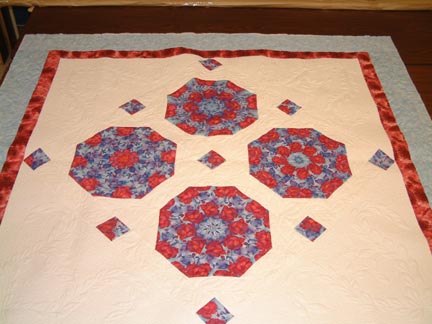
This is most of the quilt, before binding. It measures 70" x 70", and has only four different fabrics. The red border really scared my husband when I showed him the bolt in the LQS. :)
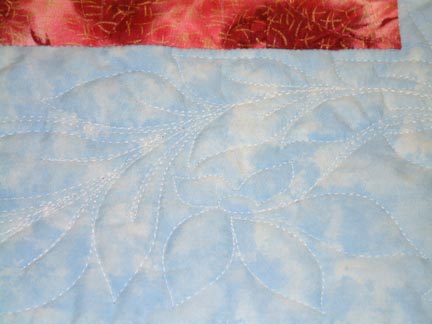
This is a close up of the quilting in the blue border. The leaves follow a scalloped line all around the border, and the flowers fill in the "valley" of each scallop.
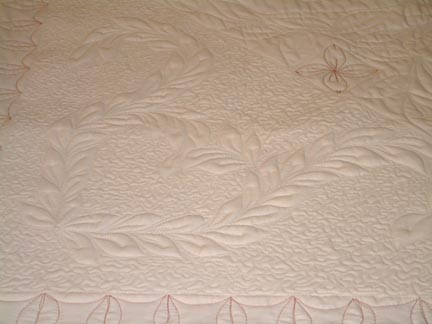
This is a view from the back, showing the quilting in the large setting triangles. The red at the botton is the quilting in the red border, and the flower in the upper right is the quilting in the cornerstones. The "faux" trapunto was done with an extra layer of Airlite high loft poly batting cut to the size of the setting triangle, and laid over the main batting, which was Hobbs 80/20.
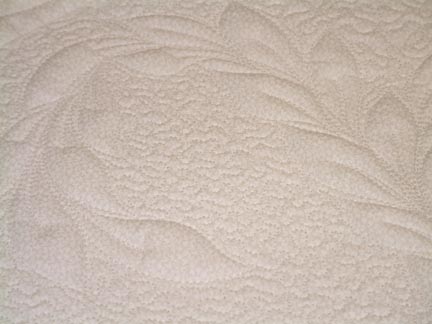
This is a closeup of the trapunto from the front side. Next time I might use a very slightly contrasting color for the leaf wreath, as the white-on-white fabric made the texture a little harder to see. (You can see the trapunto much better from the back side, which is plain muslin.)