FIXING A BROKEN IRONING BOARD LEVER / LOCK
This page was created in order to help all others who broke their lock on an ironing board (T-legged, because each post and the "feet"/"foot" on that post make a T). I couldn't find anything online that explained how to fix an ironing board that was stuck all the way up, and for many people the lever to collapse the ironing board had fallen out. After a lot of time, I figured out the best way to fix it, and get it back into working order.
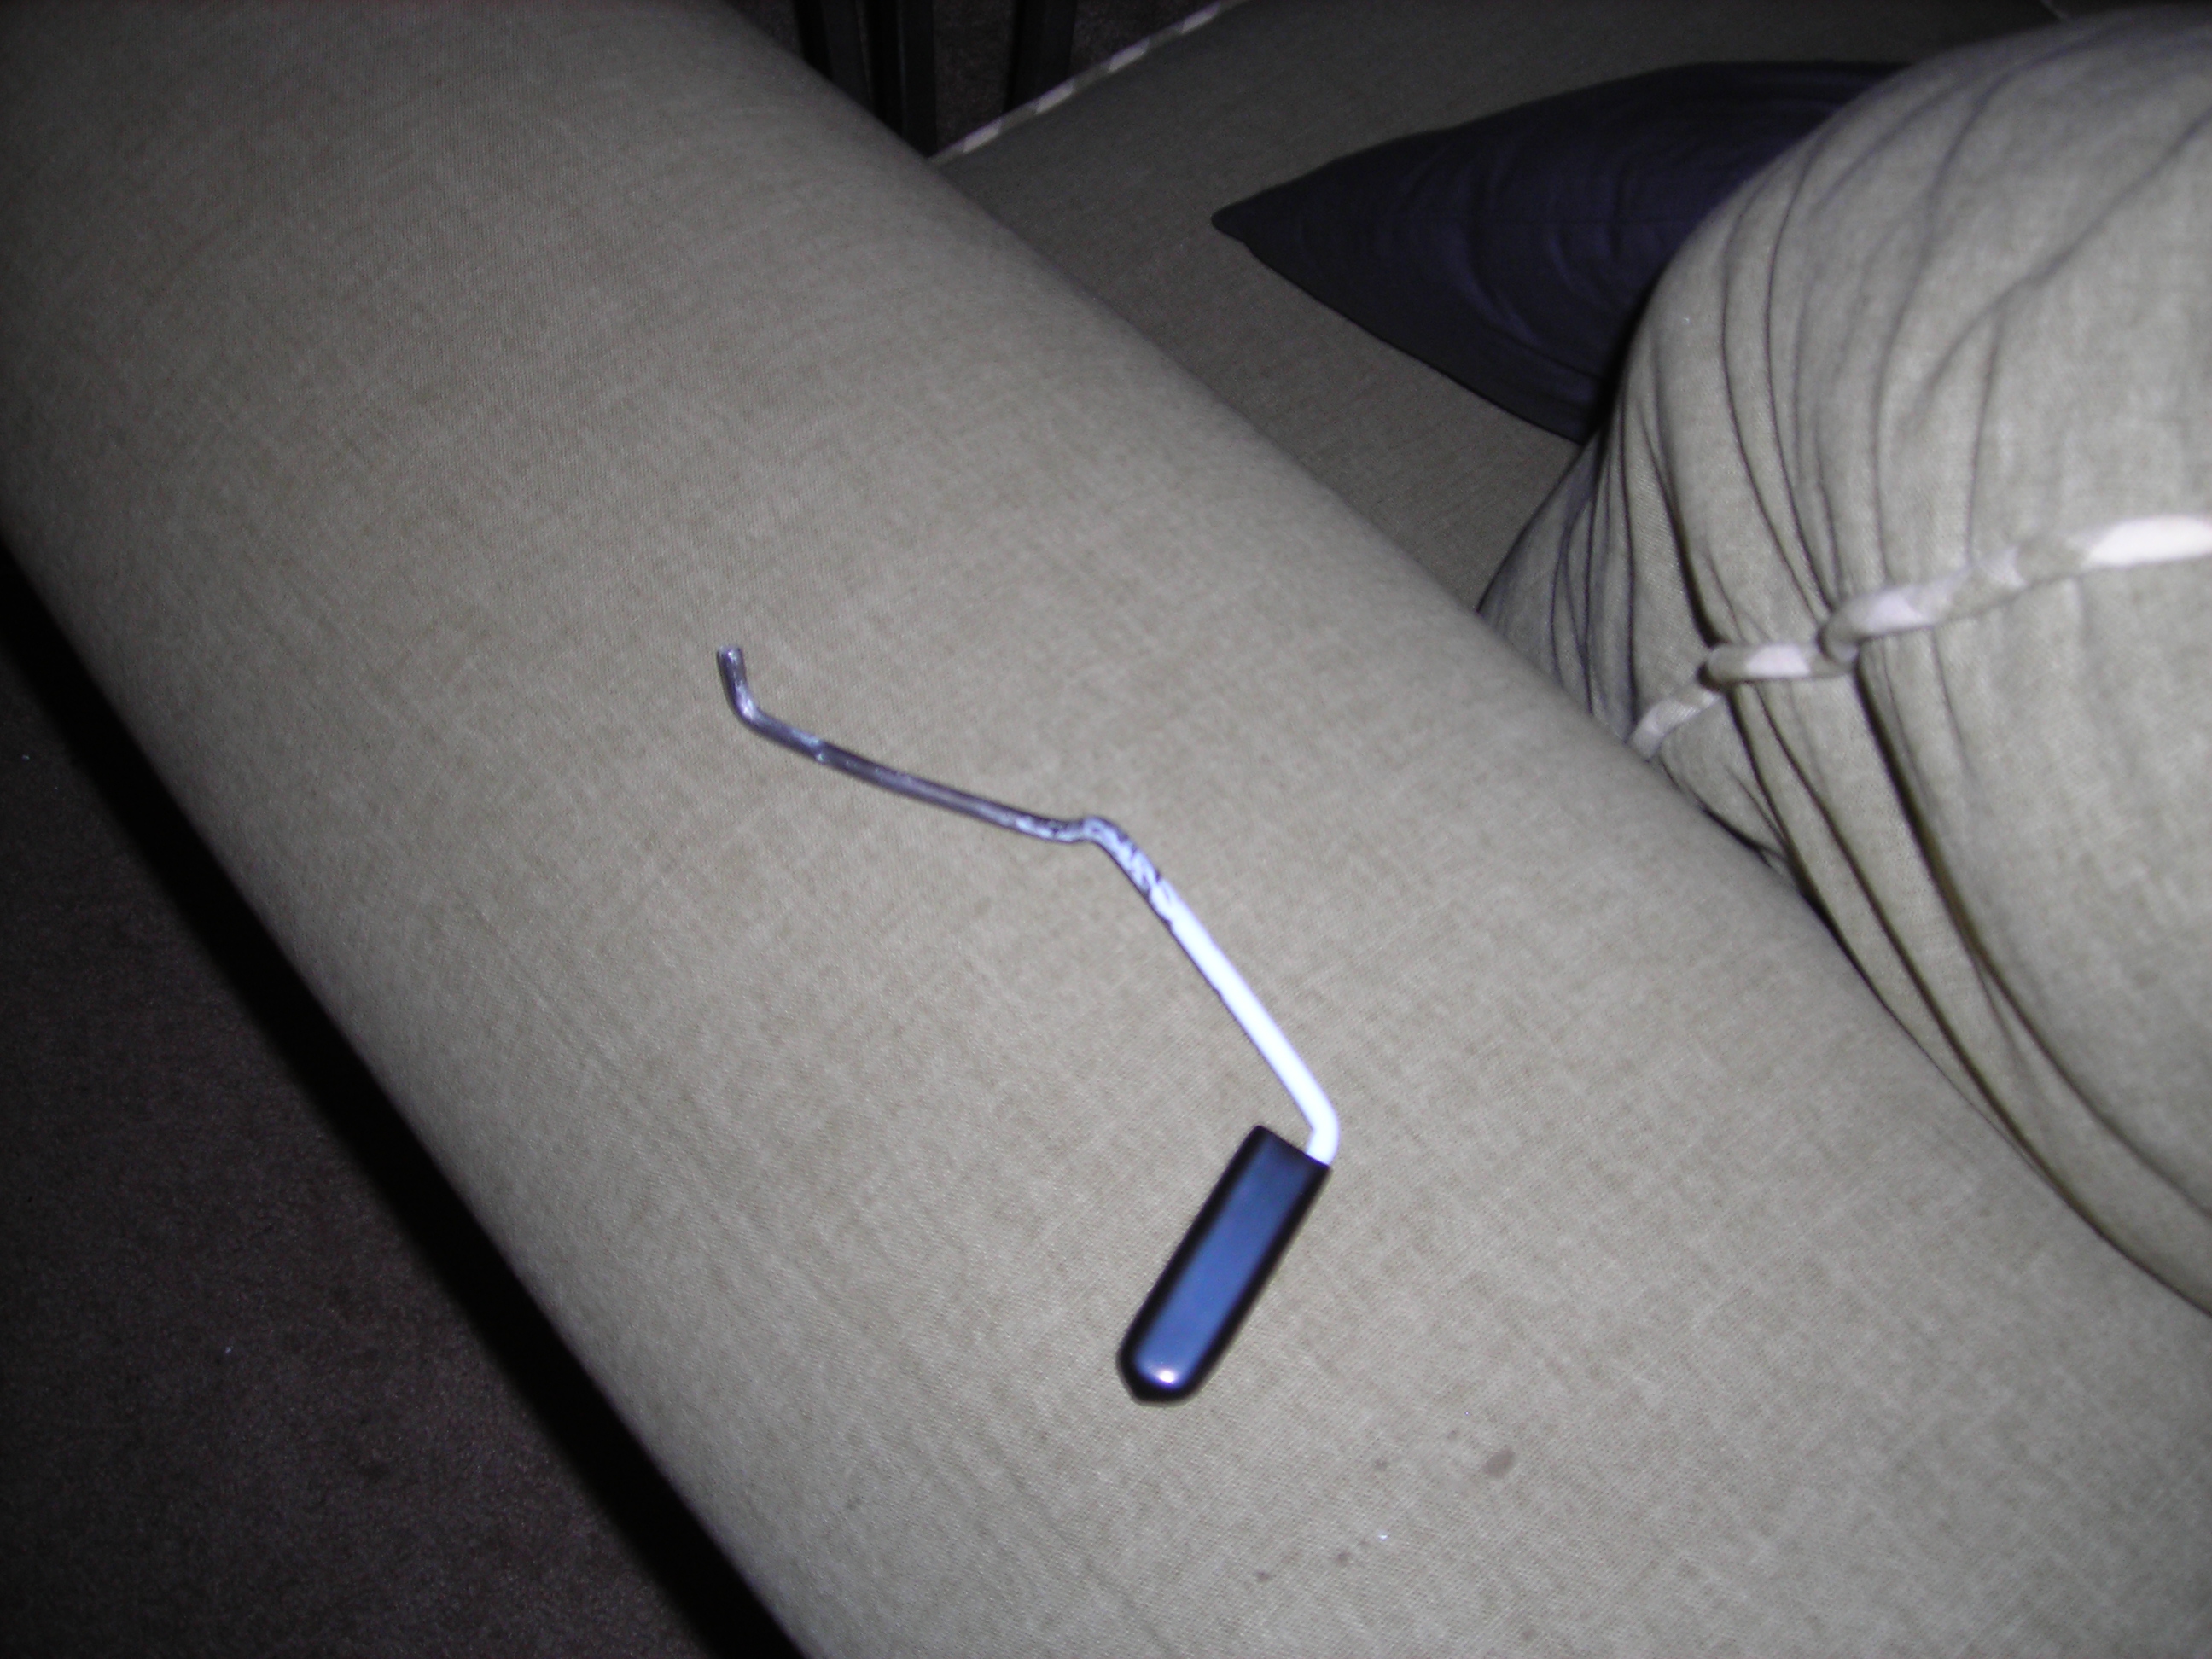
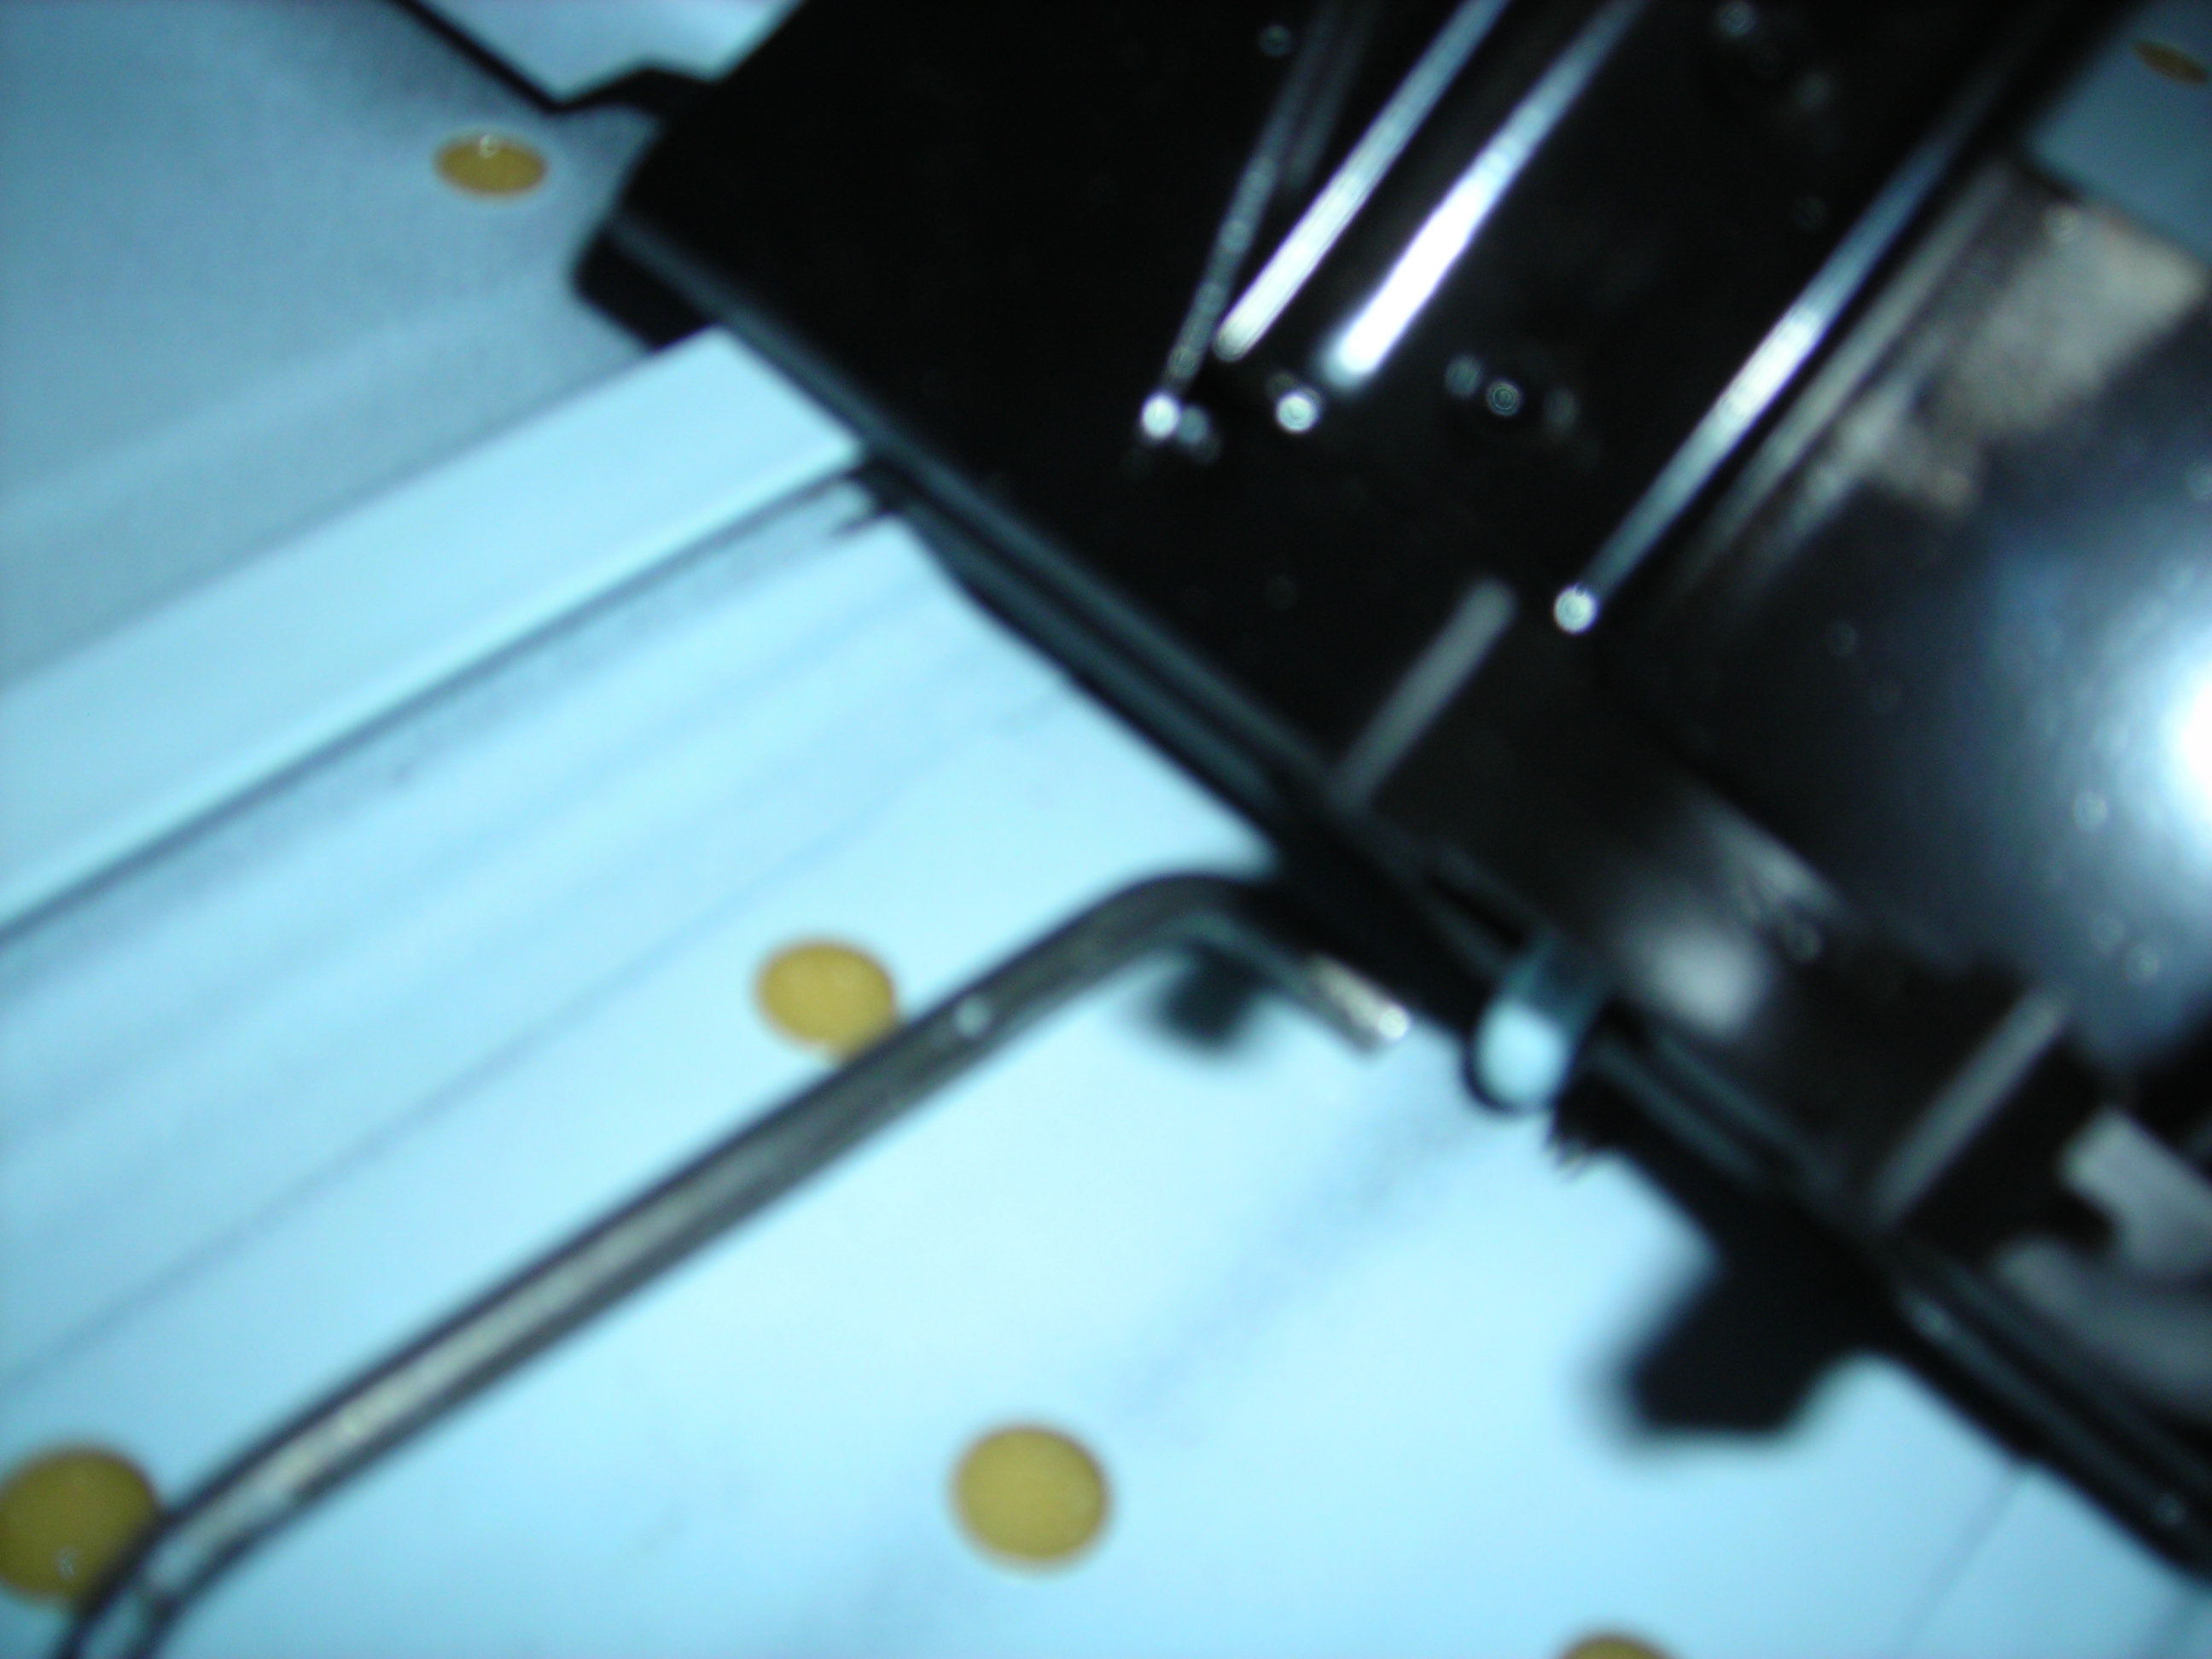
First lets look at the pieces. You have your lever (detached) and your ironing board.
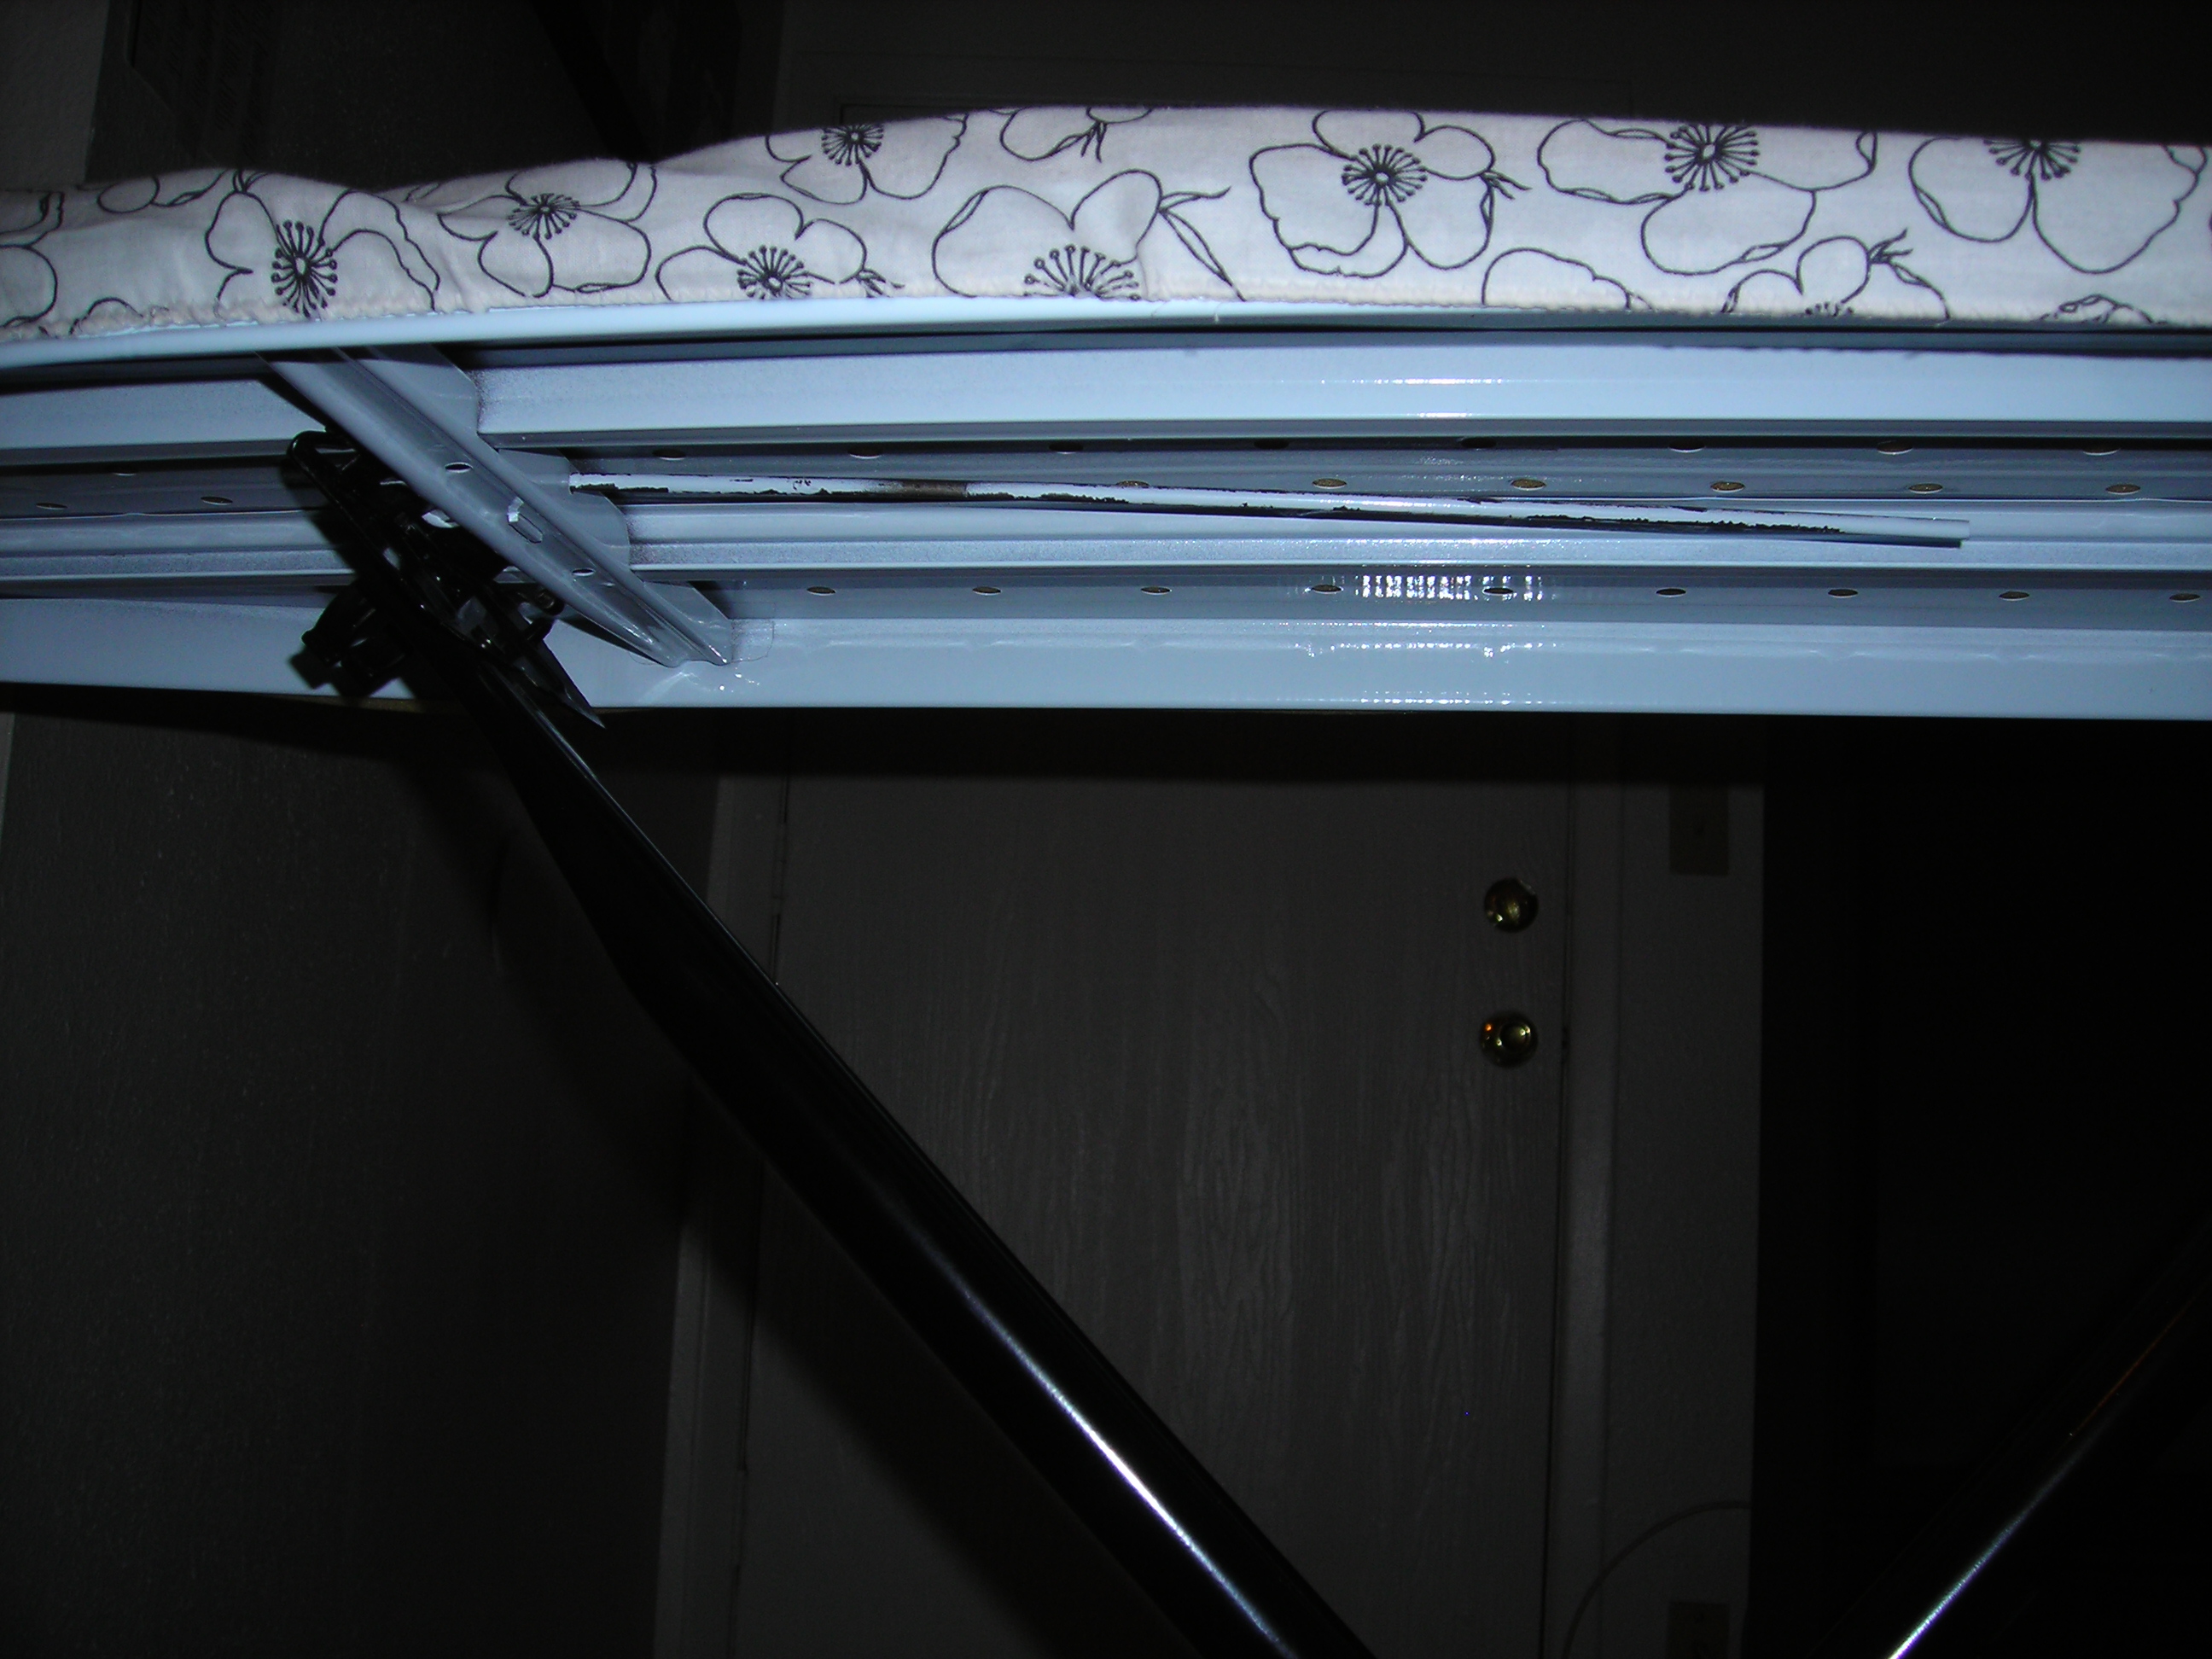
On your ironing board please note the thin metal bar which is attached to the adjustable leg, and sort of guides along the inside of the board, between the two metal slides that make the runners on which the leg piece slides up and down the board on. This next picture is large intentionally so that it can be seen clearly.
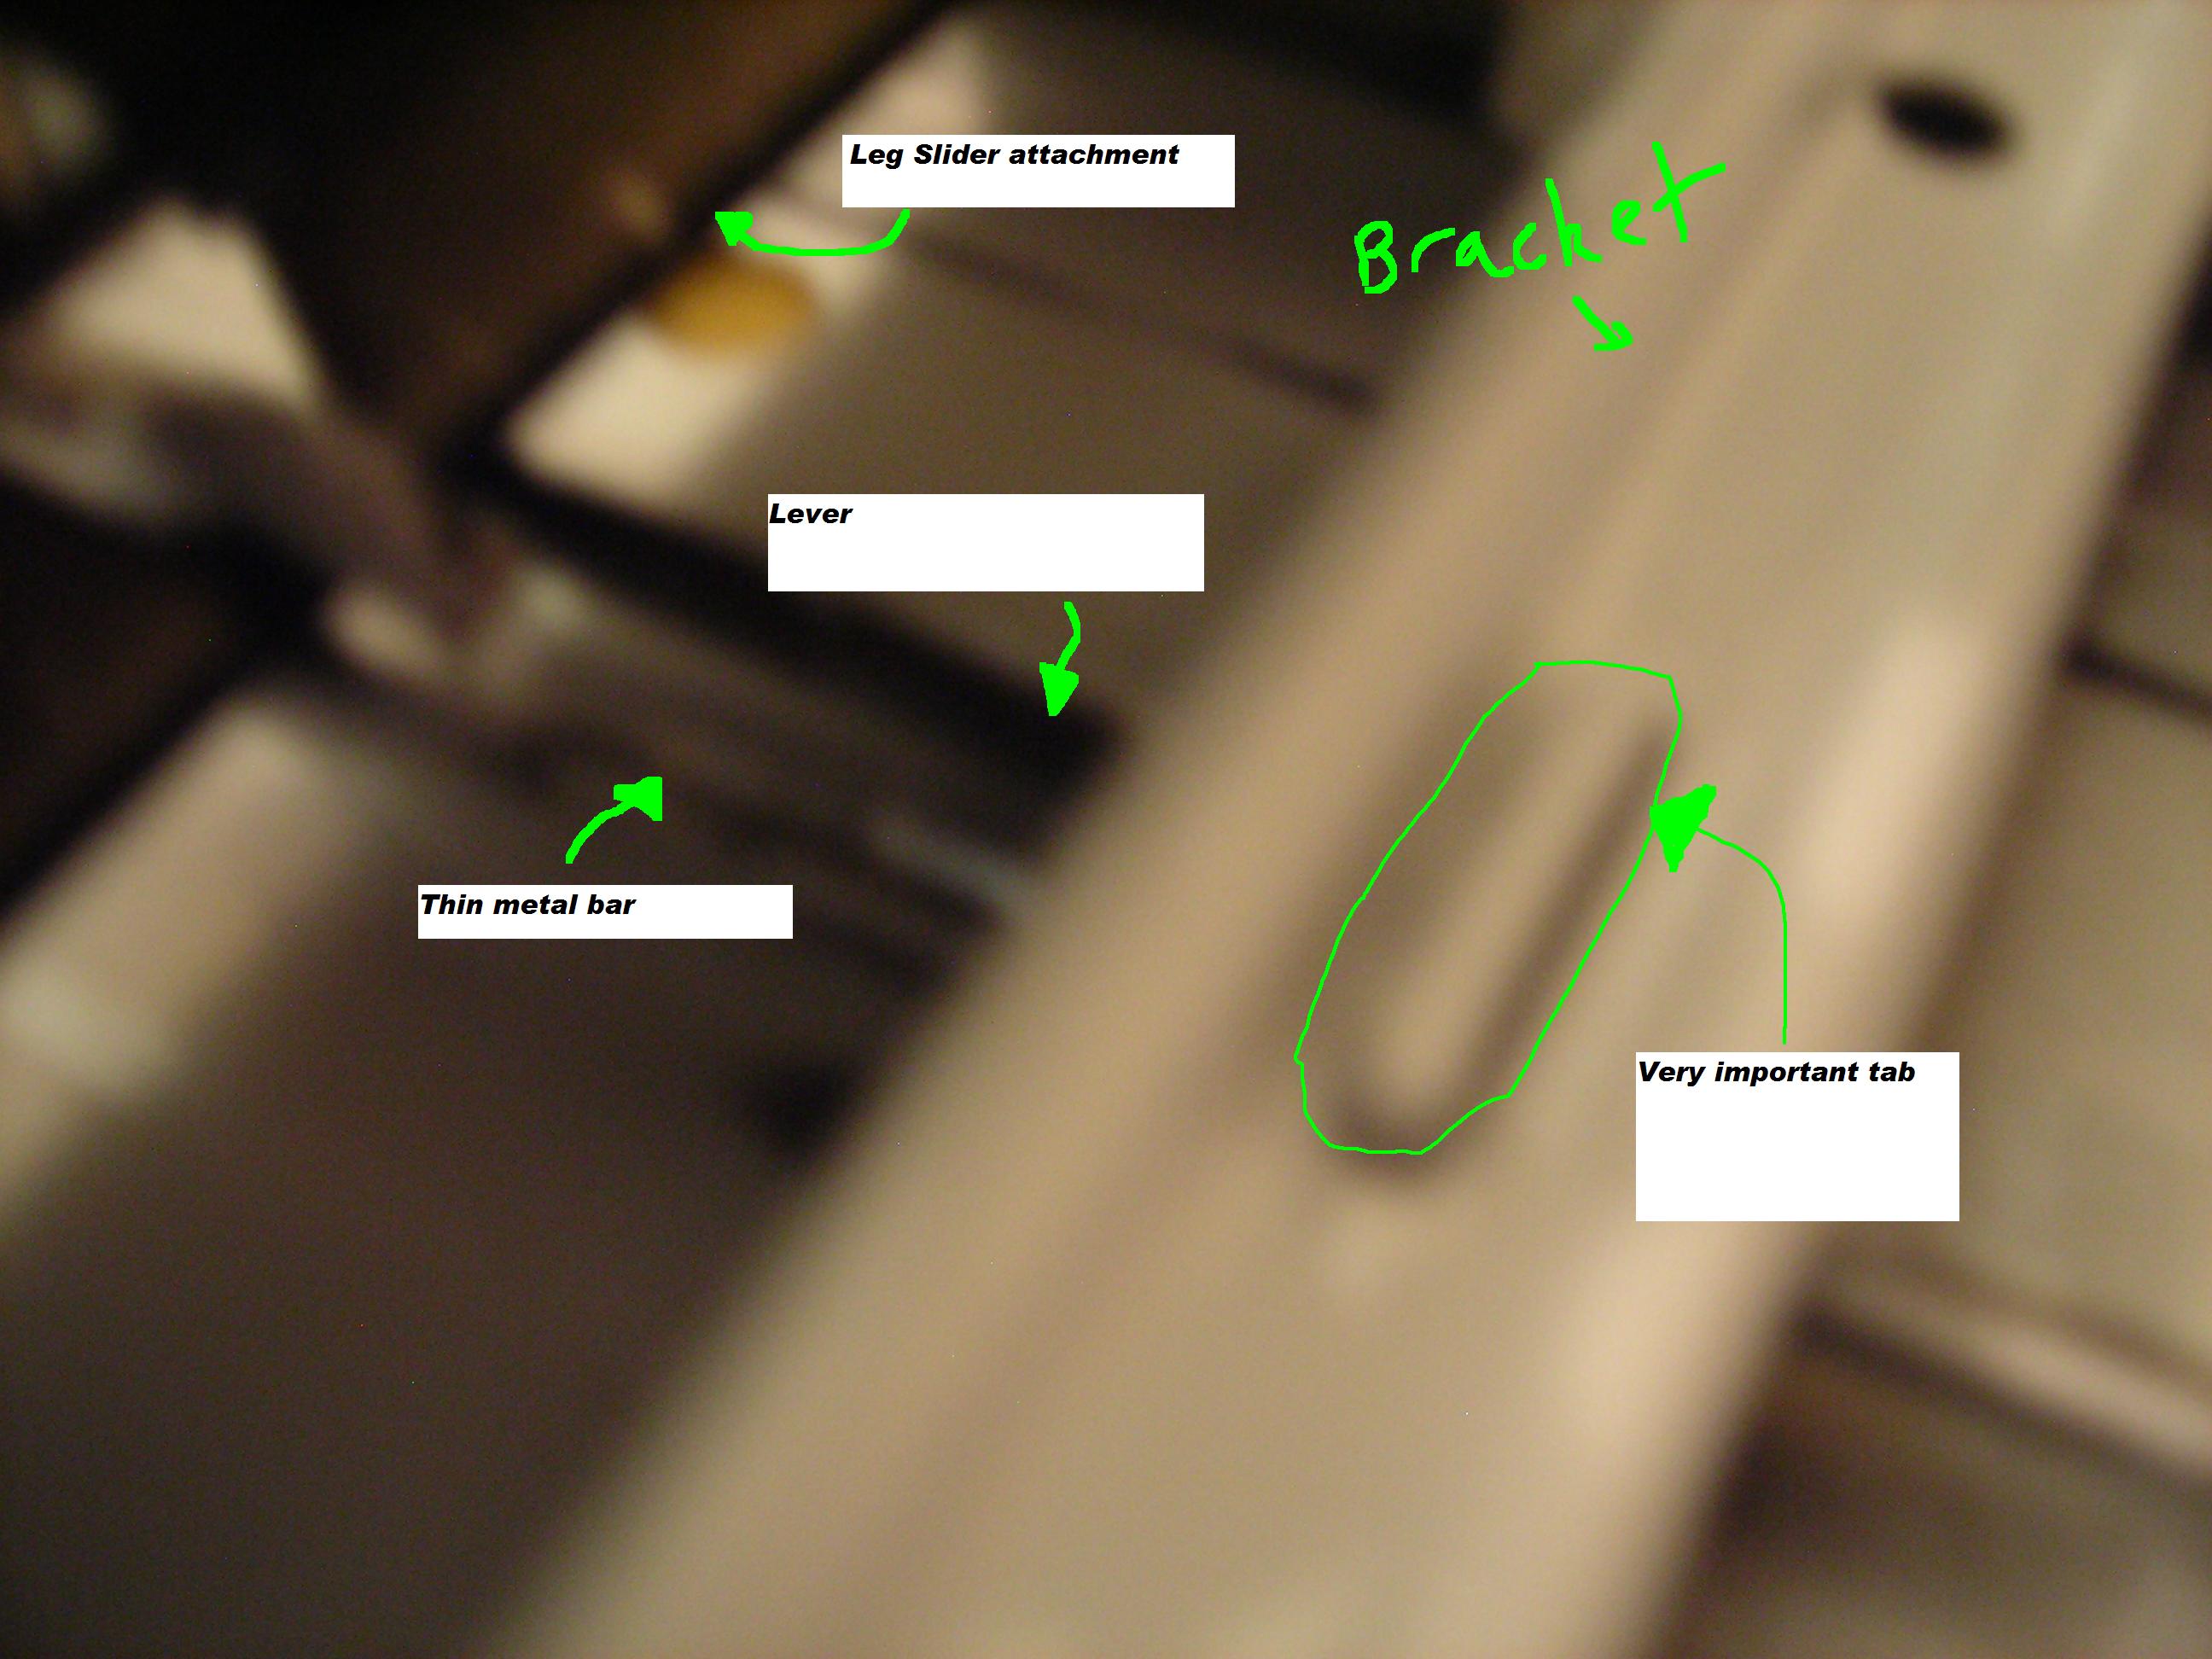
Ok, so now that we know most of the important pieces, the really bad pictures start to appear. First in words: Take your board and put it on the ground upside down (the side you iron on touching the ground). Take your lever, and rest it on the underside of the ironing board in front of the leg slider attachment so that the small right angled (L shaped) piece is lying flat.
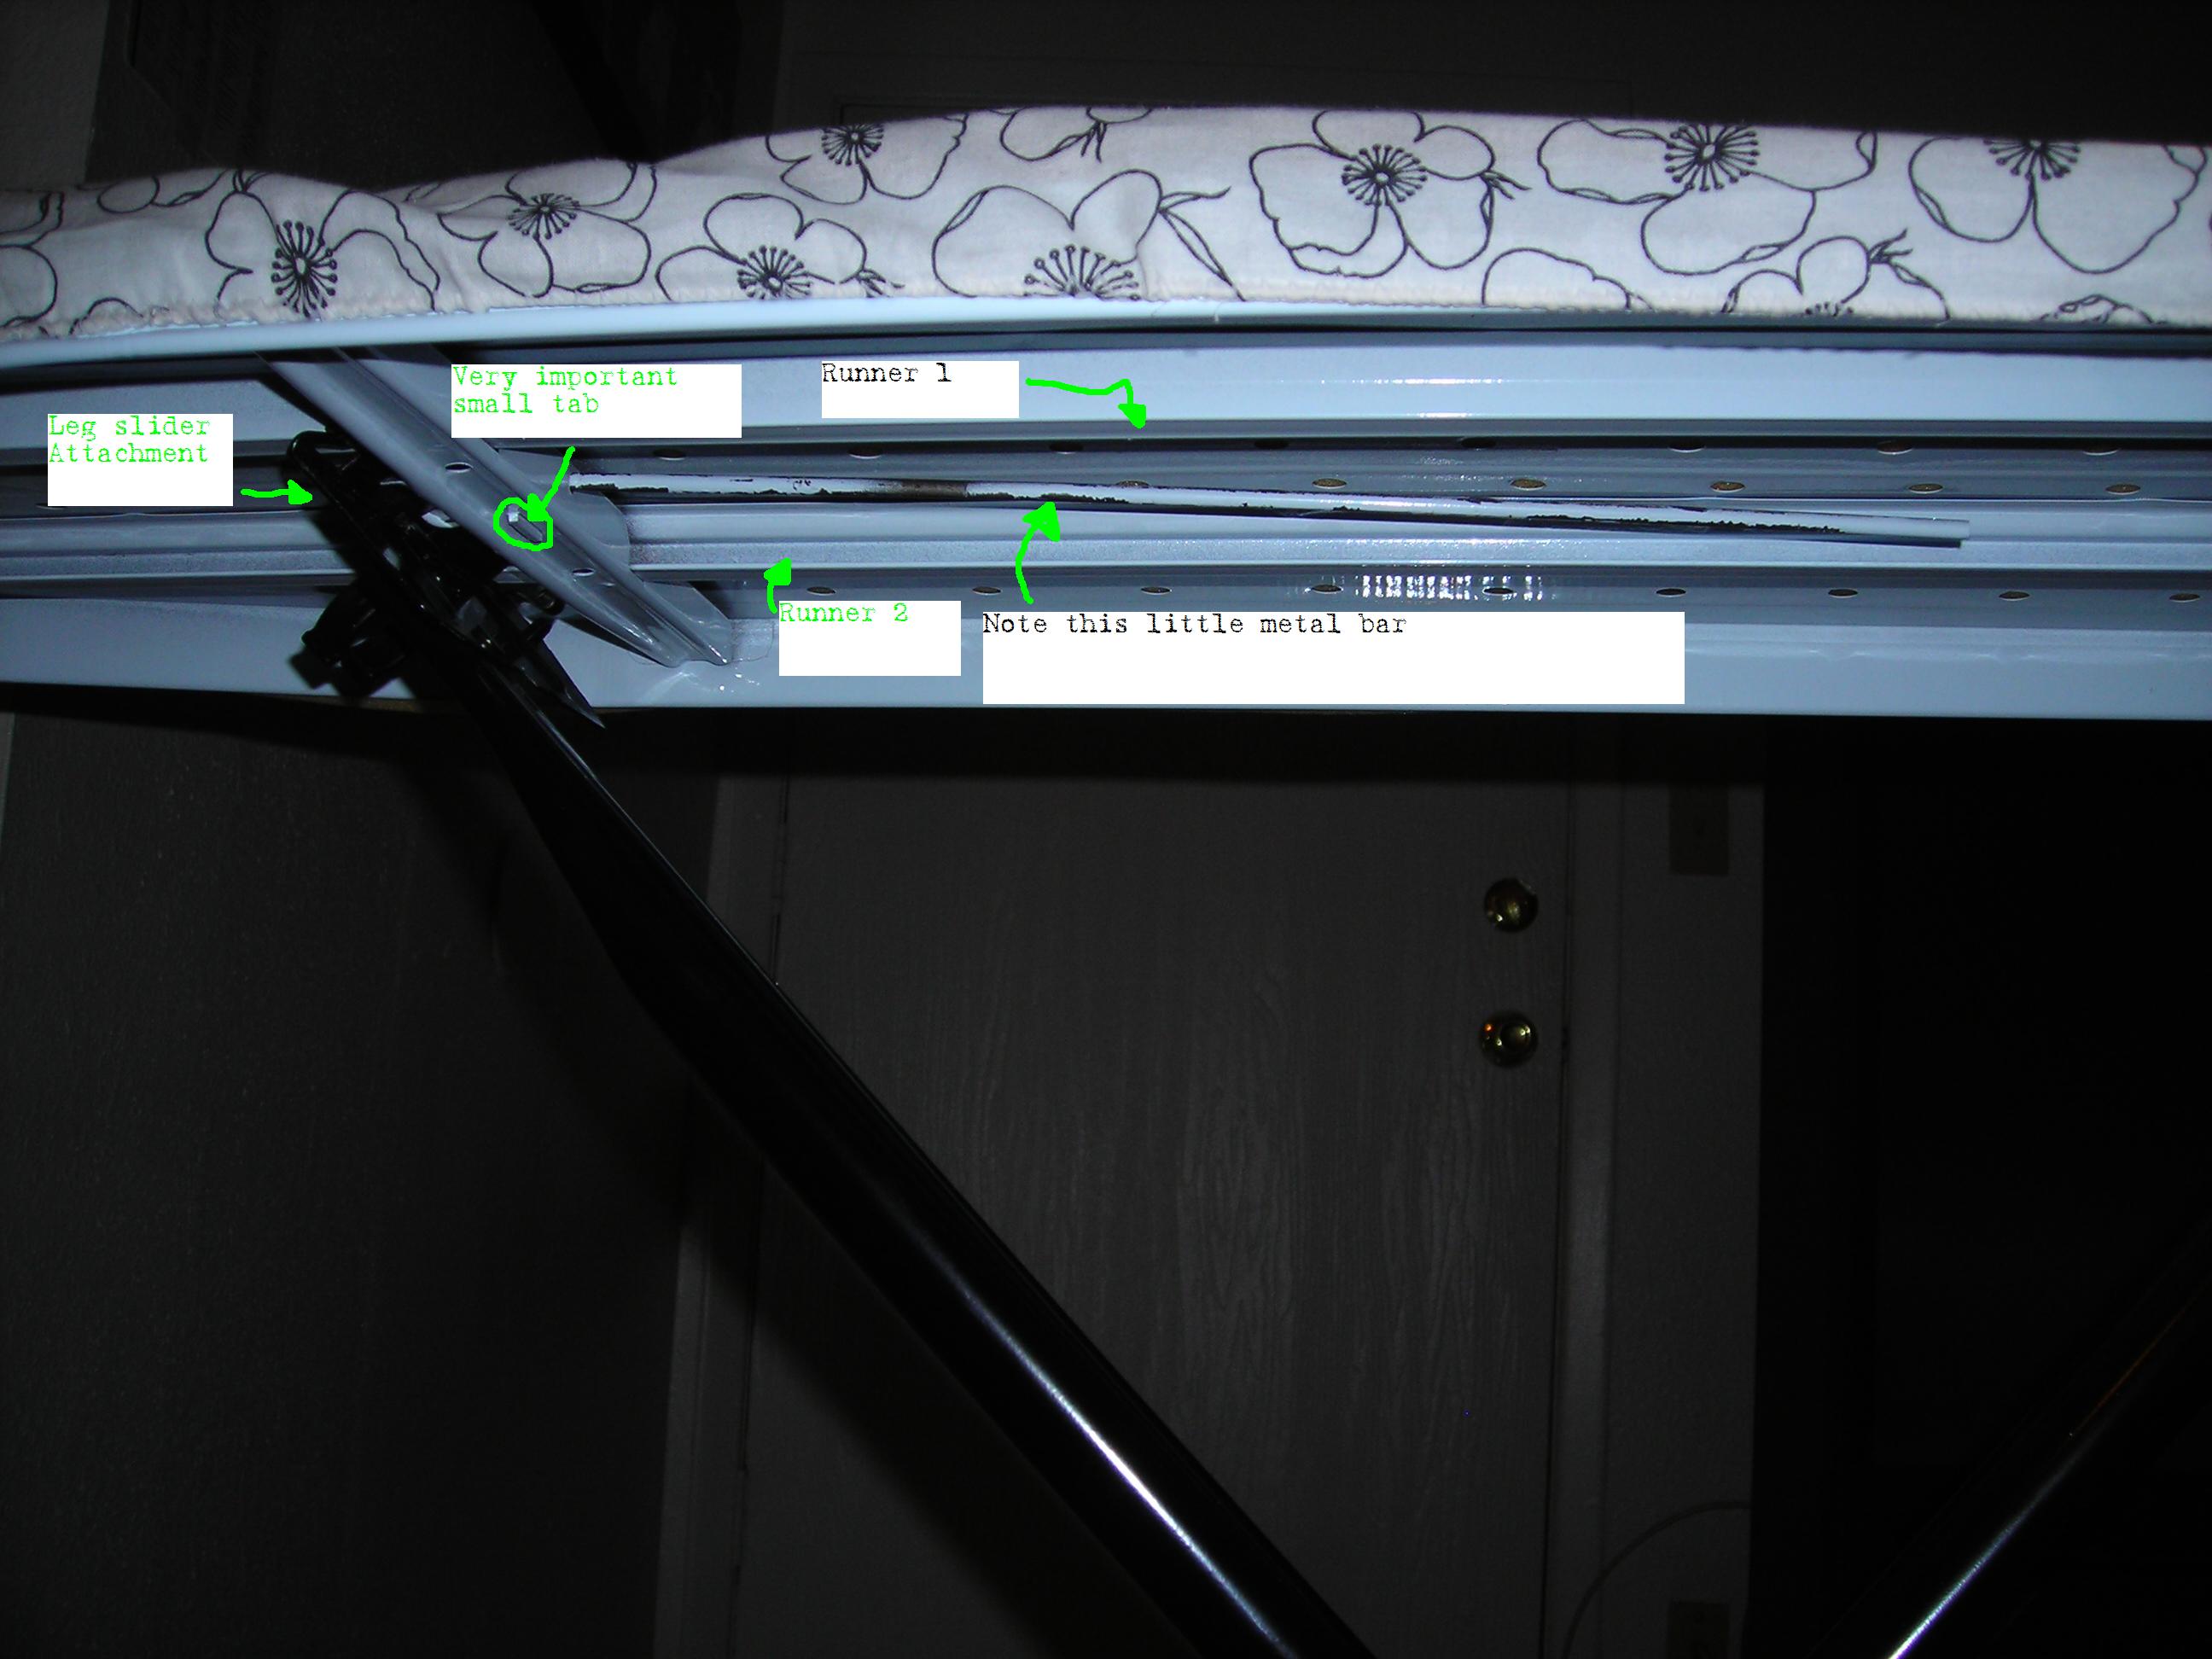
Now for a picture labeling the pieces:
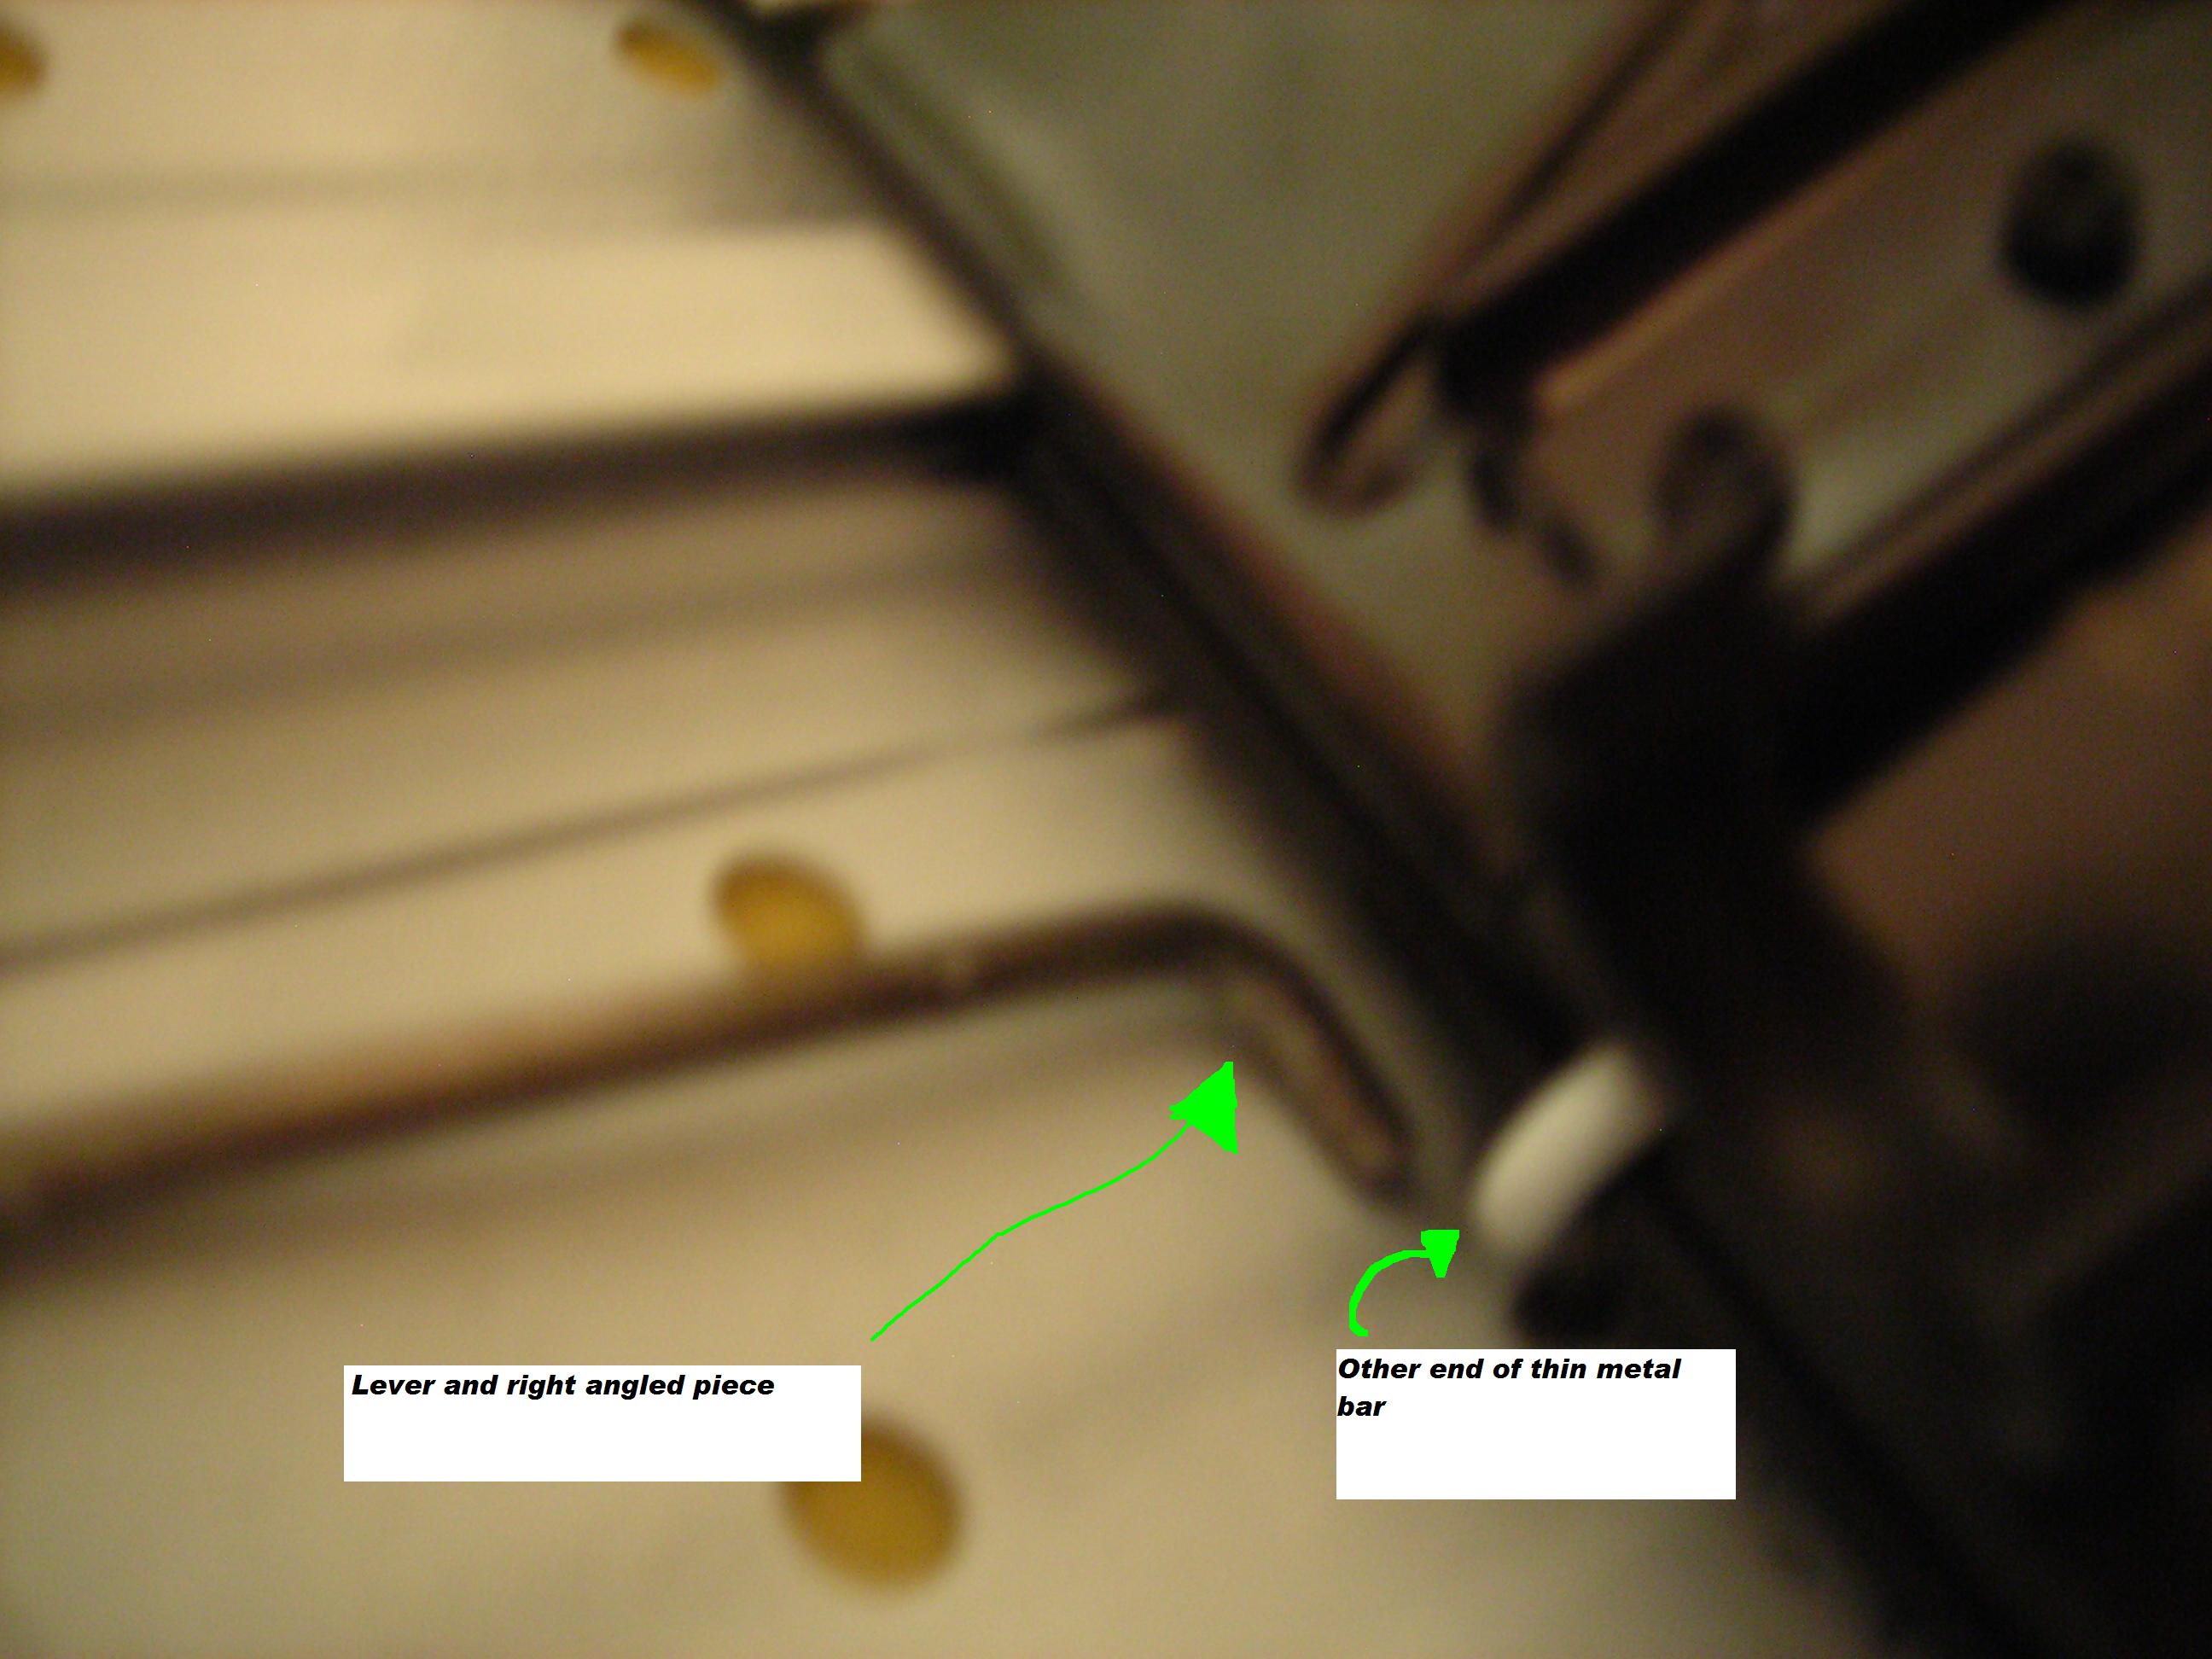
Slide the lever piece underneath the leg slider attachment, and sort of guide it down along the side of the thin metal bar. What you're aiming for is the rest of that "very important metal tab," labeled in the first labeled picture. Press lever against the white tab with some force, and push (slightly) down on the leg that slides.
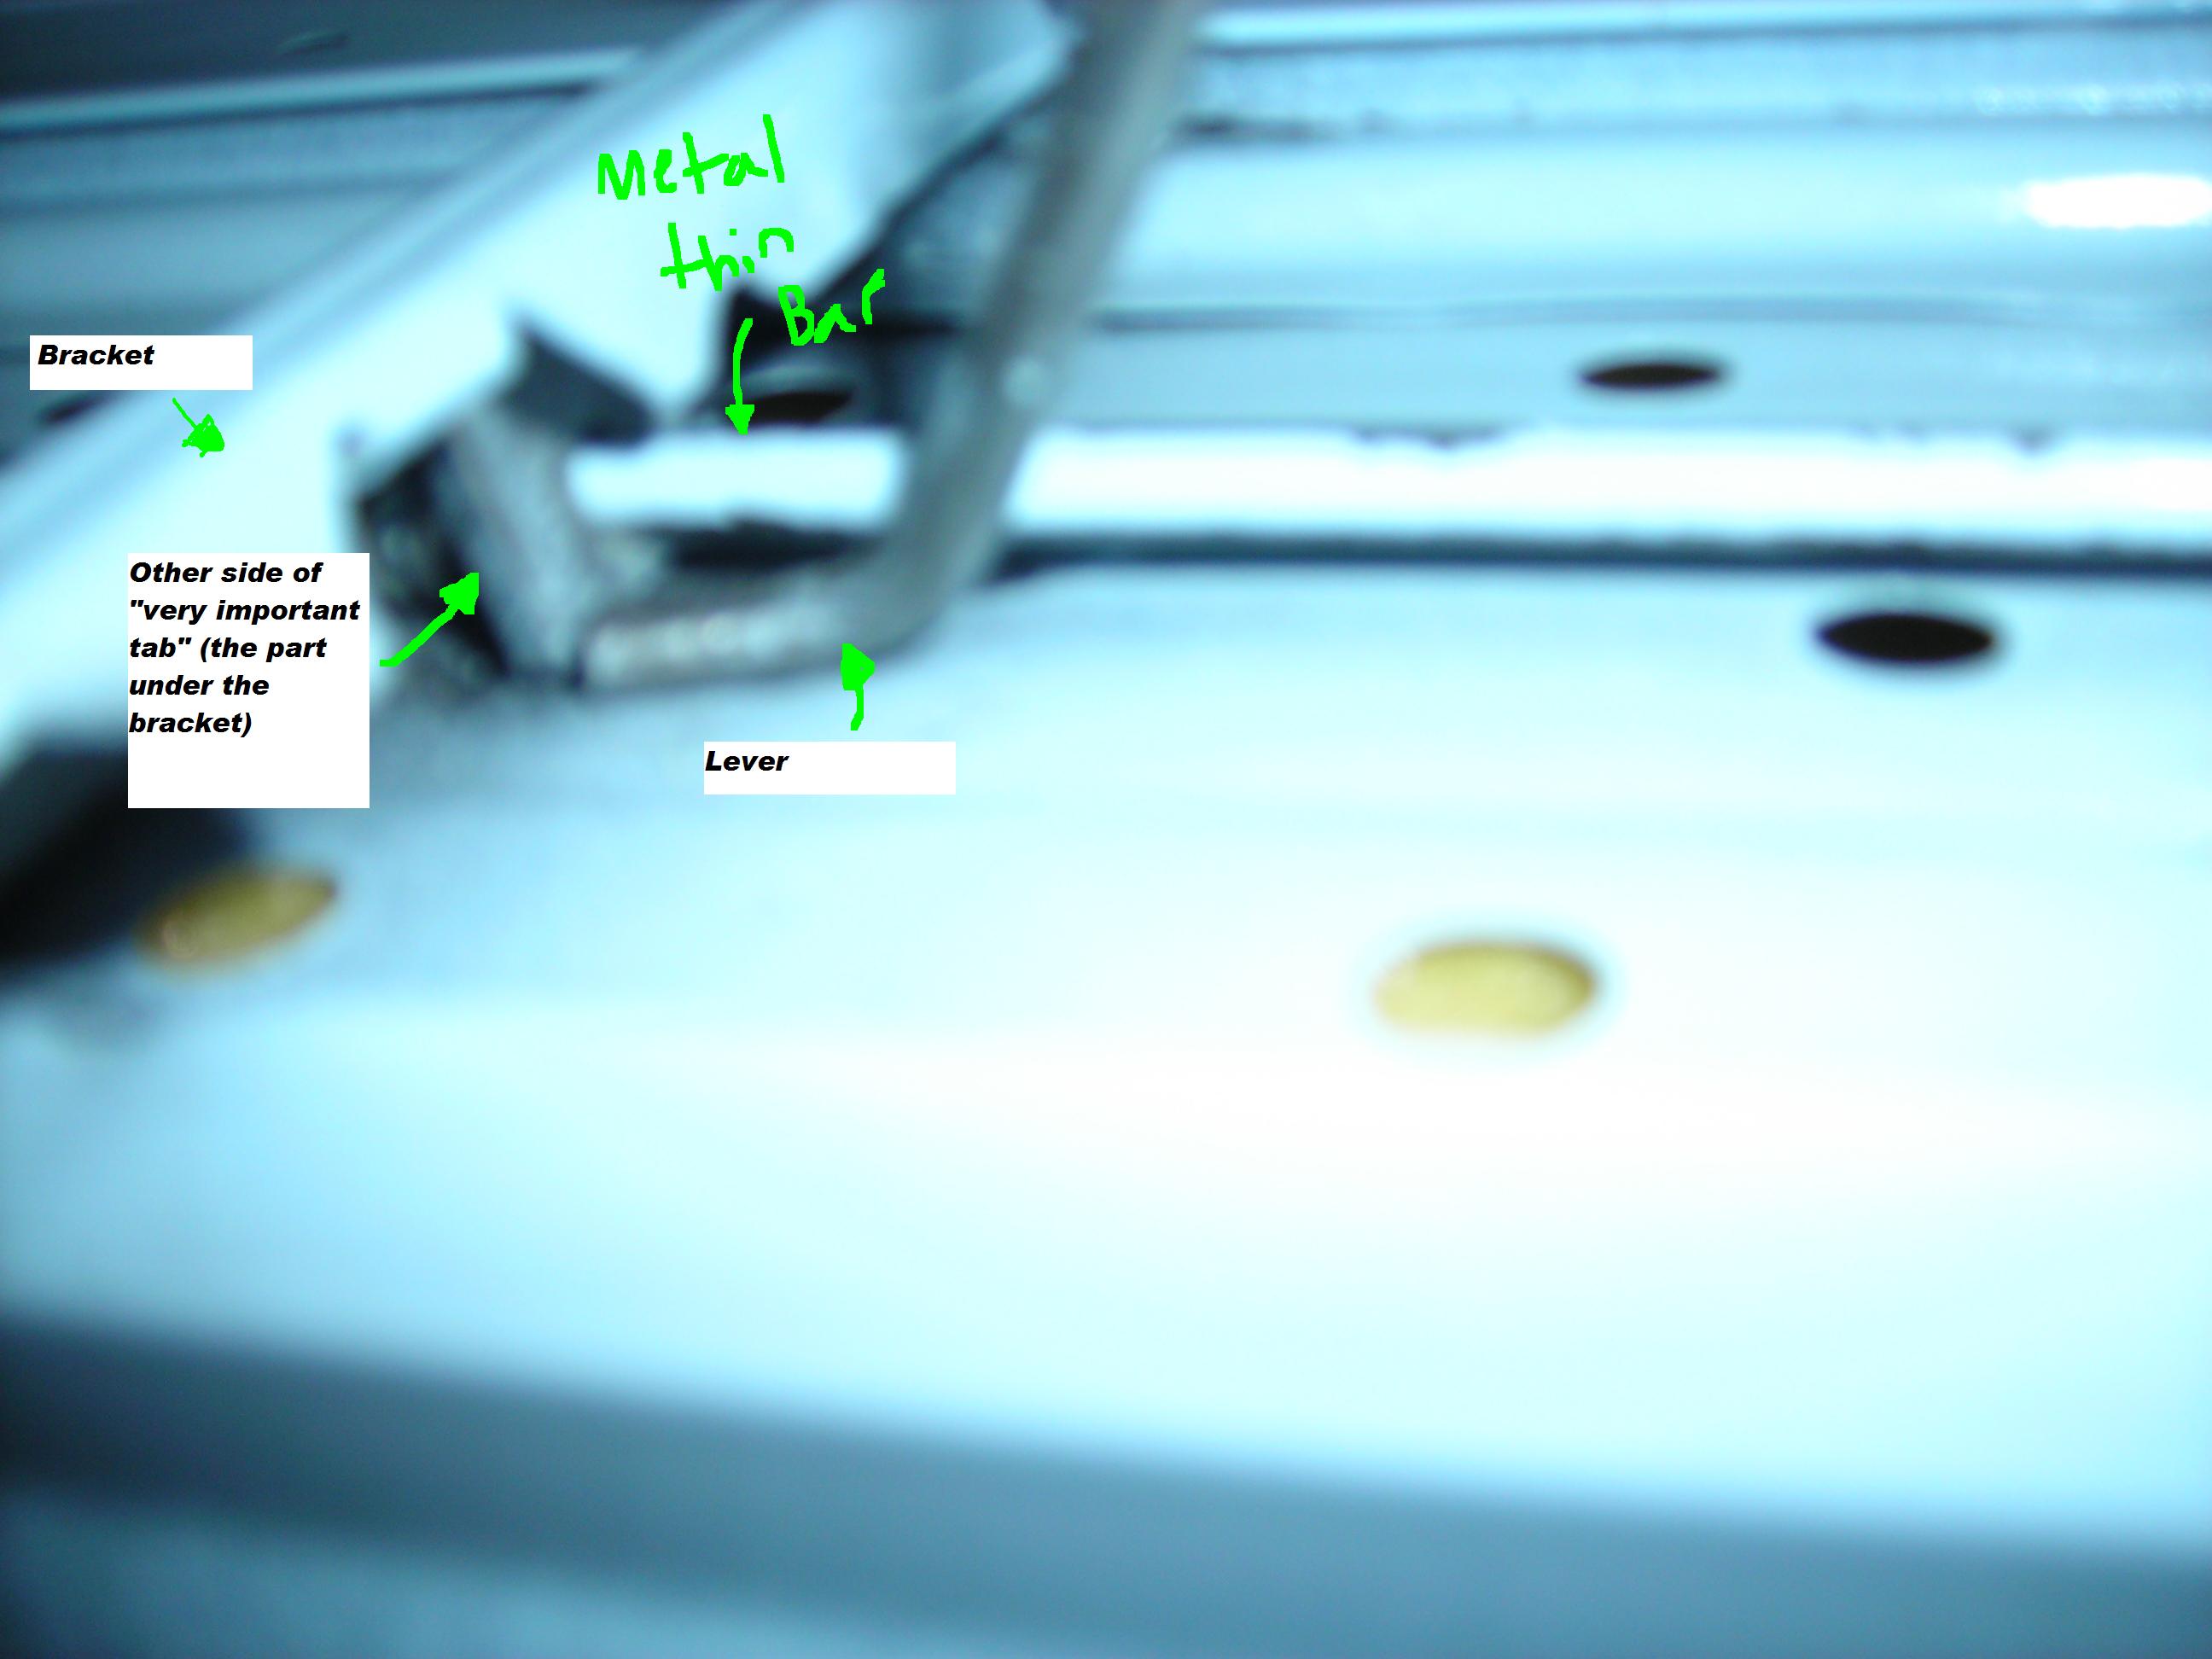
This might take a couple tries, but you should see the leg slider attachment piece slide just slightly in the direction you want it to go (in the direction that makes the legs close). It won't go down all the way, but after a little movement it should appear as the picture below (which might also help illustrate what I was trying to explain.
As I hope you can piece together by now, the lever is pushing against the very important tab, underneath the white "bracket," piece. That tab, is what stops the leg from sliding down by grabbing onto the thin metal bar at a funny angle. This angle prevents the bar from sliding freely, and thus keeping your ironing board up at whatever height you set it at.
Right now you're making the lever do what it always does, however from a different angle. But, you have made quite a bit of room, so now pull the lever out from under the leg slider attachment. These next few pictures show you what we will be looking at and discussing shortly (Don't worry, you're almost there).
 Hopefully this helps illustrate what the lever has been pushing on to "release," the lock of the leg slider attachment.
Now we go on to how to properly set the lever in how it should be, and still be able to unlock the leg slider attachment.
I've labeled the Runner 1 twice, so as to make it clear what I'm pointing at, since it runs the length of the board and goes underneath the bracket. The lever should be sort of resting against the top of runner 1, and the side of the bracket (if your bracket has a tab to hold the lever in place, slide the lever under that, but do not slide it underneath the legs of the ironing board (the black line on the left side of the picture) 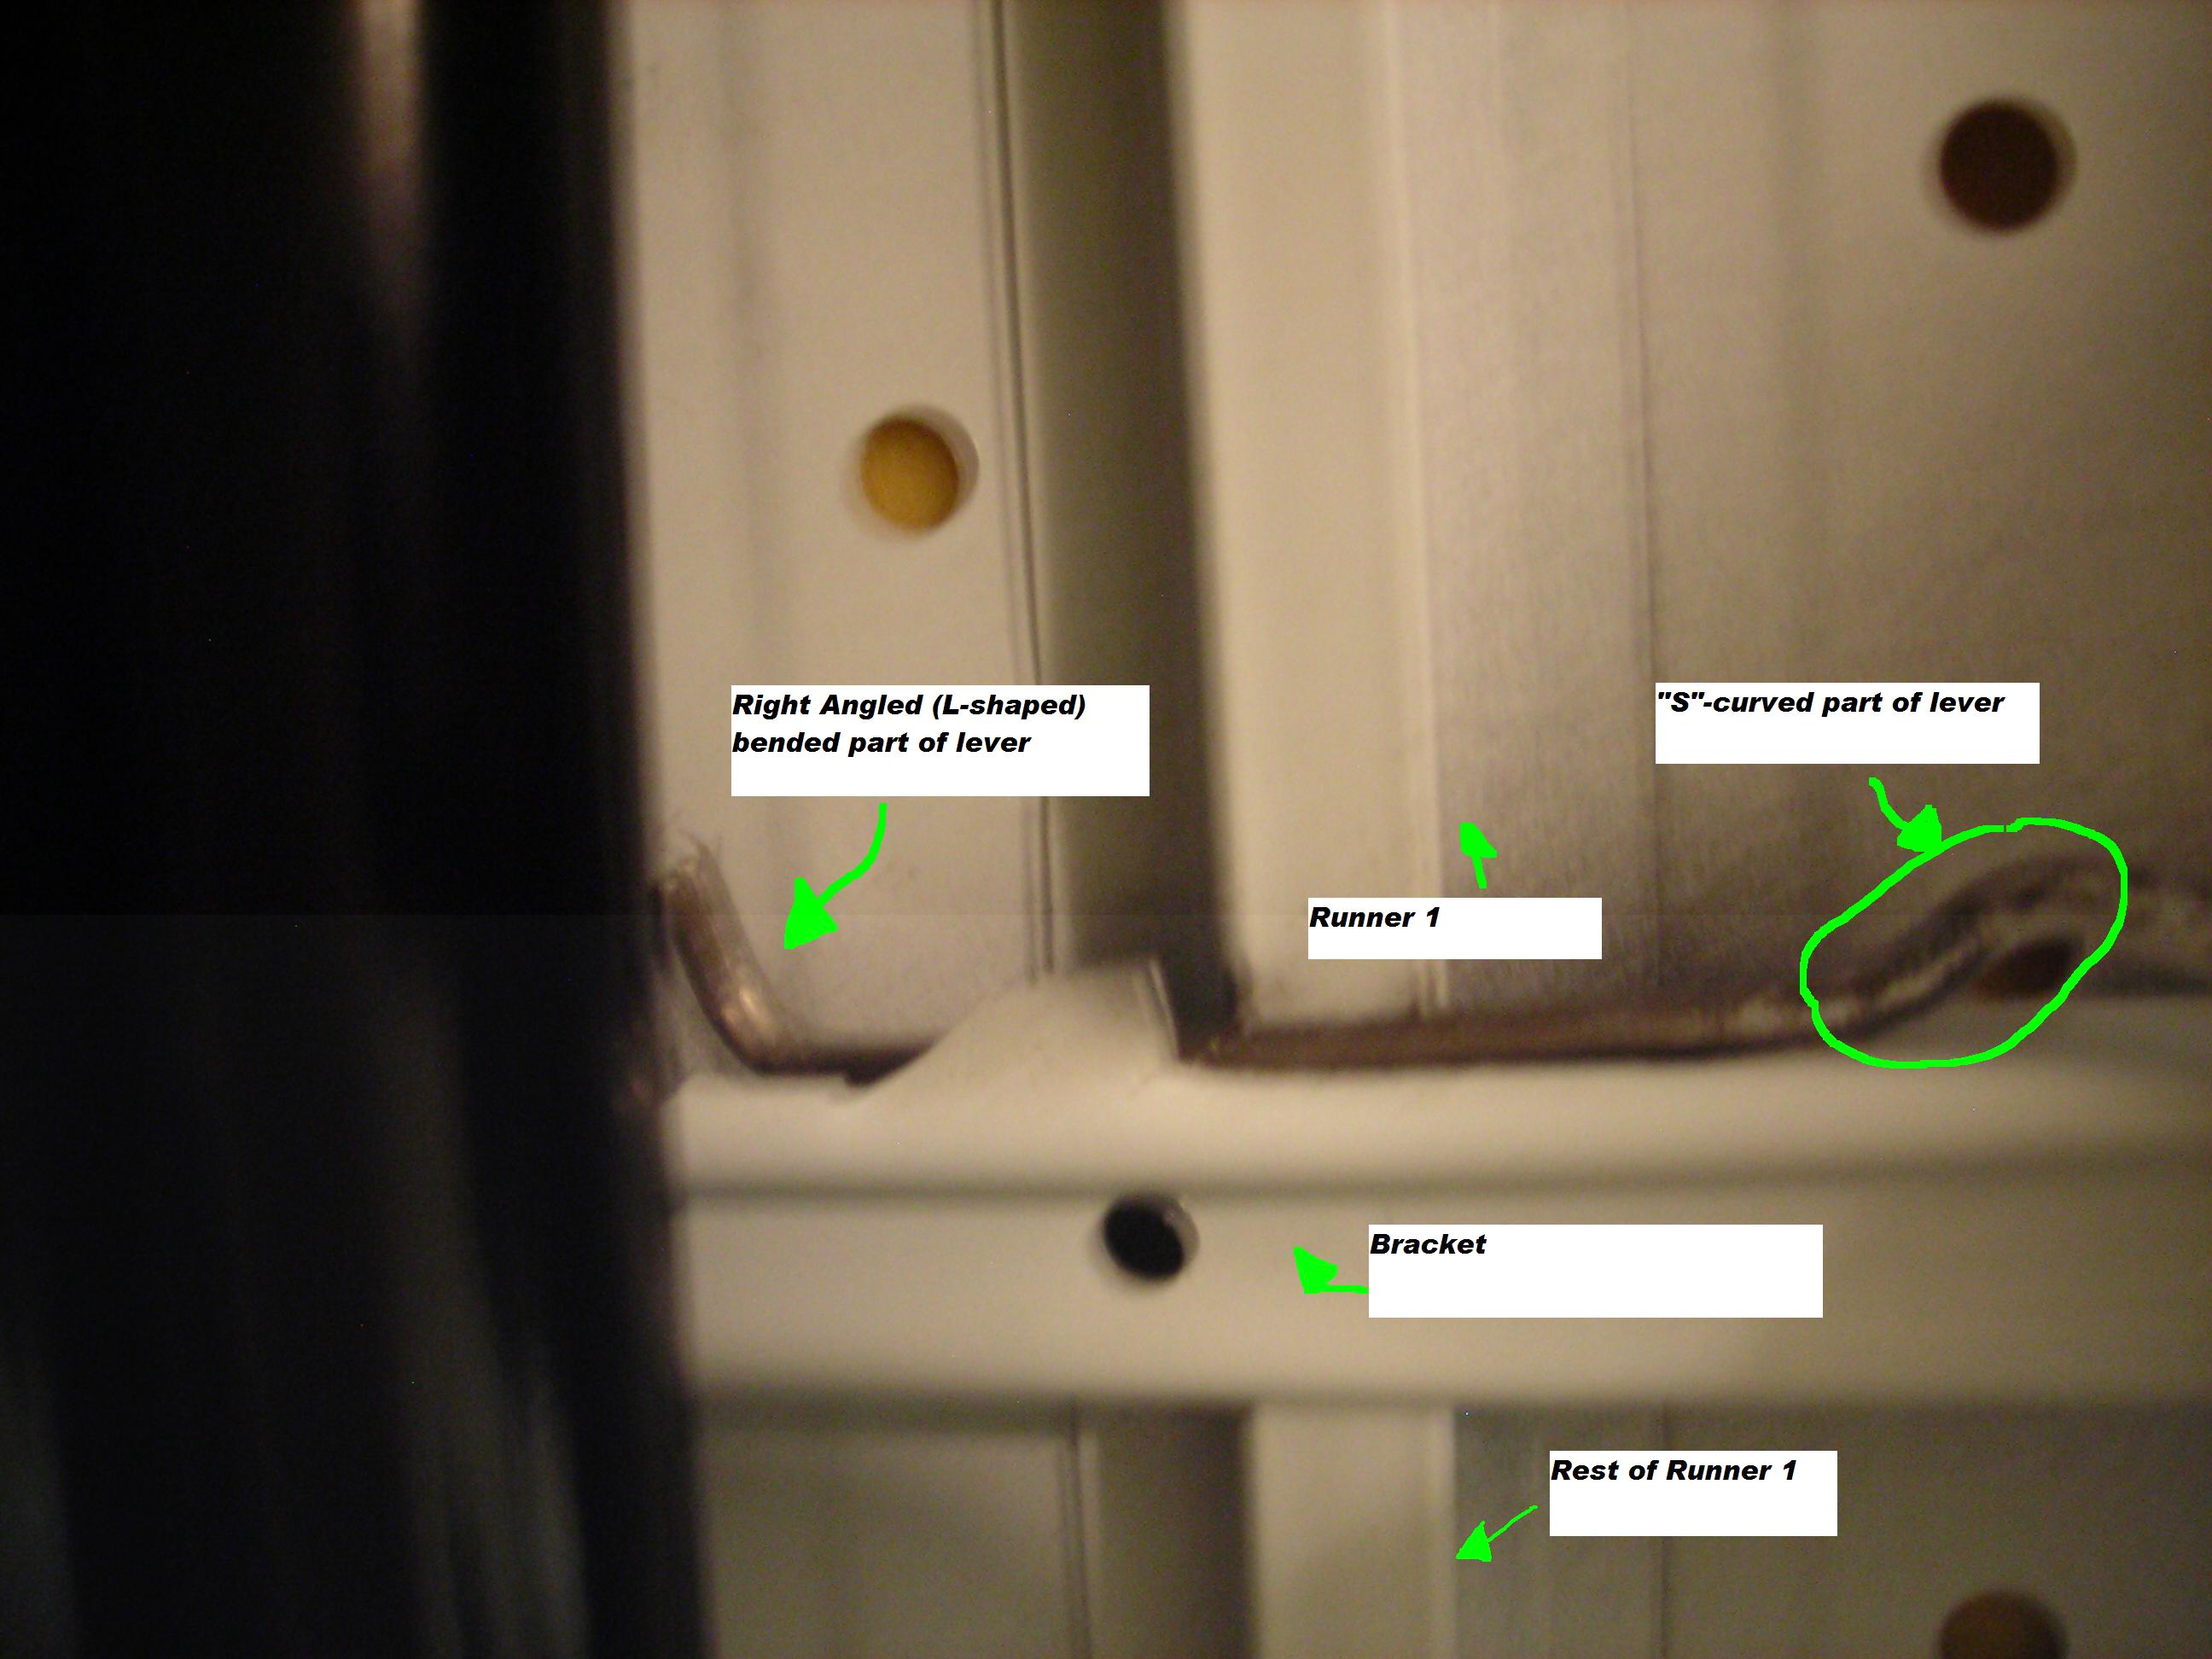
Now the level is going to be situated the same between the bracket and runner 1, howeber it will be moved over to the left (left assuming you are looking at your ironing board as the picture is), so that the right angled part of the lever is just barely on the other side of the thin metal bar.
Moving the lever over so that the right angled part of the lever is just to the left of the metal bar also situates the "S"-curved part of the lever to be going sort of around Runner 1.
Extend the legs to simulate the board being tall (not flat, it doesnt have to be all the way extended but a decent amount). Roll/turn/rotate the lever handle towards the "nose" of the board as you typically would to disengage the lock and close the legs. What happens when you do this is the End of the right angled side of the lever presses up against part of the "very important tab" that is under the bracket. This causes the metal bar to slide more freely, allowing you to open and close the ironing board.
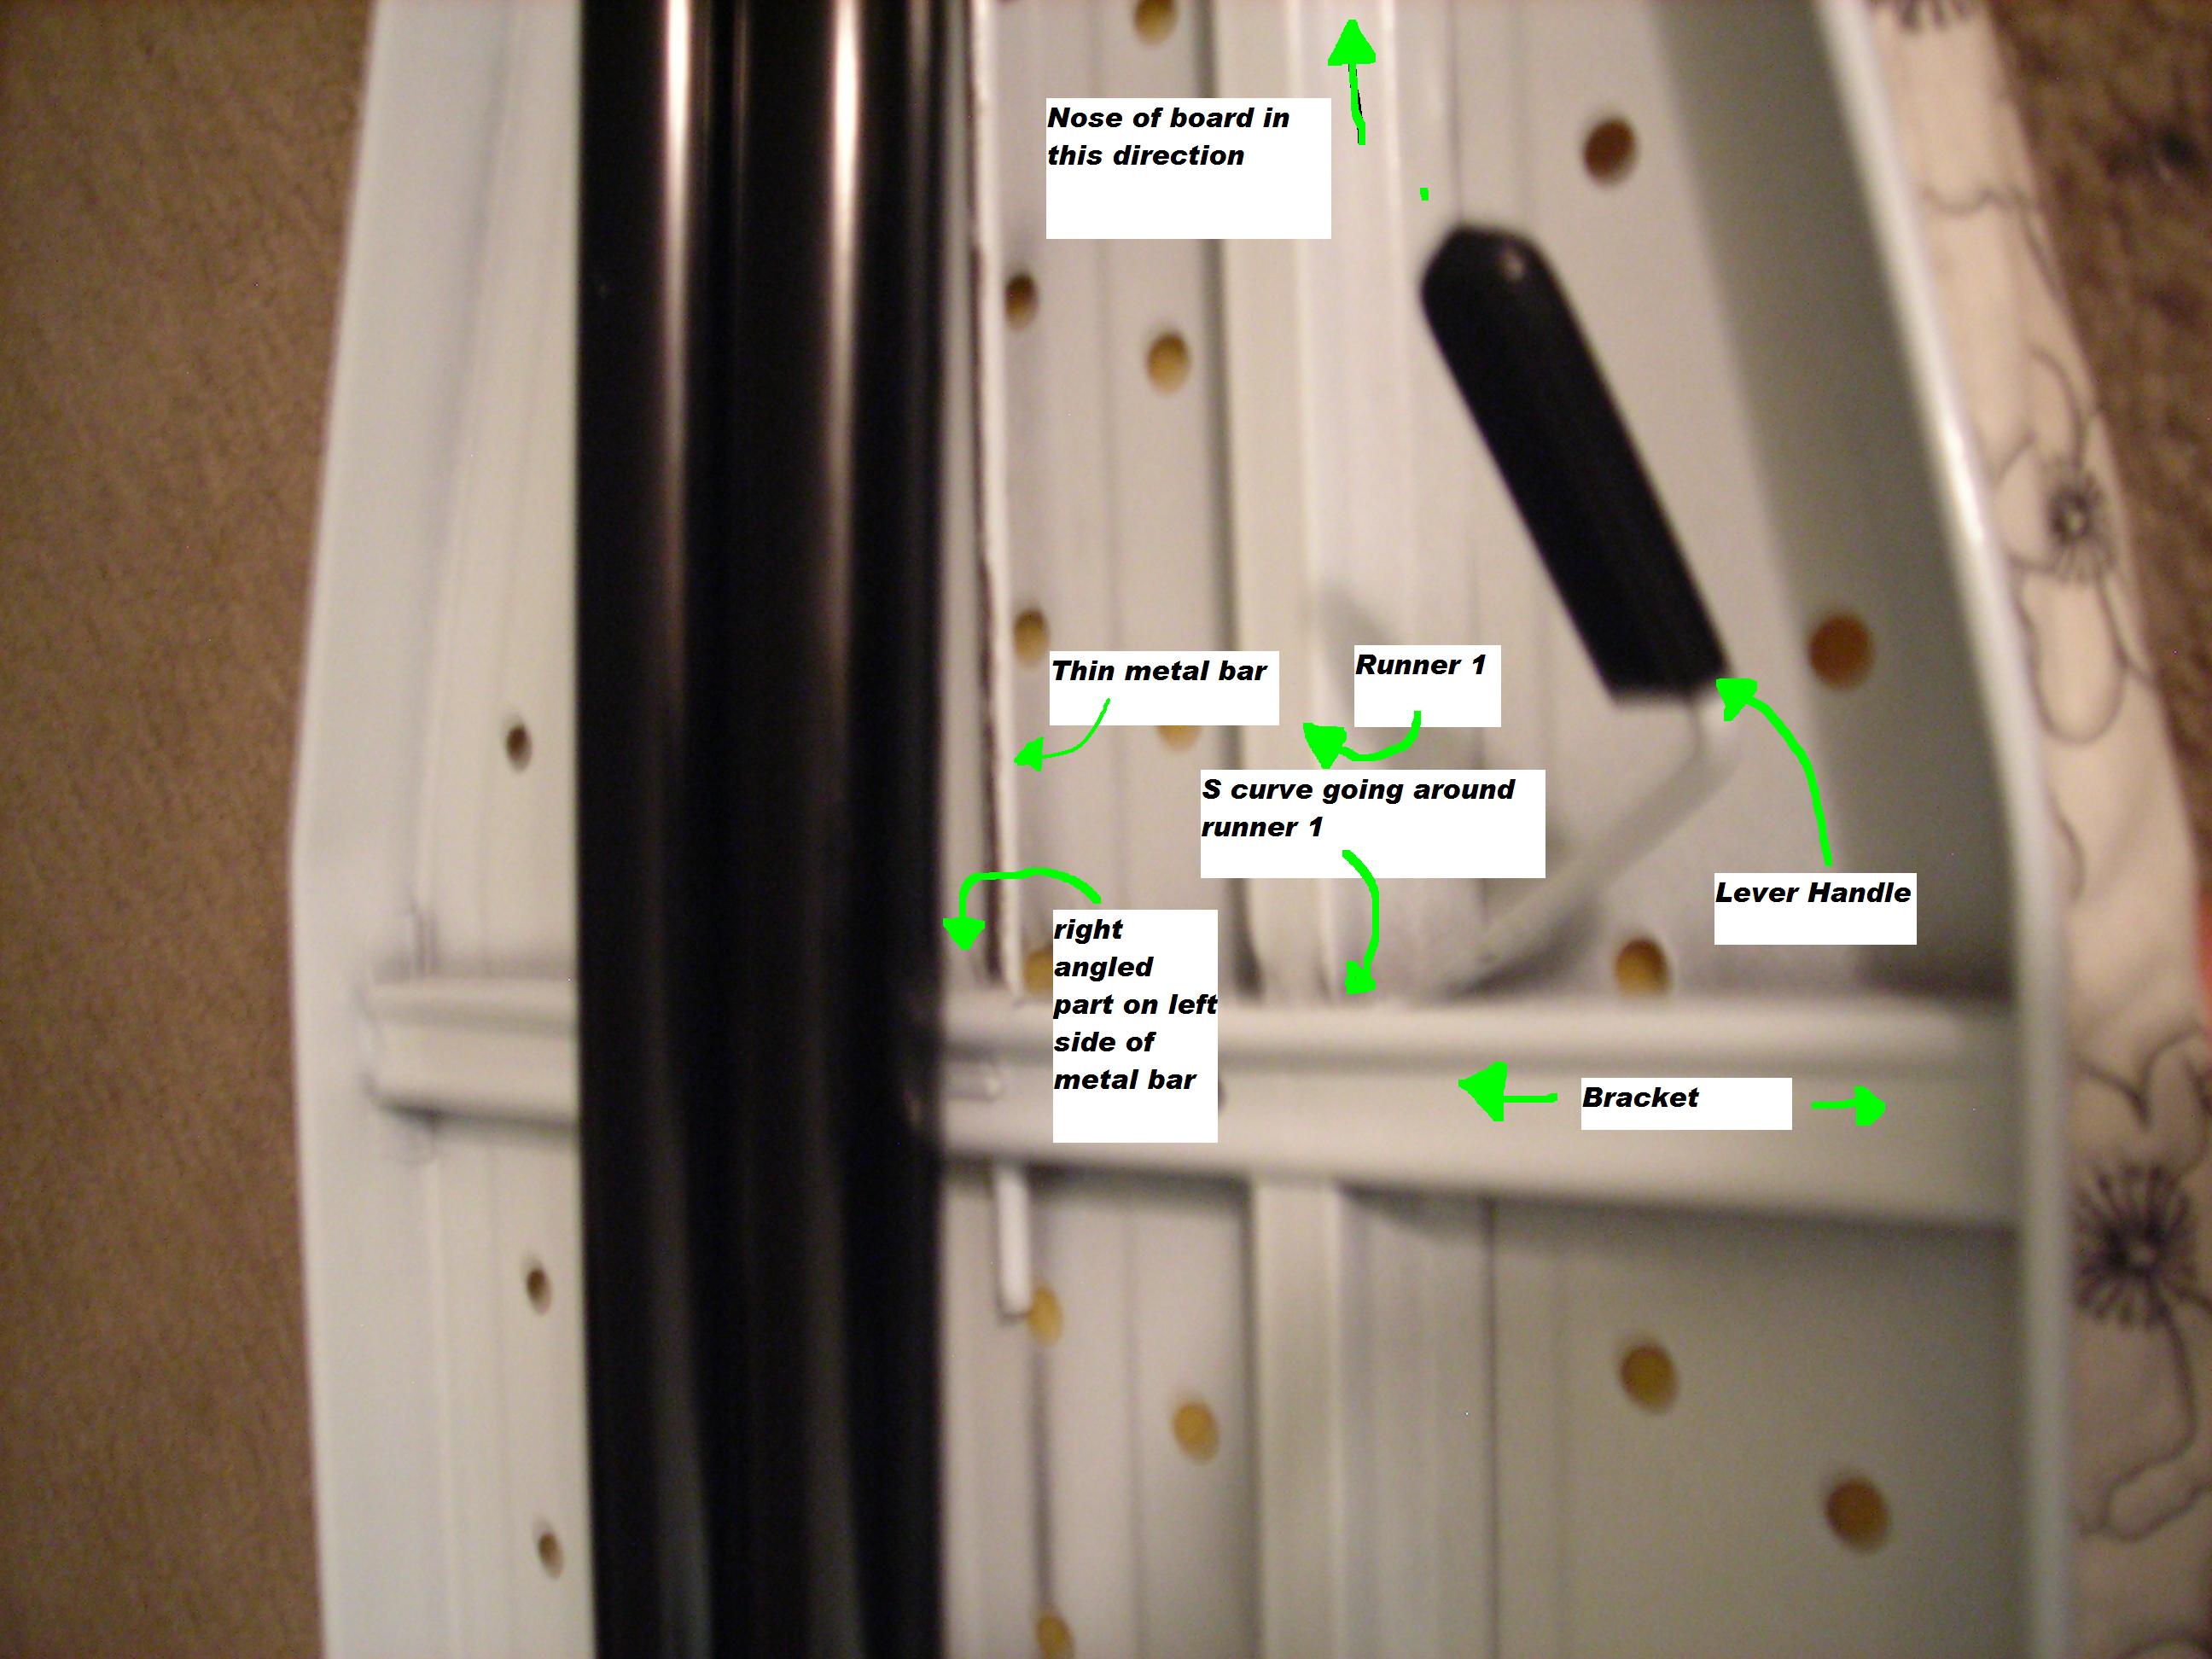
please note, in order for the s-curved portion to fit around the runner 1 (as shown) and for the lever to be pointed in the direction it is shown, (toward the nose of the board) the right angled end should be facing towards the board (NOT towards the legs). This end, when the handle is pushed to disengage the lock, has to push against the very important white tab.
Hope this helps many of you, email me at [email protected] with any questions. These pictures and this tutorial was written at 1230 at night so please excuse any spelling errors or terribly written sentences.