- Make sure Auto Skin(Little 'A' button beside 'Skin the character' button) is unchecked before import
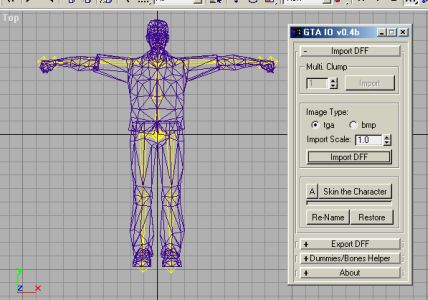
2. Hide or delete the Char mesh, you are going to use yours!
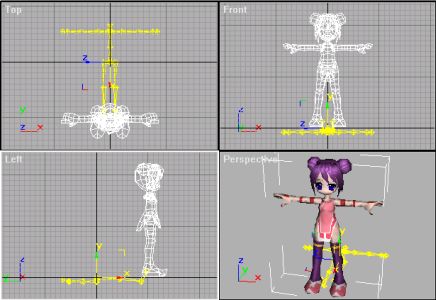
- As you can see, my model didn't fit the bones and orientation at first
- Make sure your Char is facing TOP
Hint: Make your Char's lowest part(toe) similar to original's to prevent it floating ingame
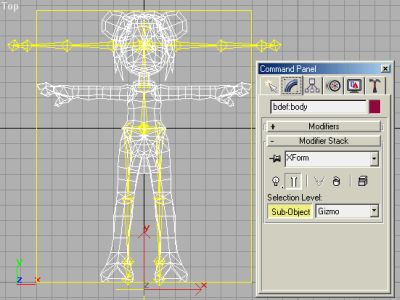
- A XForm Modifier will be added to your Char. Scale and Rotation are now reset to all 0
- Go to Hierarchy Panel -> Pivot -> Affect Pivot Only.
Move it to [0,0,0]
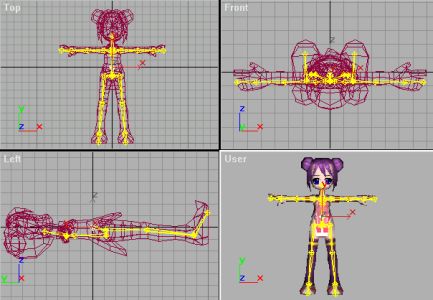
- Don't touch the 'Root' bone. Leave it as it is.
- Hint: Freeze your Char and 'Root' bone so you won't be able to move it accidentally
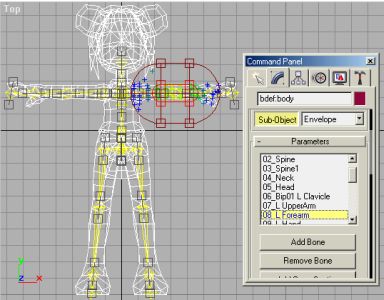
9. In Skin Modifier, click 'Add Bone' and select all bones.
10. In Envelope sub-mode. Select each bone and adjust the envelopes one by one.
- Make sure every Vertex is bind to at least on bone. Otherwise my script will crash when you try to export it.
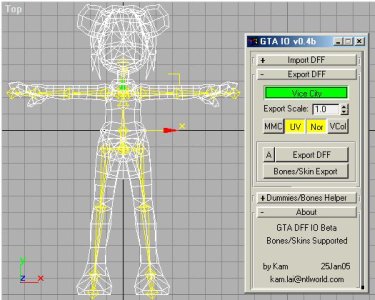
- Open the Export rollout. Make sure 'Vice City' checkbutton is checked.(Green Color one)
Make your selection to the Geometry Flag. Original VC Character is 'MMC'=off 'UV'=on 'Nor'=on 'VCol'=off
- Now press the 'Bones/Skin Export'. And enjoy your new VC Character ingame.