

You gather all the parts? Good. Then lets begin and...
don't worry building an a wing isn't very hard and I'll
be right here to help you.
(Confused Han Solo picking parts)
First a quick example of how my in stuctions are written:
(step number)
| (parts needed) | (model after parts added)
|
| (basic/extra instructions for confusing steps)
|
|---|
And now to begin:
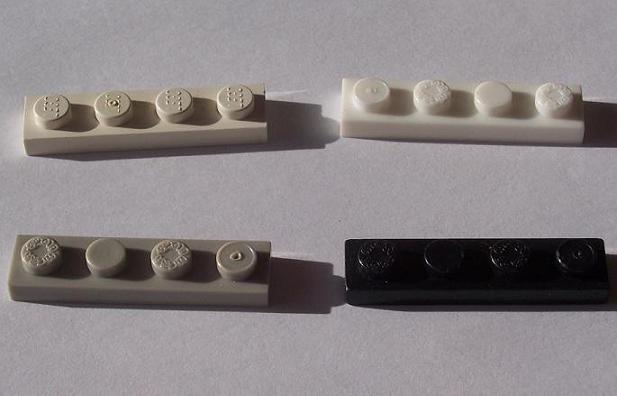
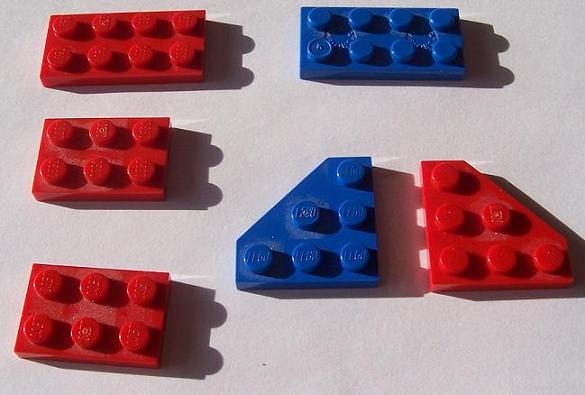
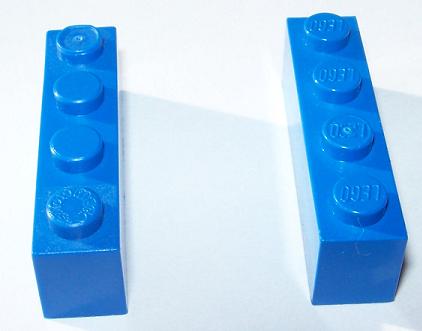
Step 1
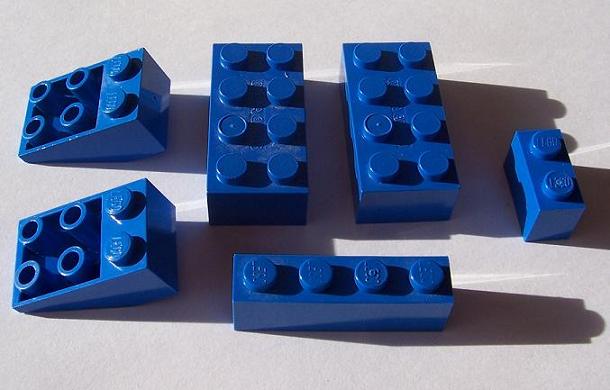 |  | 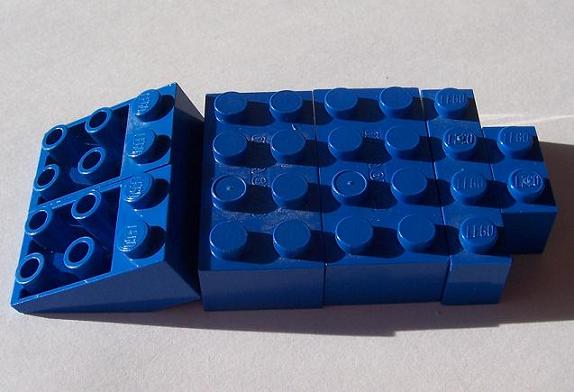
|
| For the first step simply lay the bricks in the pattern shown.
|
|---|
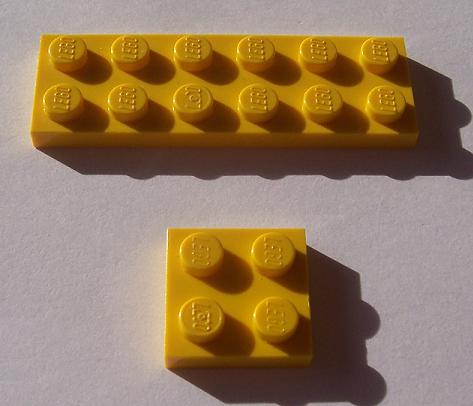
Step 2
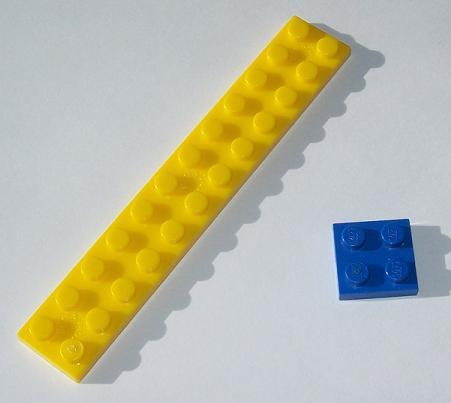 | | 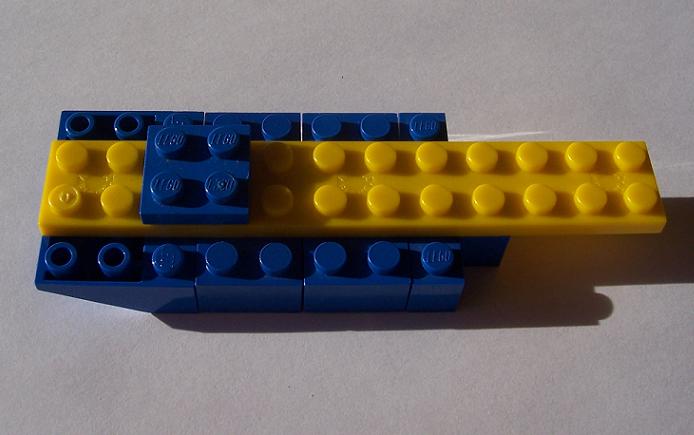
|
| Attach the 2x2 plate two studs away from the end of the 2x12 yellow plate. Then connect those peices to the model as shown.
|
|---|
Step 3
 | | 
|
| Now spread the 1x4 plates around the 2x12 plate as shown.
|
|---|
Step 4
 | | 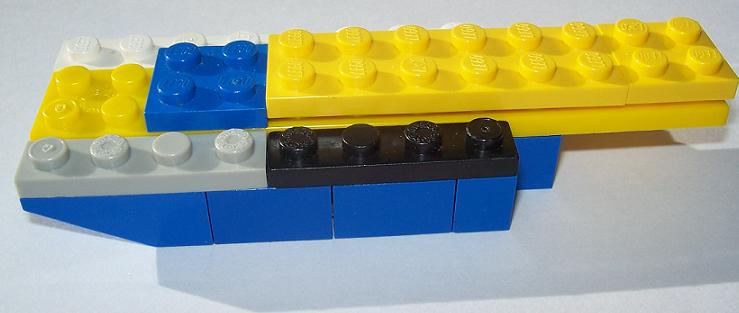
|
| The next two plates are placed together just behind the 2x2 blue plate.
|
|---|
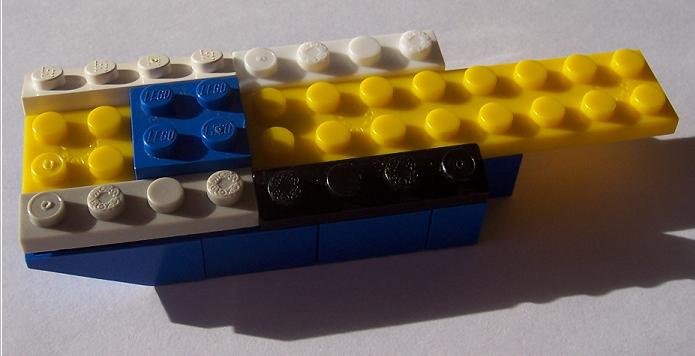
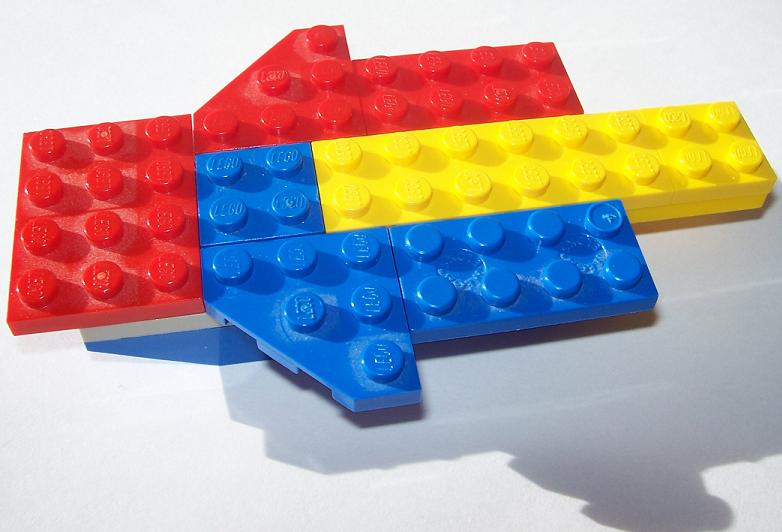
Step 5
 | | 
|
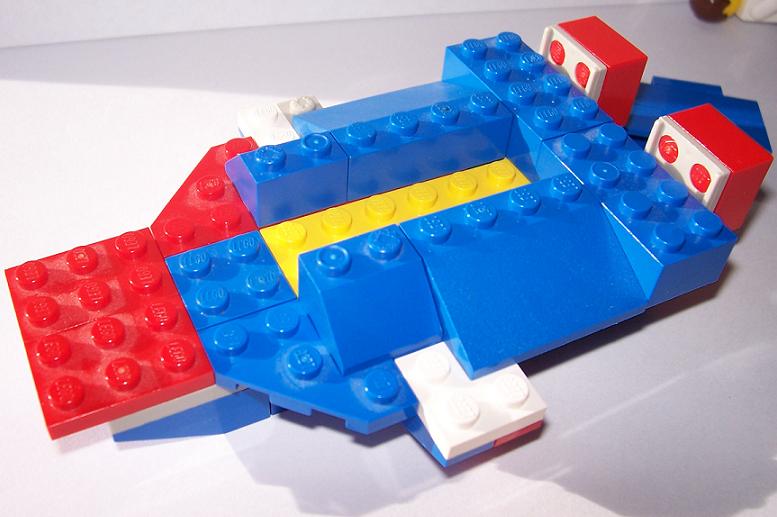
| Now align the plates with the 2x3 plates in the front and the fins in the middle followed by the 2x4 plates creating a level surface.
|
|---|
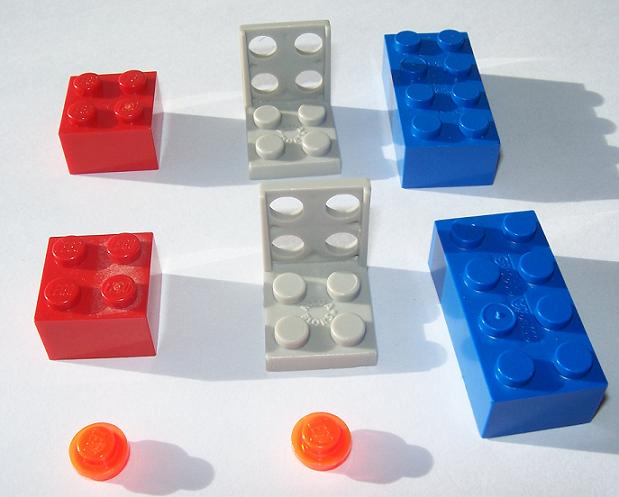
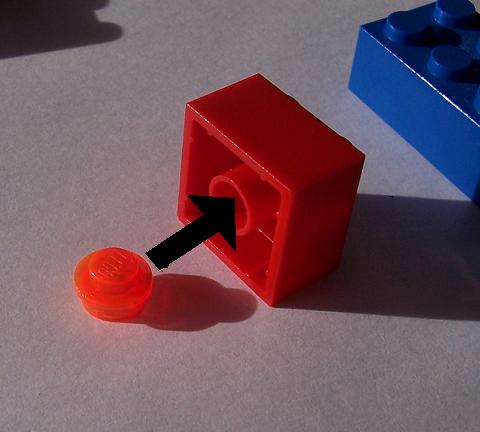
Step 6
 | | 
|
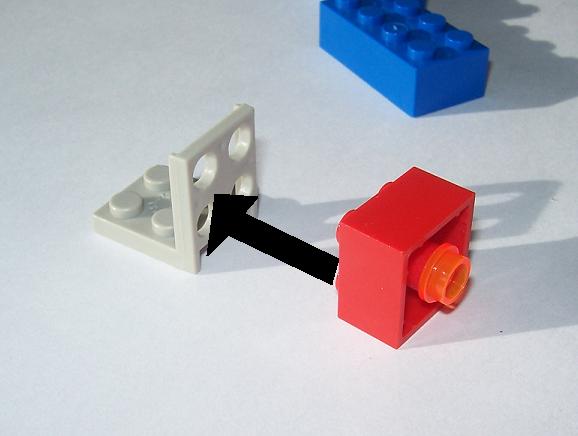
| Time to build the engines.First stick the orange (or red) color dotinto the center of a 2x2 as shown.
|
|---|
Step 7
 | | 
|
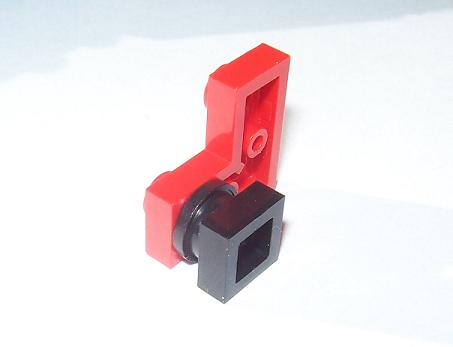
| Next attach the 2x2 brick to the chair piece. Next put the completed engine onto a 2x4 brick.
|
|---|
Step 8
 | | 
|
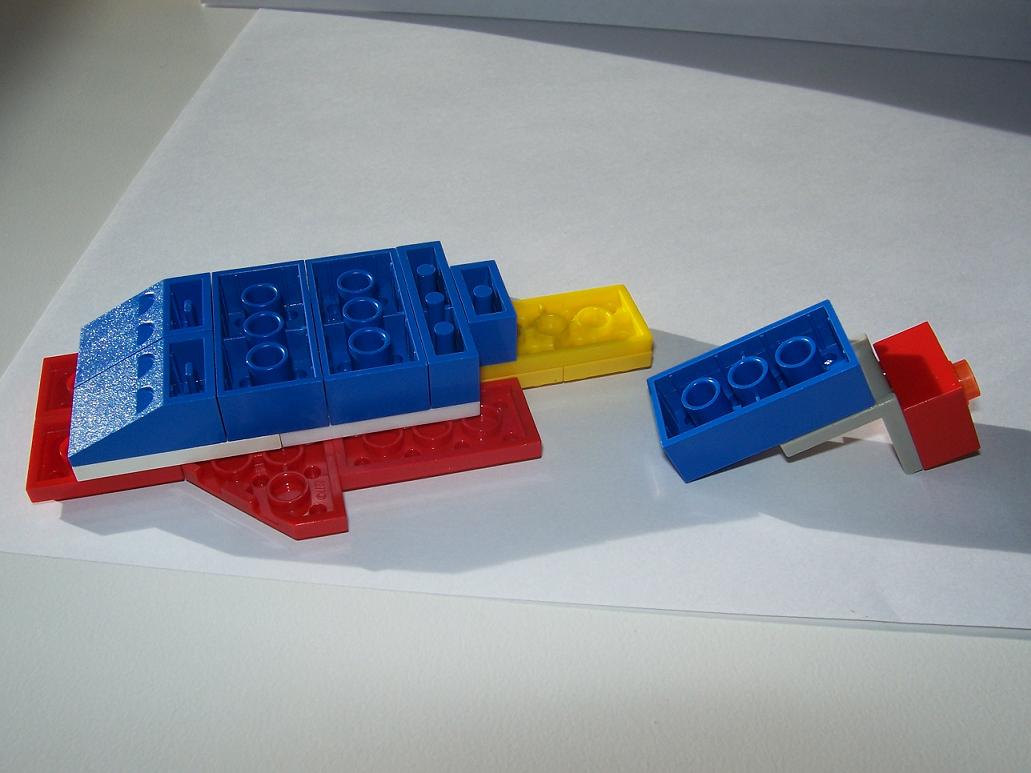
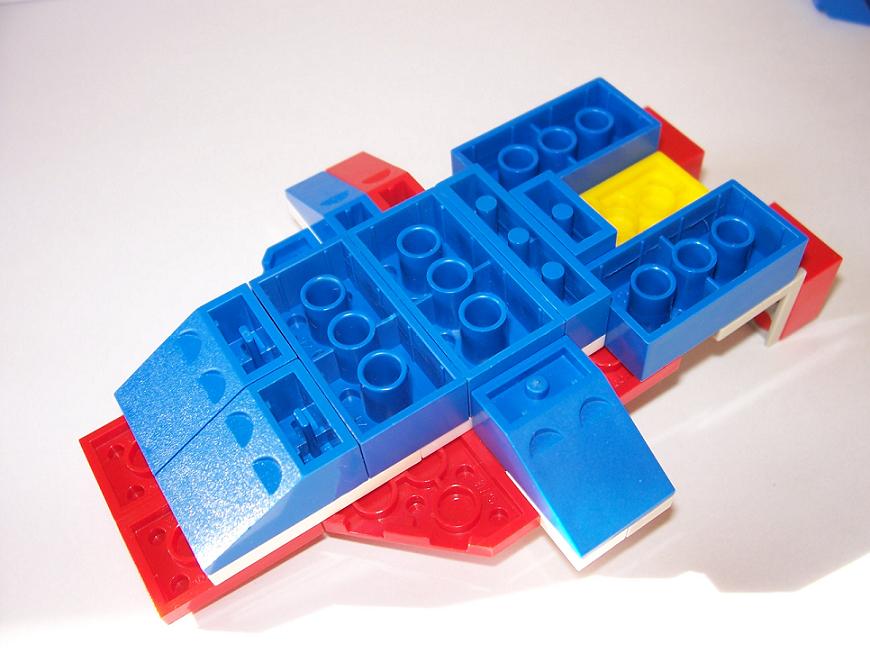
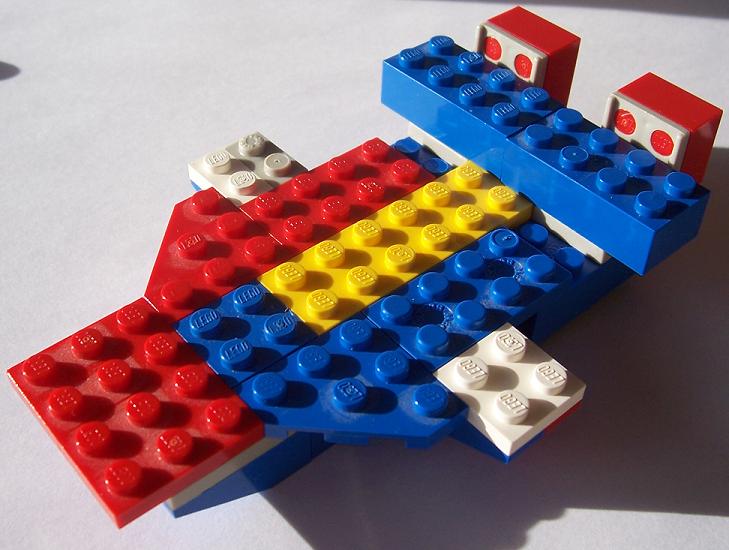
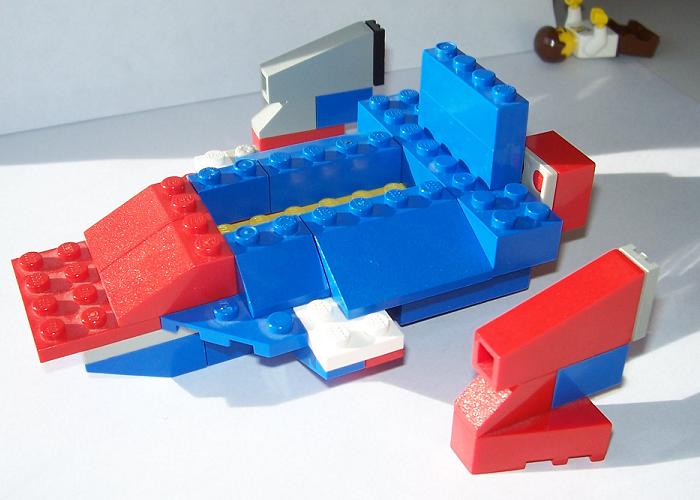
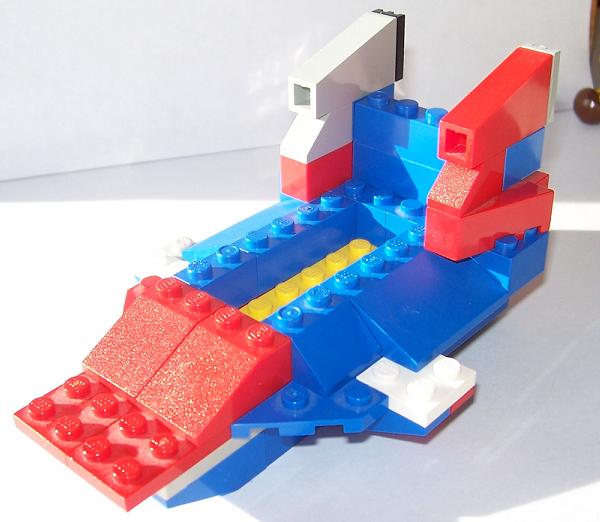
| Flip over the main hull(from step 5) and attach the completed engines to the back corners as shown.
|
|---|
Step 9
 | | 
|
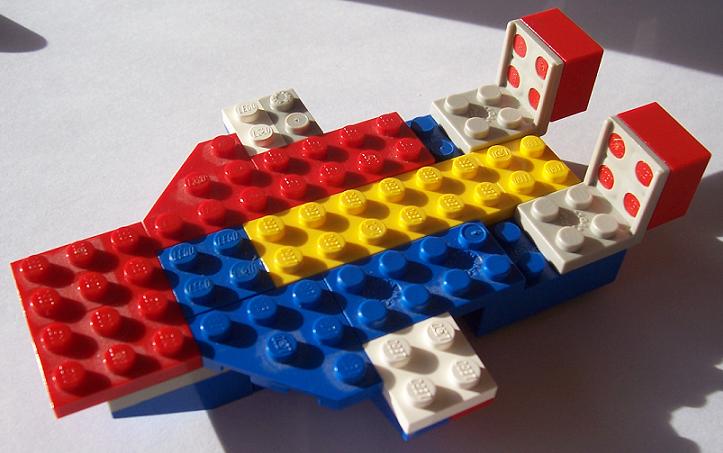
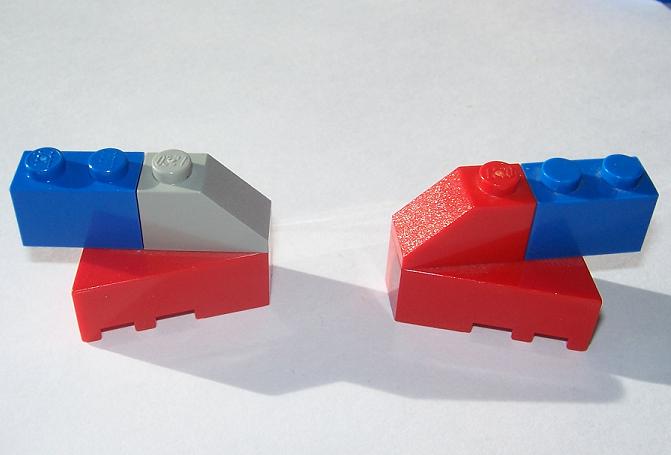
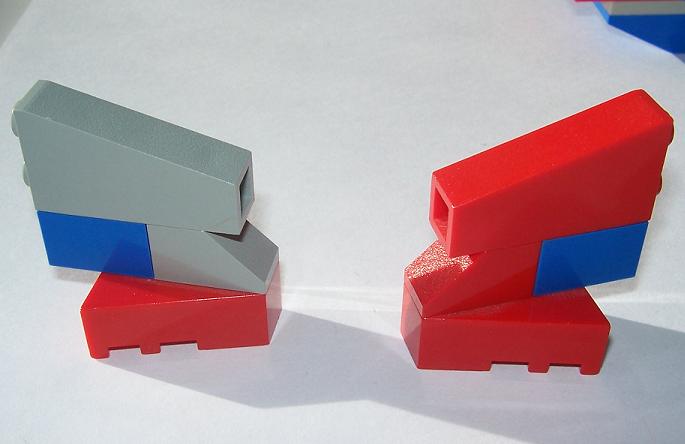
| Take your 2x3 inverted slopes and 2x2 plates and put them together as shown.
|
|---|
Step 10
 | | 
|
| Attach the assembly from step 9 just behind the wing plates as shown.
|
|---|
Step 11
| | 
|
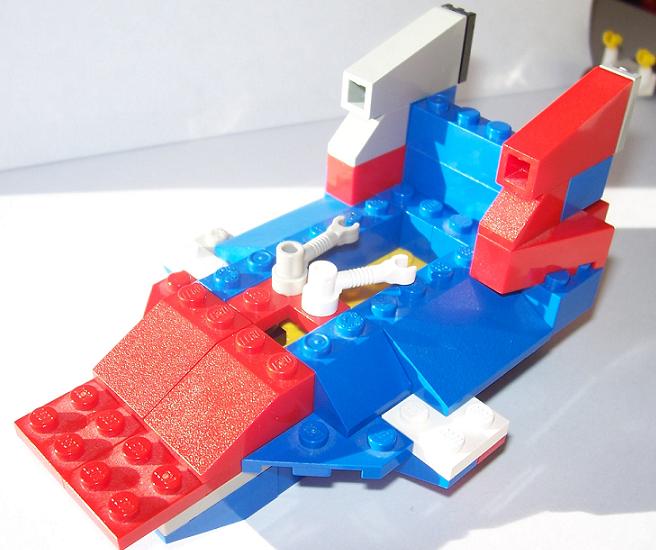
| This step is easy, just flip over the set and make sure it looks like this.
|
|---|
Step 12
 | | 
|
| Center the each of the 2x4 bricks over one of the engine "chairs".
|
|---|
Step 13
 | | 
|
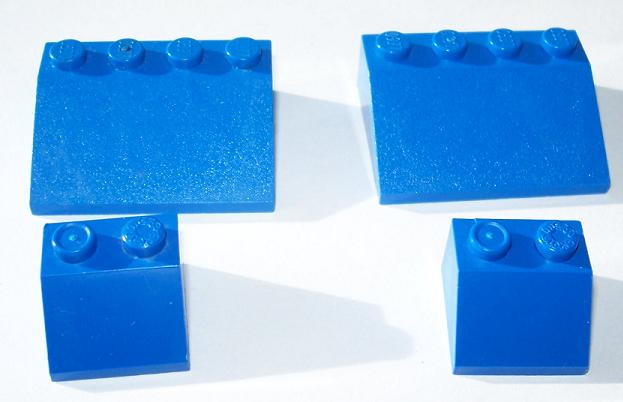
| Line the slope bricks around the base as shown.
|
|---|
Step 14
 | | 
|
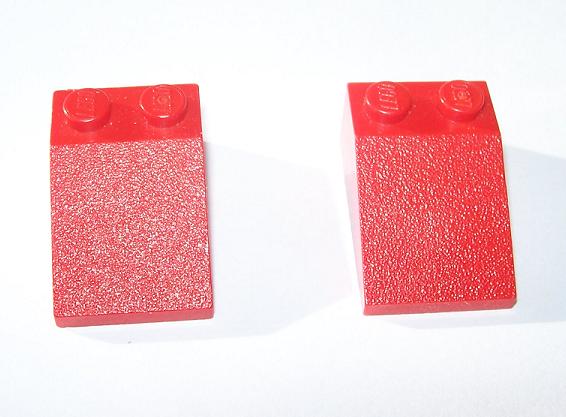
| Add the two red slopes to the front to seal int the seating area.
|
|---|
Step 15
 | | 
|
| Now stack the two 1x4 bricks and add them on to the back as shown.
|
|---|
Step 16
 | | 
|
| We must now build the auxiliary engines.
|
|---|
Step 17
| | 
|
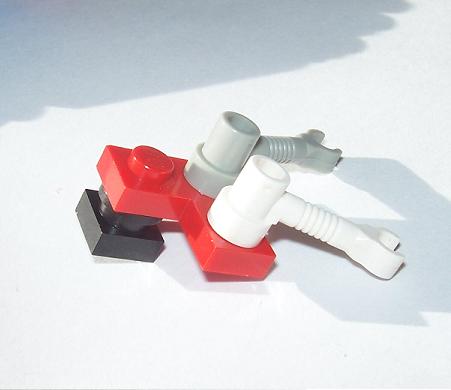
| Just stack the parts as in the photo.
|
|---|
Step 18
| | 
|
| Add the grates to back.(You can use any color you want I was just going through a brick shortage.
|
|---|
Step 19
 | | 
|
| Install the auxiliary engines over th main ones.
|
|---|
Step 20
 | | 
|
| What good is a ship without controls?
|
|---|
Step 21
| | 
|
| Just follow what is shown.
|
|---|
Step 22
| | 
|
| Add your choice of control sticks.
|
|---|
Step 23
| | 
|
| Attach then to the front of the seating area.
|
|---|
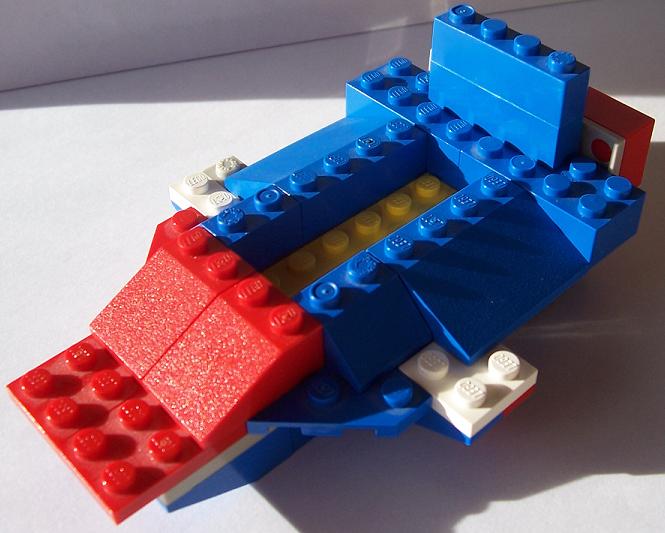
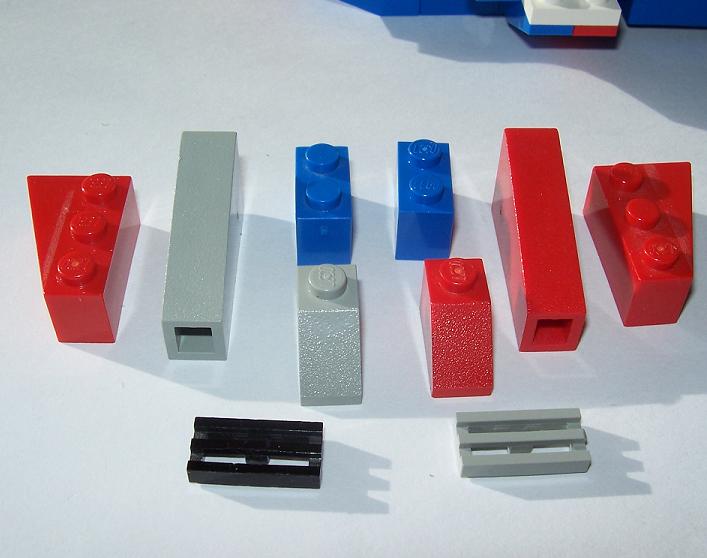
Step 24
 | | 
|
| Your getting close, we just need to arm the ship.
|
|---|
Step 25
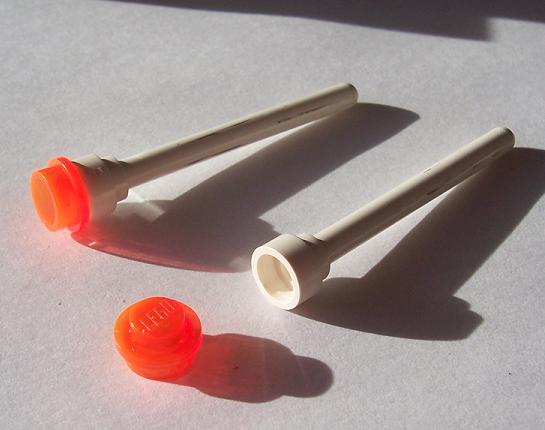 | | 
|
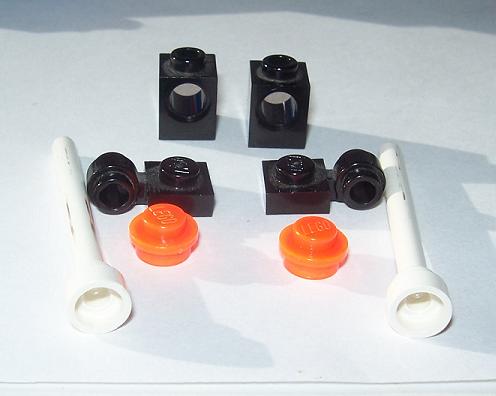
| Add your choice of color stud on the end of the lego stick.
|
|---|
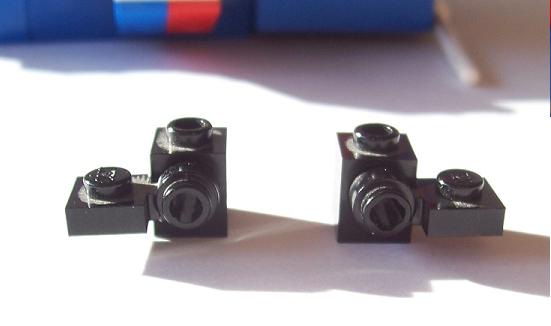
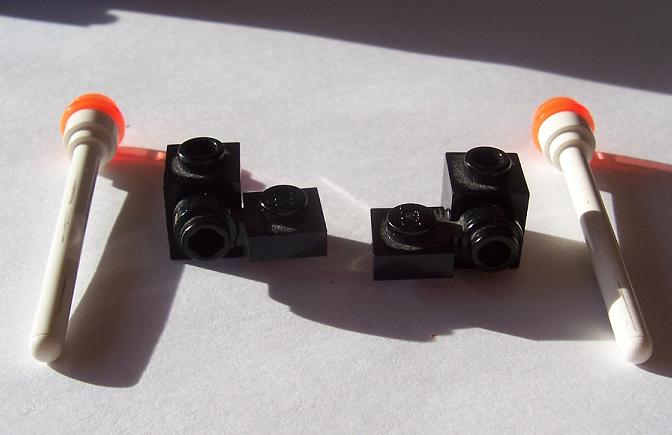
Step 26
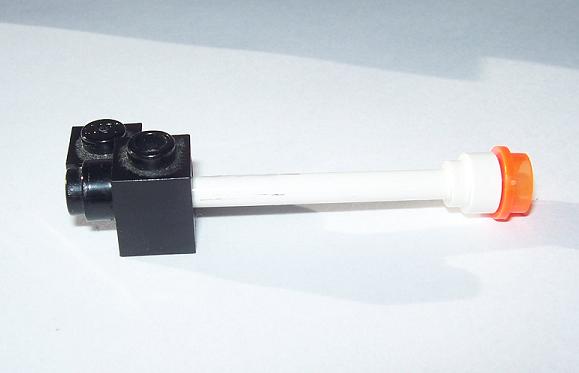 | | 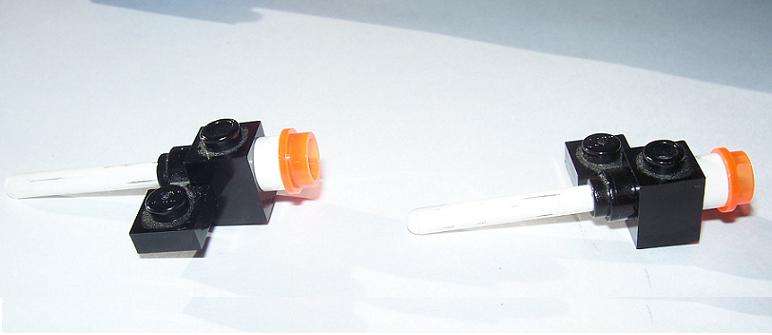
|
| Slide the stick through the mounts. Make sure you have it right, it can be VERY difficult to remove the stick.
|
|---|
Step 27
| | 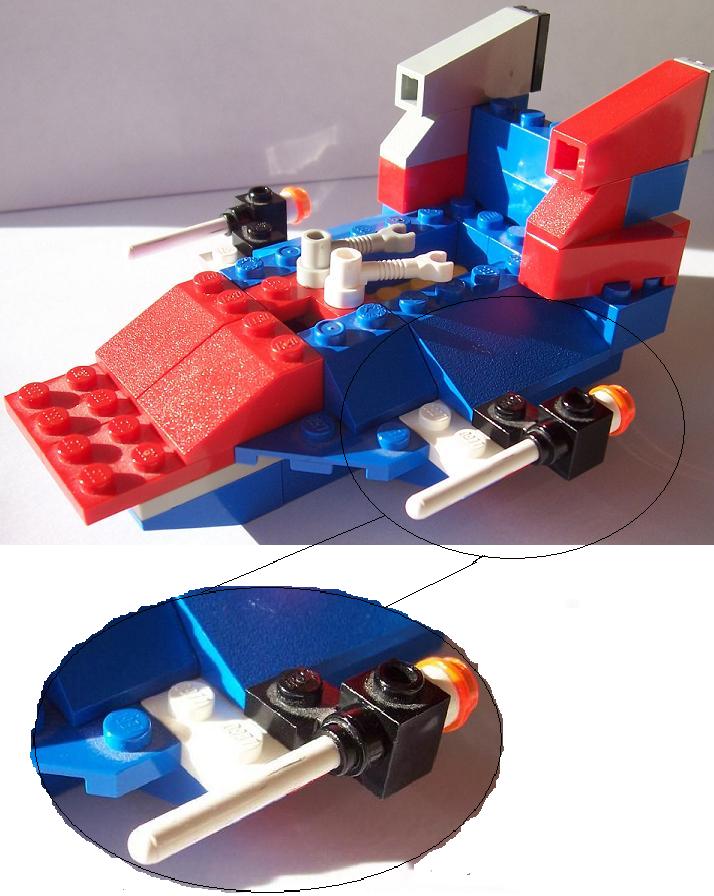
|
| The blasters are to be mounted on the wing tips.
|
|---|
Step 28
 | | 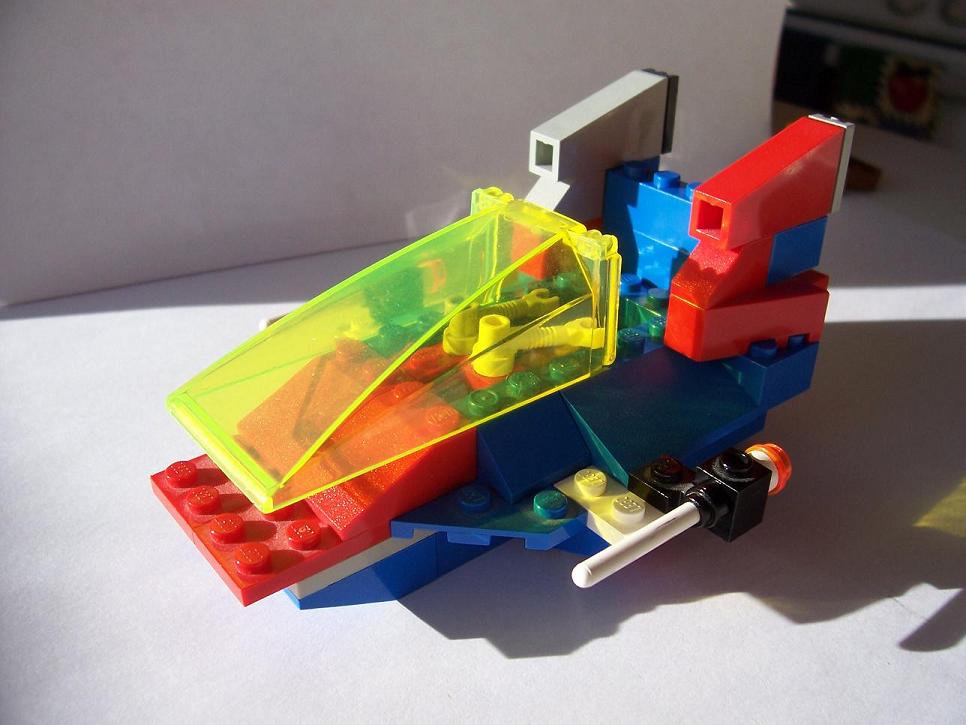
|
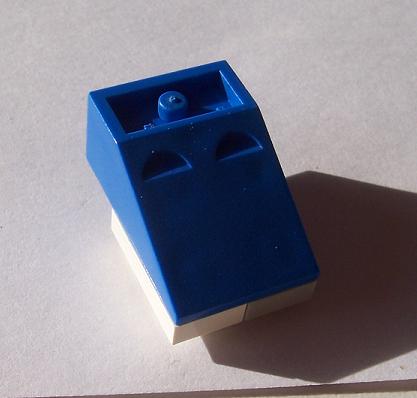
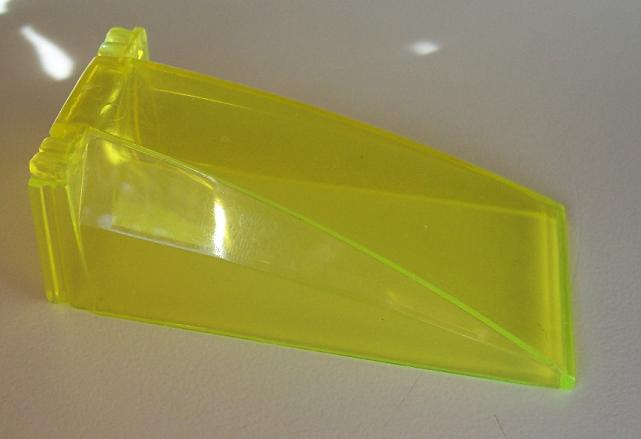
| We need a cock pit window so I can see and breath while in space.
|
|---|
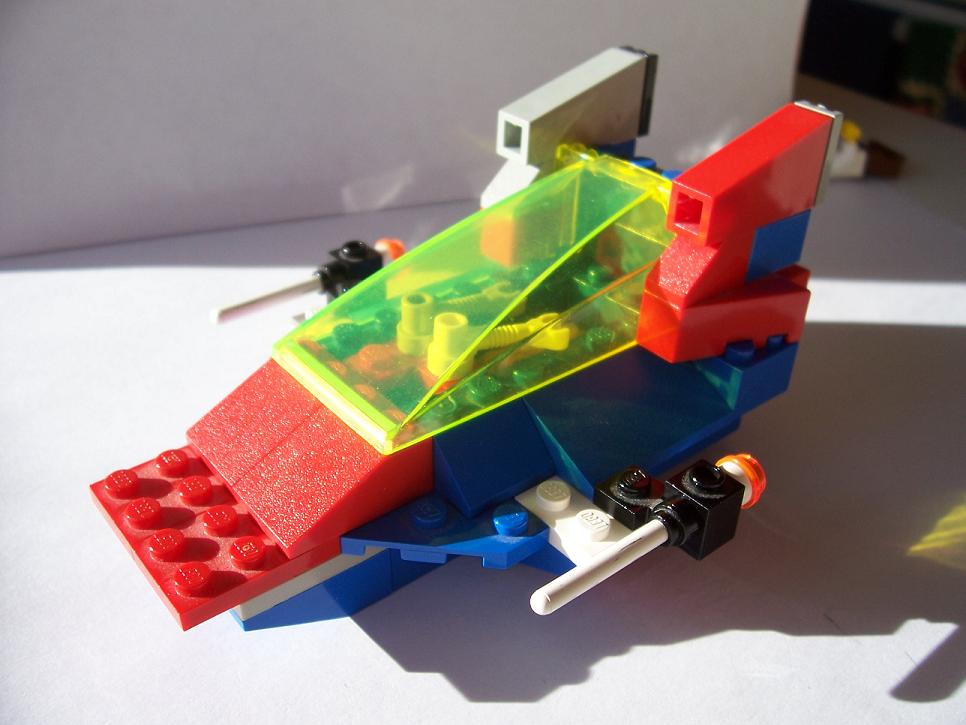
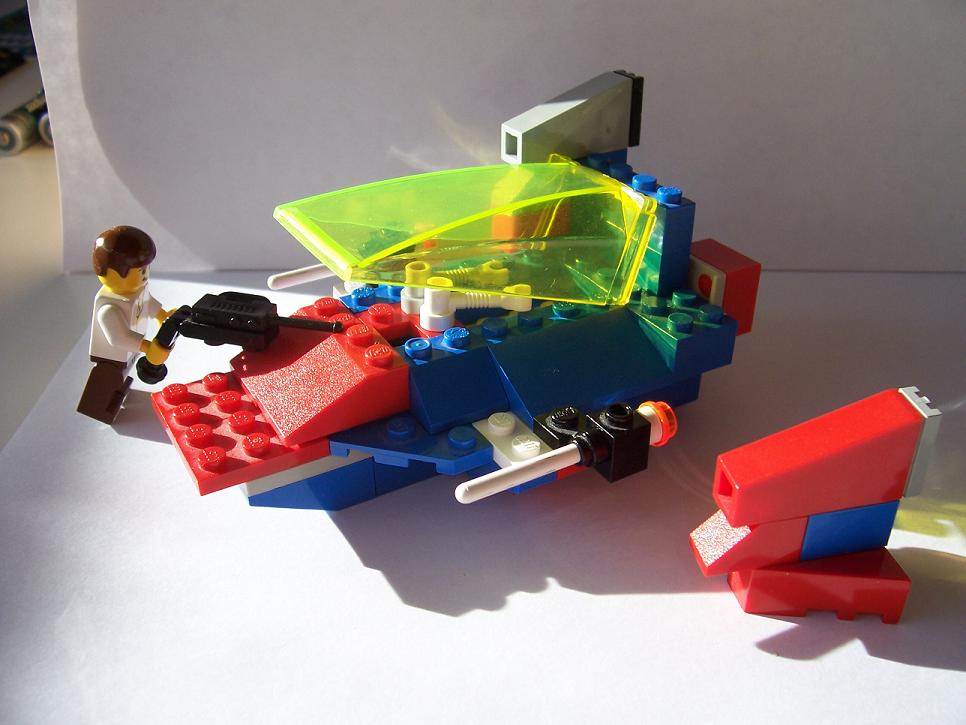
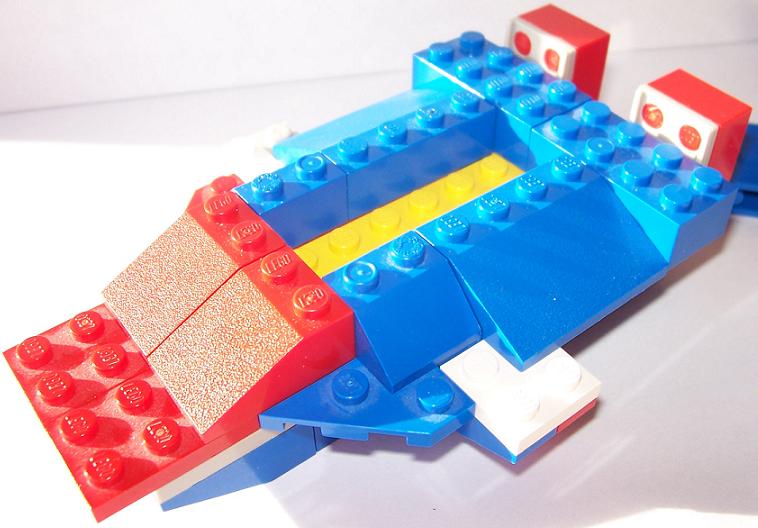
Well there you have it.
Hope it wasn't to hard to build.
This ship is pretty easy to maintain. It is very stong for its size but don't run it off the table.
Also the ships seem to gather dust quite well so dust it off every now and then. Enjoy being the proud owner of an A-wing.