This project was done using Photoshop 6 and images from various sites on the Web.
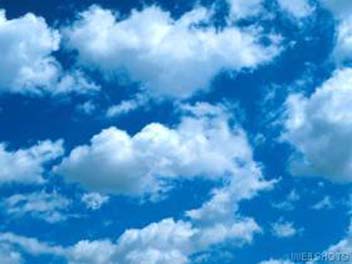
I began by choosing my canvas. Using the image shown here as the canvas, I also set the size of the final image.
|
|
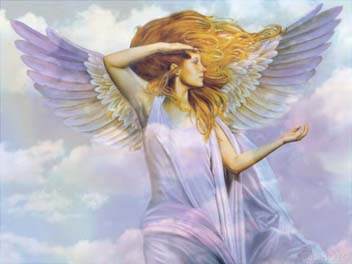
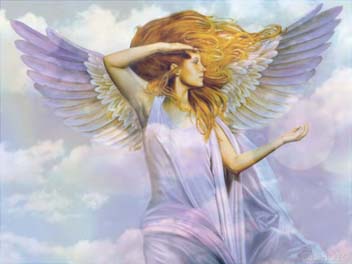
Above that, I decided to place the Chao's creator, an angel, on this layer. This image was found on Webshots, the same place that I found the background. I then adjusted it's opacity slightly, to blend together the clouds on the angel's origional picture smoothly with the clouds in the background
 |
I then took this image:
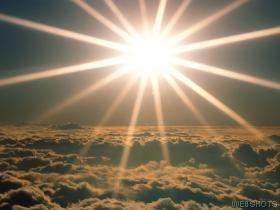 |
and cut the center out of it, discarding the rest. I would use this image as the spell effect, representing the magical energies that the angel was using to create her companion.
 |
I lowered its opacity to 35 percent, to give it the transparency necessary to facilitate the piece. I then, using the Elliptical Marquee and Gradient tools, created a light to suppliment the glow. Finally, I placed the Angel Chao, the focus of the image itself, at the center of the glow. I made it only slightly transparent, so that the image of the glow would seem to permeate its body without saturating it, giving it a more magical appearance.
 |