JC's First Tucker 6 Programmer
CLICK on a photo to make it larger.
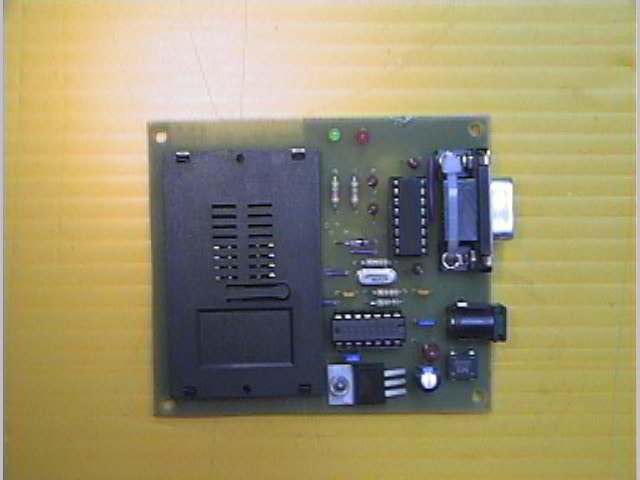
Here's the top-view.
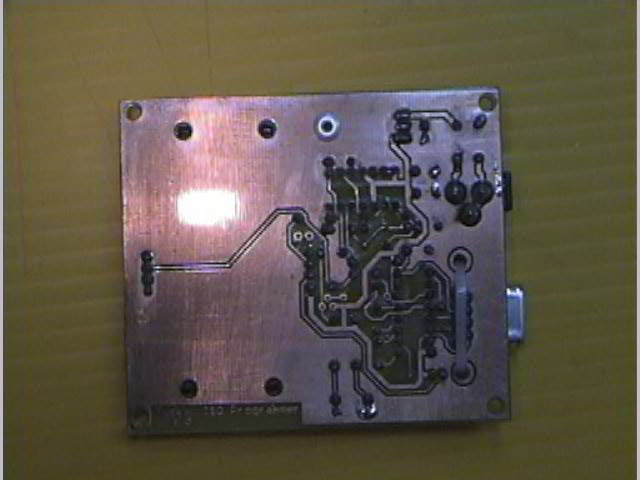 And the bottom-view.
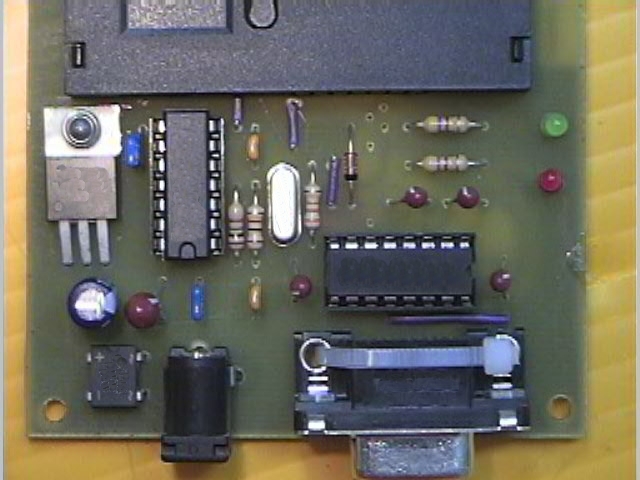 And a close-up of the components.
DON'T BLAME ME IF YOURS DOESN'T WORK. This one works, but these photos are not intended to be a guide to making your own. I think I did everything right, but like the page-title says, this was my FIRST try.
I didn't use the photo-resist method. I used the Press-N-Peel toner transfer method. There was no alteration needed to the schematic for this to work. Wizard's Press-N-Peel guide is HERE. The only thing I would add to his instructions are:
- Try a hotter setting on your iron. I had to use the lowest setting for cotton.
- If you end up with "holes" or broken traces after etching, try scraping the blue stuff off of the broken edges, connect them with a thin layer of flux, drag a thin layer of solder over the area until the edges are connected again, and remove any excess with a solder sucker.
- If you end up with extra copper that shouldn't be there (like connecting a pin to ground or something), lightly cut a scratch along the line where the copper should be removed with an x-acto knife, and continue to score over the same lines with light pressure until you are all the way through the copper foil. Then you can use something very small, strong and sharp to scrape the copper away. I use a dentistry chisel, but you could use a #16 x-acto knife blade or even the corner of a utility knife blade. I wouldn't recommend using a #11 blade (X611), the one with the really long angled blade with a real pointy tip. They would probably break or slip too easily, and you could scrap your board. These dentistry chisels I mentioned are great to have, if you ever happen along any for sale at a cheap price. They are also fantastic for scraping away the housing of an IC to reveal some metal after breaking a pin off by accident. Saved quite a few Atmel Pin 1's this way.
HOPE THIS HELPS!