 |
|
|
|
|
|
|
|
|
|
|
Basic Homemade Wine |
|
|
|
Here I will attempt to describe the simple way in which I prepare, ferment, and finish my own wine. If you try this at home I absolutely refuse to accept responsibility for poor tasting or poisionous drink. I drink this, however, so don't worry too much. Have fun and send me any recipies you come up with after you get used to the process. |
|
|
|
 |
|
 |
|
|
|
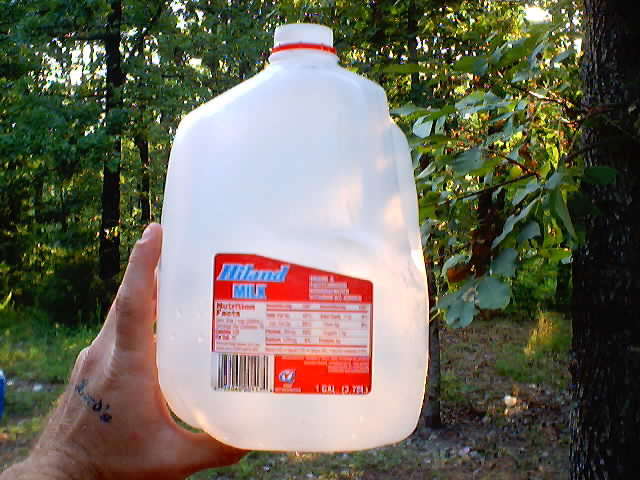
First we'll need some stuff to use. Like a big bottle... We'll use a milk jug to start with. |
|
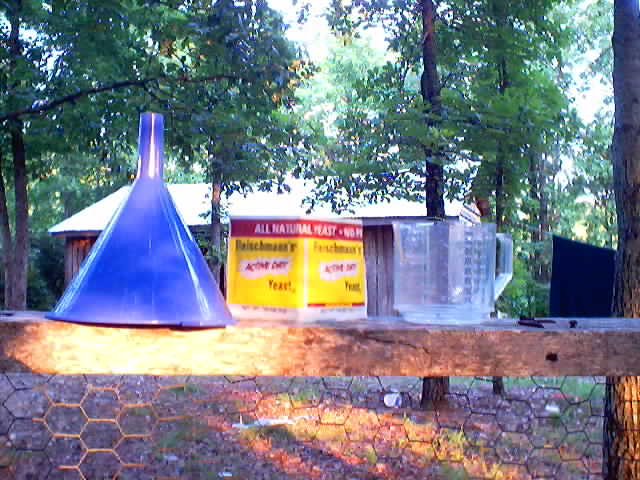
We'll also need a funnel, measuring cup, and some yeast. |
|
|
|
|
|
 |
|
|
 |
|
|
|
|
|
|
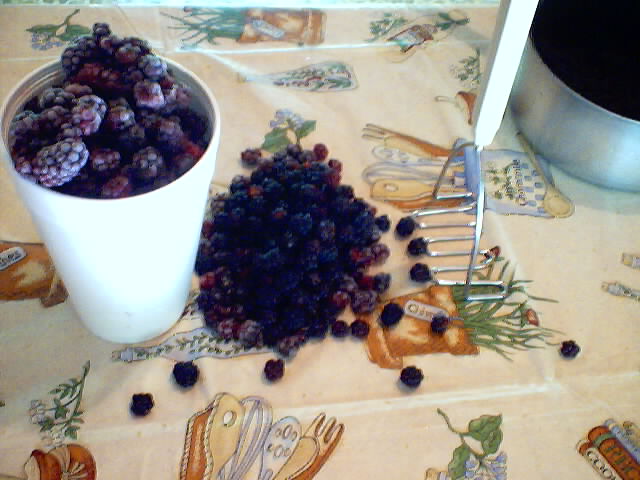
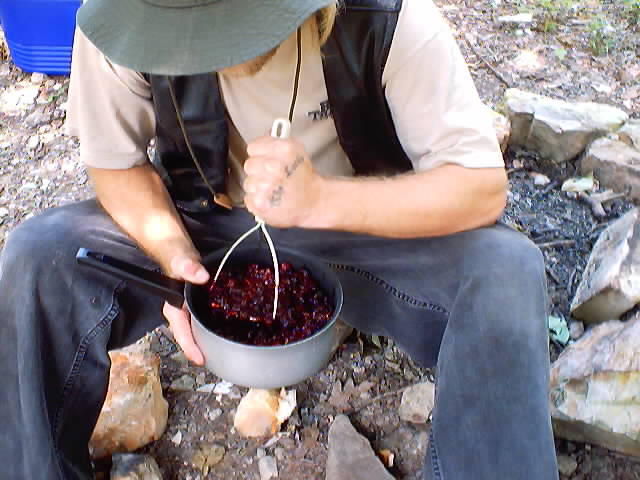
I was at least able to get plenty enough fresh early blackberries to make a gallon, for this demonstration. I like to freeze them once to break down the membranes of the skin before I mash em'. |
|
|
|
|
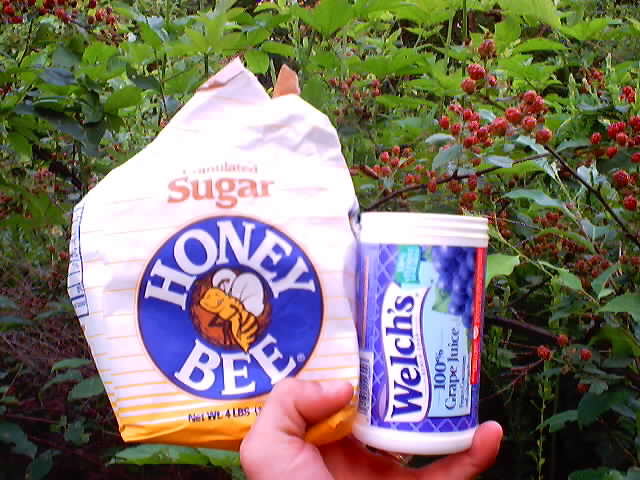
Next We will need something to flavor with and some sugar for the yeast to eat and turn to alcohol.... As you can see not many of the blackberries are ripe yet so we can use 3 cans of 100% grapejuice concentrate when blackberries aren't available... Just a note: use 2 cans of water instead of 3, for each can of concentrate. |
|
|
|
|
|
|
 |
|
|
|
|
 |
|
|
|
|
|
|
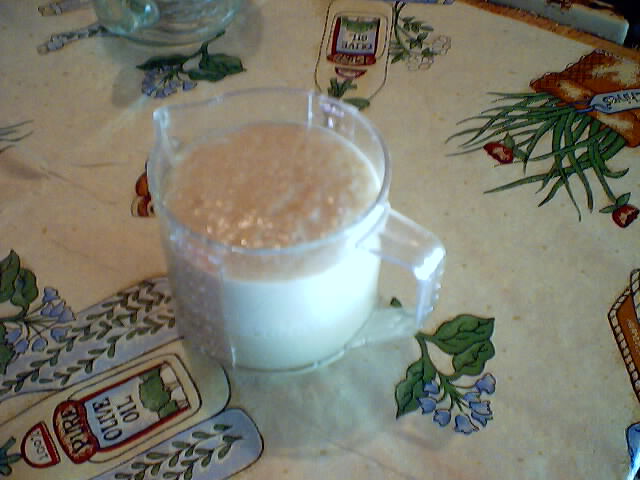
Now it is time to "proof" the yeast.. Take about 1/3 cup of pretty warm {not hot} water and stir in a table spoon of sugar until it is completely disolved. Then pour in 1 packet of yeast and let it sit until the yeast gets soaked through. Next stir the yeast in all the way, and let it sit for about 5 minutes. The yeast should double in size to show that it is, in fact, active... Then pour the yeast through the funnel, into the jug, and fill the jug up with water up to about 2 inches from the top. Shake vigorously and go directly to the next step. |
|
|
|
|
Usually I just mash up all of my berries with a tater masher. I'm using a pan to smash them up in today, but you can use whatever you want as long as it is pretty clean. Mash up everything until it is very liquidy and gets kind of foamy.... This squished up goo is called "Must".. Next, pour the must into your container using a funnel. {sometimes i have to poke the chunks down the funnel with a stick or something}. Then add 2 cups of sugar, and fill the jug half way up with water. Now cap the jug and shake well, this is called "aerating" the must. |
|
|
|
|
|
|
 |
|
|
|
|
 |
|
|
|
|
|
|
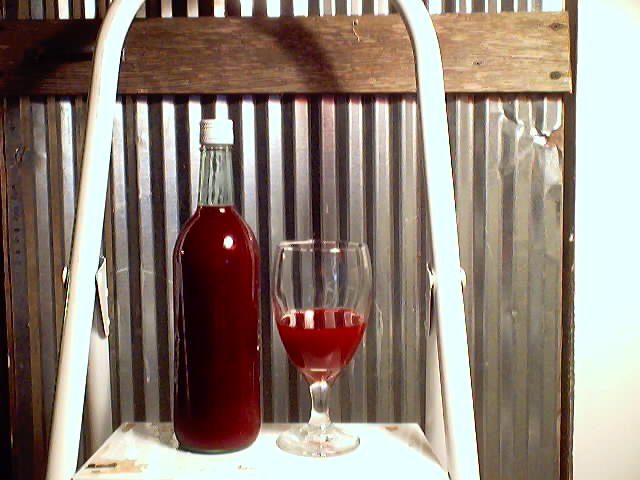
After the bubbling of the fermentation stops, you will need to "rack" your wine. Simply insert a plastic tube almost to the bottom, and siphon the wine into bottles. Try not to siphon up any of the "Dregs", {the stuff in the bottom of the jug}, and put the bottles into the refrigerator. I hear it is better to let them sit for 6 months... Mellows out the flavor or something.... I wouldn't know because I start drinking it right after I rack it. In fact I put a bottle in the freezer immadiately to "test for quality" as soon as I rack it. If you let it sit it will get clearer, and then you can rack it again into another bottle. That is for fancy pantses! Drink up, you made this to get a cheap buzz, lets not get too sophisticated, lest we all go out and start buying fancy chemicals and clearing agents, and yeast nutrients and preservatives, etc. If you have a hydrometer you can test for alcohol content if you like but usually you get between 12-18% alcohol.... Plenty enough to get pickled if you aren't careful.... Well have fun and let me know how it goes! -lee |
|
|
|
|
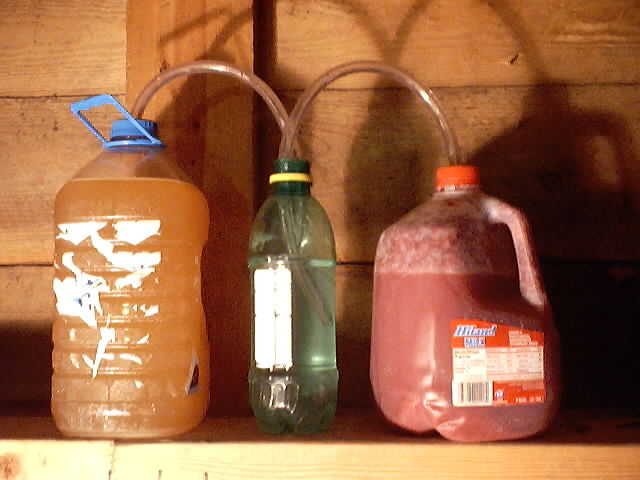
Now to the subject of fermentation locks... You can buy one at a specialty store, use a balloon with some pinholes in it, or you can do what I do.... Get some plastic tubing, make a hole in the lid, and run the tube into a bottle of water. This prevents any "bad" air containing other yeasts, or bugs, to get into your wine, but lets the co2 gas escape so you don't come home to a mess. After that just let the wine mixture sit for a week or two, or until the bubbling stops. |
|
|
|
|